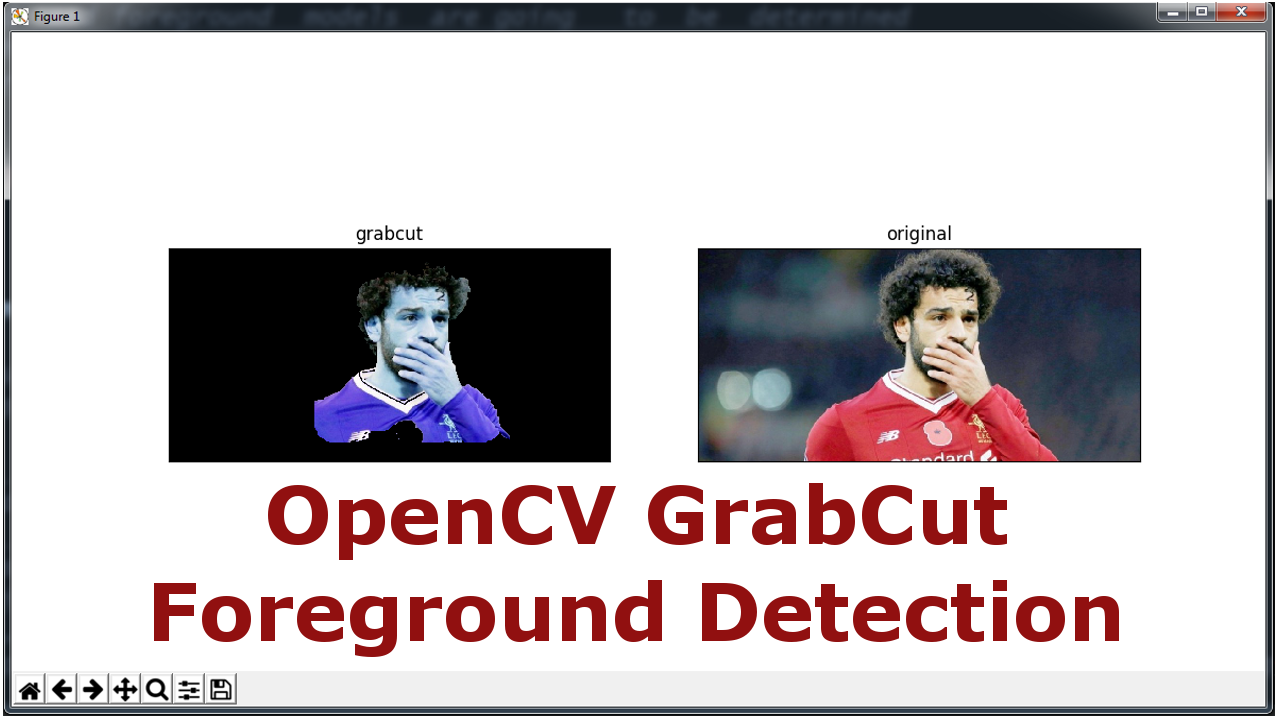
In this Python OpenCV article we are going to talk about GrabCut Foreground Detection.
GrabCut algorithm was designed by Carsten Rother, Vladimir Kolmogorov & Andrew Blake from Microsoft Research Cambridge, UK.
in their paper, “GrabCut”: interactive foreground extraction using iterated graph cuts . An algorithm was needed for foreground extraction
with minimal user interaction, and the result was GrabCut.
Also you can check my previous articles on Python OpenCV
1: OpenCV Python Introduction And Reading Images
2: OpenCV Python Writing o An Image
3: OpenCV Python Reading Image In Matplotlib Graph
4: OpenCV Python Drawing Shapes
6: How To Play AVI Videos In OpenCV
7: Python OpenCV Creating Color Trackbar
8: Python OpenCV Reading Mp4 Videos
9: Python OpenCV Writing To A Videos
10: OpenCV Python Arithmetic Operations
11: OpenCV Python Image Blending
12: Python OpenCV Bitwise Operations On Images
13: Python OpenCV Color Spaces
14: Face Detection in Python OpenCV
15: OpenCV Python Eye Detection
16: Python OpenCV Color Detection
17: OpenCV Python Smile Detection With Haar Cascade
18: Python OpenCV Canny Edge Detection
19: Python OpenCV Contour Detection Example
20: Line Detection In Python OpenCV With HoughLines
21: Python OpenCV Circle Detection With HoughCircles
So now this is the complete code for Python OpenCV GrabCut Foreground Detection
|
1 2 3 4 5 6 7 8 9 10 11 12 13 14 15 16 17 18 19 20 21 22 23 24 25 26 27 28 29 30 31 32 |
import numpy as np import cv2 from matplotlib import pyplot as plt img = cv2.imread('salah.jpg') mask = np.zeros(img.shape[:2],np.uint8) bgdModel = np.zeros((1,65),np.float64) fgdModel = np.zeros((1,65),np.float64) rect = (300,30,421,378) cv2.grabCut(img,mask,rect,bgdModel,fgdModel,5,cv2.GC_INIT_WITH_RECT) mask2 = np.where((mask==2)|(mask==0),0,1).astype('uint8') img = img*mask2[:,:,np.newaxis] plt.subplot(121), plt.imshow(img) plt.title("grabcut"), plt.xticks([]), plt.yticks([]) plt.subplot(122), plt.imshow(cv2.cvtColor(cv2.imread('salah.jpg'), cv2.COLOR_BGR2RGB)) plt.title("original"), plt.xticks([]), plt.yticks([]) plt.show() |
now in the above code we create zero-filled and foreground and background models
|
1 2 |
bgdModel = np.zeros((1,65),np.float64) fgdModel = np.zeros((1,65),np.float64) |
Background and foreground models are going to be determined based on the areas left out of the initial rectangle
This is the rectangle code
|
1 |
rect = (300,30,421,378) |
So now to the interesting part! We run the GrabCut algorithm specifying the empty models
and mask, and the fact that we’re going to use a rectangle to initialize the operation:
|
1 |
cv2.grabCut(img,mask,rect,bgdModel,fgdModel,5,cv2.GC_INIT_WITH_RECT) |
You’ll also notice an integer after fgdModel, which is the number of iterations the
algorithm is going to run on the image. You can increase these, but there is a point in
which pixel classifications will converge, and effectively, you’ll just be adding iterations
without obtaining any more improvements.
After this, our mask will have changed to contain values between 0 and 3. The values, 0
and 2, will be converted into zeros, and 1-3 into ones, and stored into mask2, which we can
then use to filter out all zero-value pixels (theoretically leaving all foreground pixels
intact):
|
1 2 |
mask2 = np.where((mask==2)|(mask==0),0,1).astype('uint8') img = img*mask2[:,:,np.newaxis] |
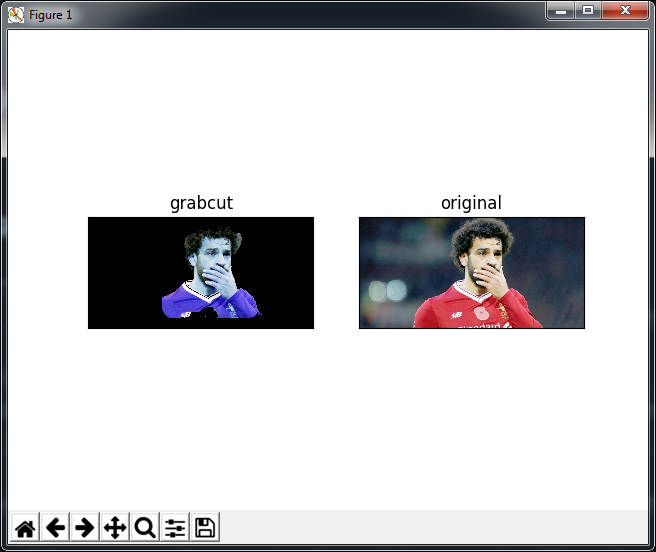
The last part of the code displays the images side by side
|
1 2 3 4 5 6 7 8 9 |
plt.subplot(121), plt.imshow(img) plt.title("grabcut"), plt.xticks([]), plt.yticks([]) plt.subplot(122), plt.imshow(cv2.cvtColor(cv2.imread('salah.jpg'), cv2.COLOR_BGR2RGB)) plt.title("original"), plt.xticks([]), plt.yticks([]) plt.show() |
So now run the complete code and this will be the result
Also you can watch the complete video for this article