In this article we are going to talk about Python OpenCV Image Blending, also if you are interested in GUI Development with Python Programming Language, check the below links.
Also you can check Python GUI Development Tutorials in the below link.
1: PyQt5 GUI Development Tutorials
2: TKinter GUI Development Tutorials
3: Pyside2 GUI Development Tutorials
4: Kivy GUI Development Tutorials
So according to OpenCV Documentation Image Blending Is also image addition, but different weights are given to images so that it gives a feeling of blending or transparency. Images are added as per the equation below:

By varying  from
from  , you can perform a cool transition between one image to another.
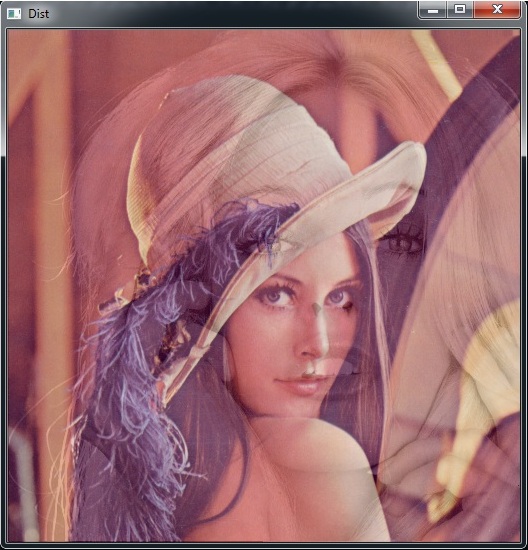
Here I took two images to blend them together. First image is given a weight of 0.7 and second image is given 0.3. cv2.addWeighted() applies following equation on the image.
So this is the complete example for Image Blending
|
1 2 3 4 5 6 7 8 9 10 11 12 |
import cv2 img1 = cv2.imread("lena.tif") img2 = cv2.imread("woman.tif") dist = cv2.addWeighted(img1, 0.7, img2, 0.3,0) cv2.imshow("Dist", dist) cv2.waitKey(0) cv2.destroyAllWindows() |
So these lines of codes are for reading our images make sure that images should be the same size and type. and also you need to add the images in your working directory.
|
1 2 |
img1 = cv2.imread("lena.tif") img2 = cv2.imread("woman.tif") |
Using this method you can apply Image Blending in OpenCV
|
1 |
dist = cv2.addWeighted(img1, 0.7, img2, 0.3,0) |
Run the complete code and this will be the result
Also you can watch the complete video for this article
Subscribe and Get Free Video Courses & Articles in your Email