in this Pyglet Python article i want to show you Adding Image To Application.
if you are interested in Python GUI Development, check the below links.
check Python GUI Development Tutorials in the below link.
1: PyQt5 GUI Development Tutorials
2: TKinter GUI Development Tutorials
3: Pyside2 GUI Development Tutorials
4: Kivy GUI Development Tutorials
5: TKinter GUI development Tutorials
So first let me write the complete code for Python Pyglet Adding Image
|
1 2 3 4 5 6 7 8 9 10 11 12 13 |
import pyglet window = pyglet.window.Window() image = pyglet.resource.image('car.jpeg') @window.event def on_draw(): window.clear() image.blit(50,80) pyglet.app.run() |
So this line of code is for creating our window in pyglet
|
1 |
window = pyglet.window.Window() |
This line of code is for loading our image from our directory, make sure that you have copied an Image in your project directory.
|
1 |
image = pyglet.resource.image('car.jpeg') |
After that we create our def on_draw() method, An on_draw() event is dispatched to the window to give it a chance to redraw its contents. pyglet provides several ways to attach event handlers to objects; a simple way is to use a decorator:
|
1 2 3 4 |
@window.event def on_draw(): window.clear() image.blit(50,80) |
Within the on_draw() handler the window is cleared to the default background color (black), and the label is drawn.
And finally we we call:
|
1 |
pyglet.app.run() |
This will enter pyglet’s default event loop, and let pyglet respond to application events such as the mouse and keyboard. Your event handlers will now be called as required, and the run() method will return only when all application windows have been closed.
If you are coming from another library, you may be used to writing your own event loop. This is possible to do with pyglet as well, but it is generally discouraged; see The application event loop for details.
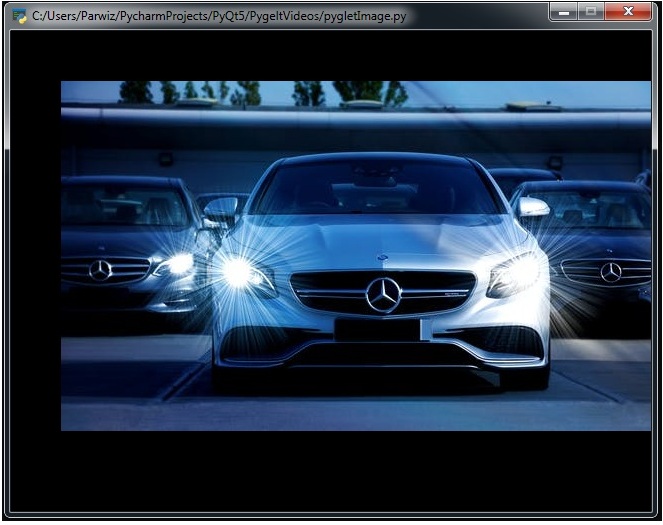
Run the complete code and this will be the result
Also you can watch the complete video for this article
Subscribe and Get Free Video Courses & Articles in your Email