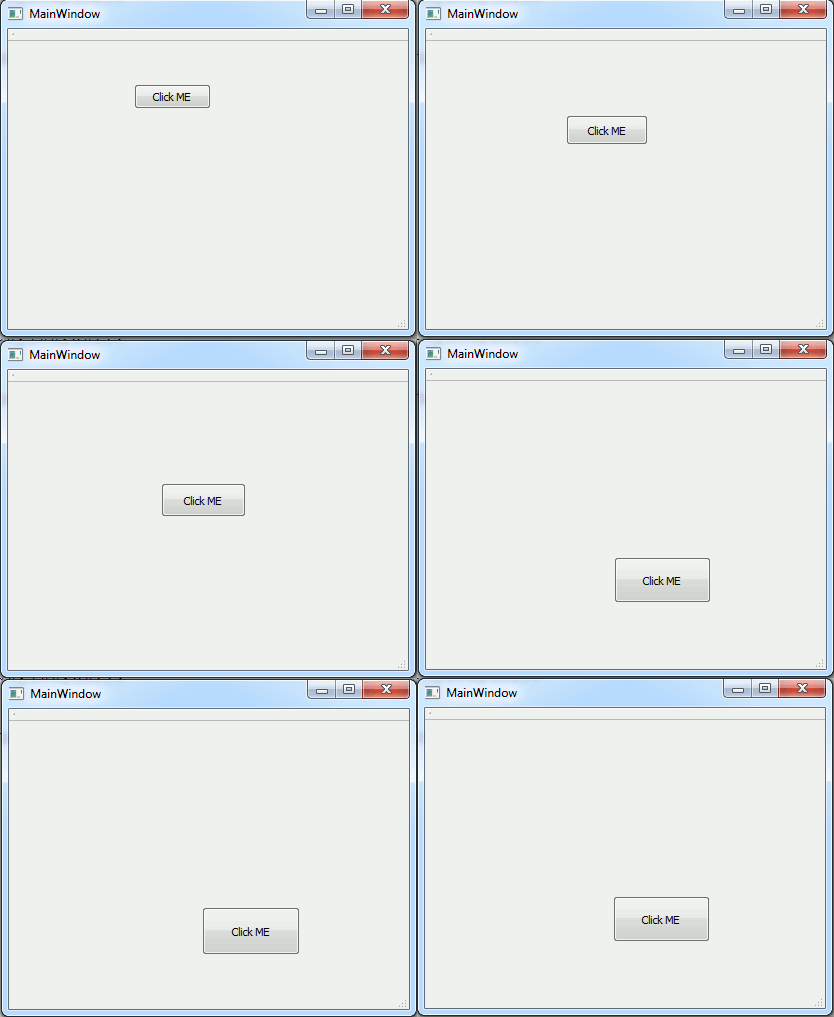
How to Control QPropertyAnimation in Qt5 with QEasingCurve – In this example, we will learn how to make our animation more interesting by utilizing easing
curves. We will still use the previous source code, which uses the QPropertyAnimation to animate a push button.
So now open your mainwwindow.cpp and before starting animation add these codes
|
1 2 3 4 5 6 7 |
QEasingCurve curve; curve.setType(QEasingCurve::OutBounce); curve.setAmplitude(1.00); curve.setOvershoot(1.70); curve.setPeriod(0.30); animation->setEasingCurve(curve); animation->setLoopCount(3); |
Let me describe this code, first of all we have defined an easing curve and add that to property animation before calling the start() function.
also we have a setLoopCount() function to set how many loops you want it to repeat for.
and at the end we have called the setAmplitude(), setOvershoot(), and setPeriod() before applying the easing
curve to the animation.
After adding your complete code will look like this in mainwindow.cpp
|
1 2 3 4 5 6 7 8 9 10 11 12 13 14 15 16 17 18 19 20 21 22 23 24 25 26 27 28 29 30 31 |
#include "mainwindow.h" #include "ui_mainwindow.h" MainWindow::MainWindow(QWidget *parent) : QMainWindow(parent), ui(new Ui::MainWindow) { ui->setupUi(this); animation = new QPropertyAnimation(ui->pushButton, "geometry"); animation->setDuration(10000); animation->setStartValue(ui->pushButton->geometry()); animation->setEndValue(QRect(200,200,100,50)); QEasingCurve curve; curve.setType(QEasingCurve::OutBounce); curve.setAmplitude(1.00); curve.setOvershoot(1.70); curve.setPeriod(0.30); animation->setEasingCurve(curve); animation->setLoopCount(3); animation->start(); } MainWindow::~MainWindow() { delete ui; } |
How it Works
In order to let an easing curve control the animation, all you need to do is to define an
easing curve and add it to the property animation before calling the start() function. You
can also try several other types of easing curve and see which one suits you best. Here is
an example:
|
1 |
animation->setEasingCurve(curve); |
If you want the animation to loop after it has finished playing, you can call the
setLoopCount() function to set how many loops you want it to repeat for, or set the value
to -1 for an infinite loop.
|
1 |
animation->setLoopCount(-1); |
There are several parameters that you can set to refine the easing curve before applying it
to the property animation. These parameters include amplitude, overshoot, and period:
- Amplitude: The higher the amplitude, the higher the bounce or elastic spring effect that
will be applied to the animation. - Overshoot: Some curve functions will produce an overshoot (exceeding its final value)
curve due to damping effect. By adjusting the overshoot value, we are able to increase
or decrease this effect. - Period: Setting a small period value will give a high frequency to the curve. A large
period will give it a small frequency.
These parameters, however, are not applicable to all curve types. Please refer to the Qt
documentation to see which parameter is applicable to which curve type.
Also check Qt5 C++ GUI Development Articles in the below links
1: Qt5 C++ Introduction And Installation
2: Qt5 C++ First Console Application
3: Qt5 C++ First GUI Application
4: Qt5 C++ Signal And Slots Introduction
5: Qt5 C++ Layout Management
6: Qt5 C++ Creating Qt Style Sheets
7: Qt5 C++ Creating QPushButton
8: How To Create QCheckBox in Qt5
9: Qt5 GUI How To Create QRadioButton
10: Qt5 GUI Development How To Create ComboBox
11: Qt5 C++ GUI Development Creating QListWidget
12: Qt5 C++ GUI Development Creating QMessageBox
13 : Qt5 C++ GUI Creating QMenu And QToolbar
14: Qt5 C++ GUI Development Creating QPrintDialog
15: Qt5 C++ GUI Development Creating QFontDialog
16: Qt5 C++ GUI Development Creating QColorDialog
17: How to Create QFileDialog in Qt5 C++
18: How to Create QProgressbar in Qt5 C++
19: How to Create QPropertyAnimation in Qt5
OK at the end run the project and this will be the result

Also you can watch the complete video for this article
Subscribe and Get Free Video Courses & Articles in your Email