In this Qt5 GUI article i want to show you How To Create QColorDialog.
Check Qt5 C++ GUI Development Articles in the below links
1: Qt5 C++ Introduction And Installation
2: Qt5 C++ First Console Application
3: Qt5 C++ First GUI Application
4: Qt5 C++ Signal And Slots Introduction
5: Qt5 C++ Layout Management
6: Qt5 C++ Creating Qt Style Sheets
7: Qt5 C++ Creating QPushButton
8: How To Create QCheckBox in Qt5
9: Qt5 GUI How To Create QRadioButton
10: Qt5 GUI Development How To Create ComboBox
11: Qt5 C++ GUI Development Creating QListWidget
12: Qt5 C++ GUI Development Creating QMessageBox
13 : Qt5 C++ GUI Creating QMenu And QToolbar
14: Qt5 C++ GUI Development Creating QPrintDialog
15: Qt5 C++ GUI Development Creating QColorDialog
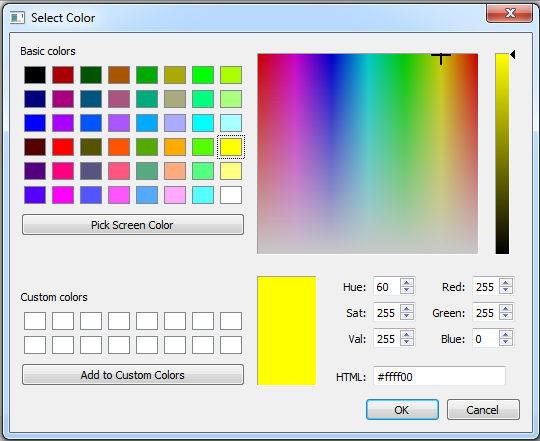
The color dialog’s function is to allow users to choose colors. For example, you might use this in a drawing program to allow the user to set the brush color.
The static functions provide modal color dialogs.
The static getColor() function shows the dialog, and allows the user to specify a color. This function can also be used to let users choose a
color with a level of transparency: pass the ShowAlphaChannel option as an additional argument.
The user can store customCount() different custom colors. The custom colors are shared by all color dialogs, and remembered during the
execution of the program. Use setCustomColor() to set the custom colors, and use customColor() to get them.

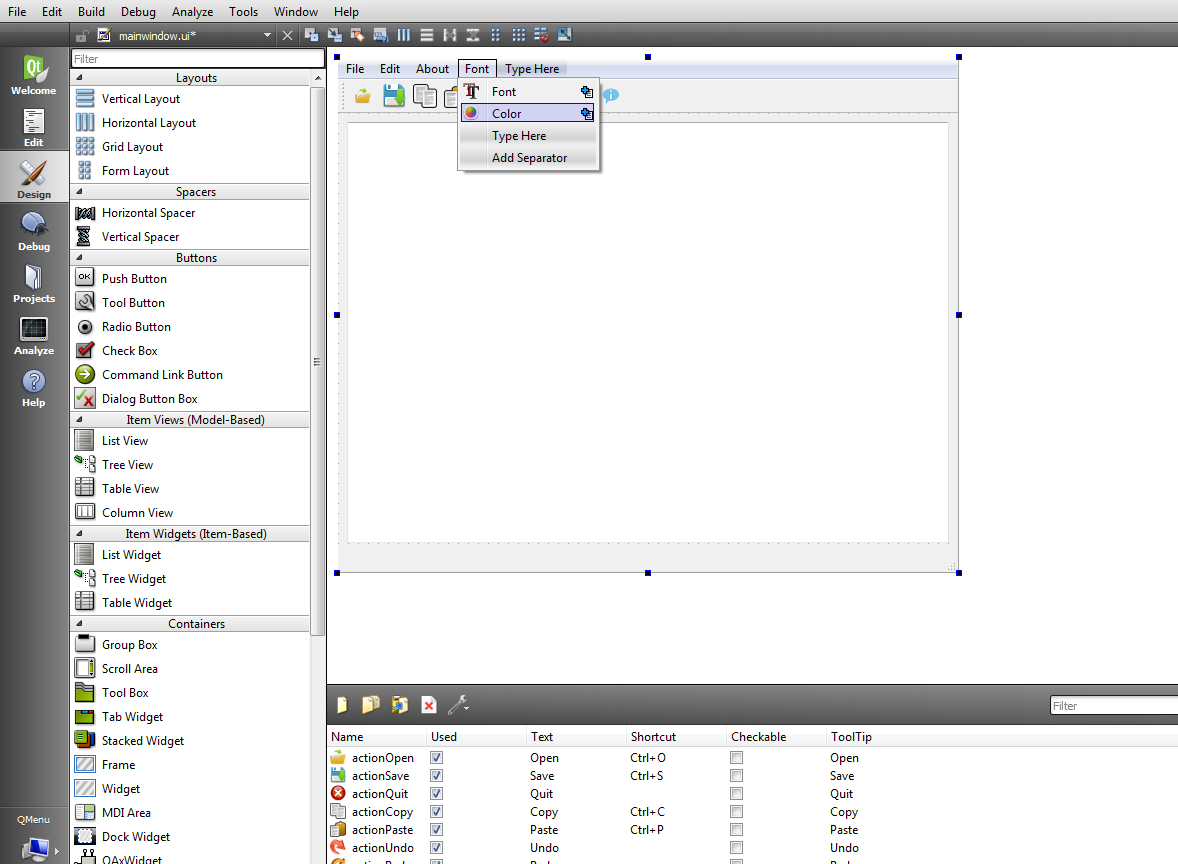
OK now we are going to use our previous article example How To Create QMenu, also iam going to add a new menu item that is called Color like this .

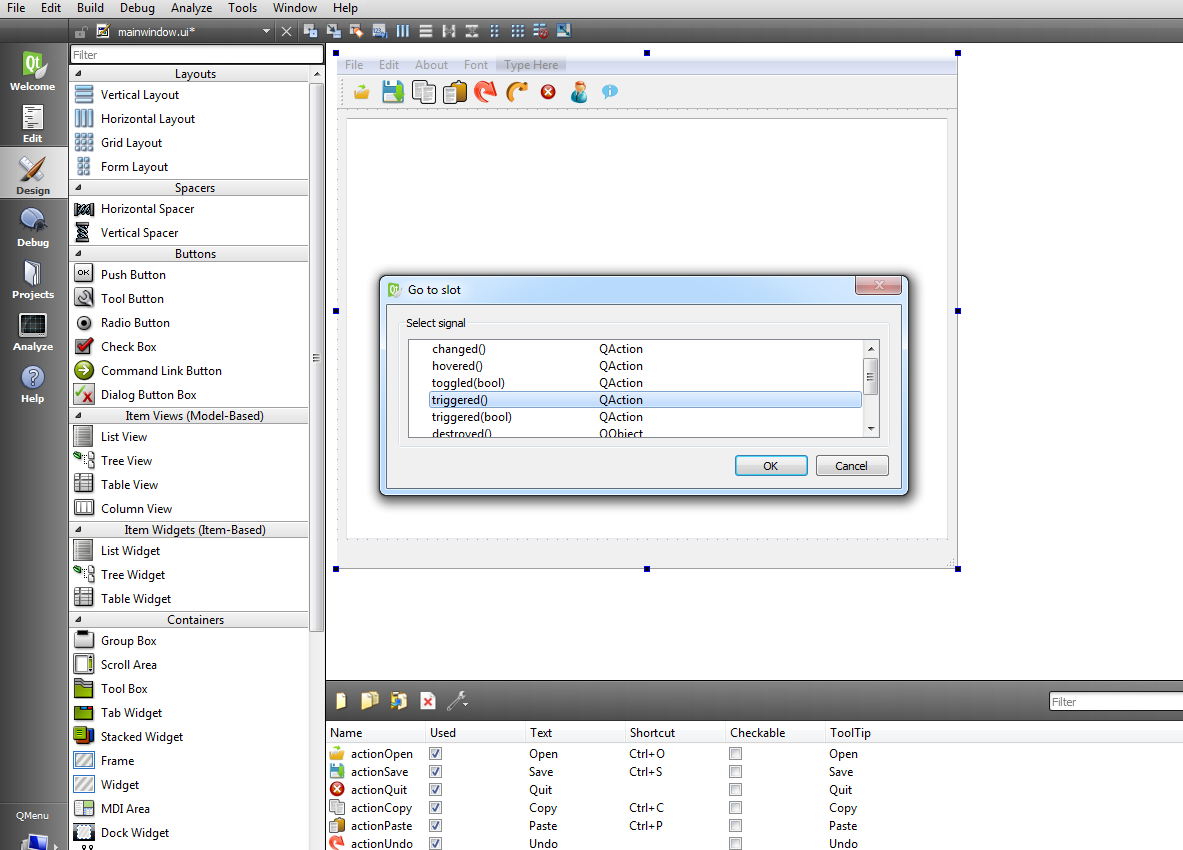
So now right click on your menu item after that choose Go To Slot and from the dialog choose triggered() like this.

Now open your mainwindow.h file and in the header add QColorDialog class like this
|
1 |
#include<QColorDialog> |
After adding your mainwindow.h file will look like this
|
1 2 3 4 5 6 7 8 9 10 11 12 13 14 15 16 17 18 19 20 21 22 23 24 25 26 27 28 29 30 31 32 |
#ifndef MAINWINDOW_H #define MAINWINDOW_H #include <QMainWindow> #include<QFontDialog> #include<QColorDialog> namespace Ui { class MainWindow; } class MainWindow : public QMainWindow { Q_OBJECT public: explicit MainWindow(QWidget *parent = 0); ~MainWindow(); private slots: void on_actionPrint_triggered(); void on_actionFont_triggered(); void on_actionColor_triggered(); private: Ui::MainWindow *ui; }; #endif // MAINWINDOW_H |
Now open your mainwindow.cpp and these codes in the slot
|
1 2 3 4 5 6 7 8 9 10 |
bool ok; QColor color = QColorDialog::getColor(Qt::yellow, this); if(ok) { ui->textEdit->setTextColor(color); } |
After adding your mainwindow.cpp will look like this
|
1 2 3 4 5 6 7 8 9 10 11 12 13 14 15 16 17 18 19 20 21 22 23 24 25 26 27 28 29 30 31 32 33 34 35 36 37 38 39 40 41 42 43 44 45 46 47 48 49 50 51 52 53 54 55 56 57 58 59 60 61 62 63 64 65 66 67 68 69 70 71 72 73 74 75 76 |
#include "mainwindow.h" #include "ui_mainwindow.h" #include<QPrinter> #include<QPrintDialog> MainWindow::MainWindow(QWidget *parent) : QMainWindow(parent), ui(new Ui::MainWindow) { ui->setupUi(this); } MainWindow::~MainWindow() { delete ui; } void MainWindow::on_actionPrint_triggered() { QPrinter printer; QPrintDialog dialog(&printer, this); dialog.setWindowTitle("Print Document"); if(ui->textEdit->textCursor().hasSelection()) dialog.addEnabledOption(QAbstractPrintDialog::PrintSelection); if(dialog.exec() != QDialog::Accepted) return; } void MainWindow::on_actionFont_triggered() { bool ok; QFont font = QFontDialog::getFont(&ok, QFont("Helvetical[Cronyx]", 12), this); if(ok) { ui->textEdit->setFont(font); } } void MainWindow::on_actionColor_triggered() { bool ok; QColor color = QColorDialog::getColor(Qt::yellow, this); if(ok) { ui->textEdit->setTextColor(color); } } |
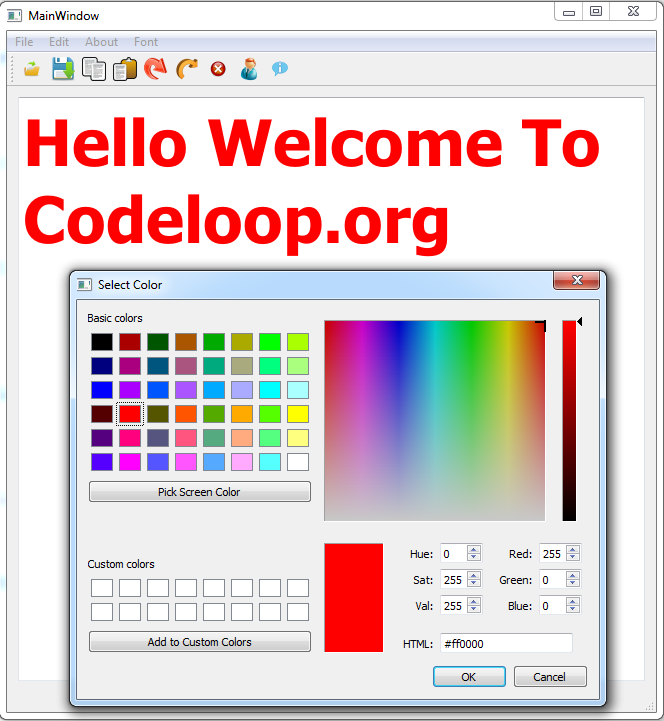
At the end run the project and this will be the result

Also you can watch the complete video for this article
Subscribe and Get Free Video Courses & Articles in your Email