Qt5 GUI Development How To Create QListWidget – In this Qt5 GUI Develpment article iam going to talk about How To Create QListWidget. before starting our main topic , check Qt5 C++
GUI Development Articles with videos training and source codes.
1: Qt5 C++ Introduction And Installation
2: Qt5 C++ First Console Application
3: Qt5 C++ First GUI Application
4: Qt5 C++ Signal And Slots Introduction
6: Qt5 C++ Creating Qt Style Sheets
7: Qt5 C++ Creating QPushButton
8: How To Create QCheckBox in Qt5
9: Qt5 GUI How To Create QRadioButton
10: Qt5 GUI Development How To Create ComboBox
QListWidget is a convenience class that provides a list view similar to the one supplied by QListView, but with a classic item-based interface for adding
and removing items. QListWidget uses an internal model to manage each QListWidgetItem in the list.
So first of all you need to create a New Project in Qt5 C++ framework.
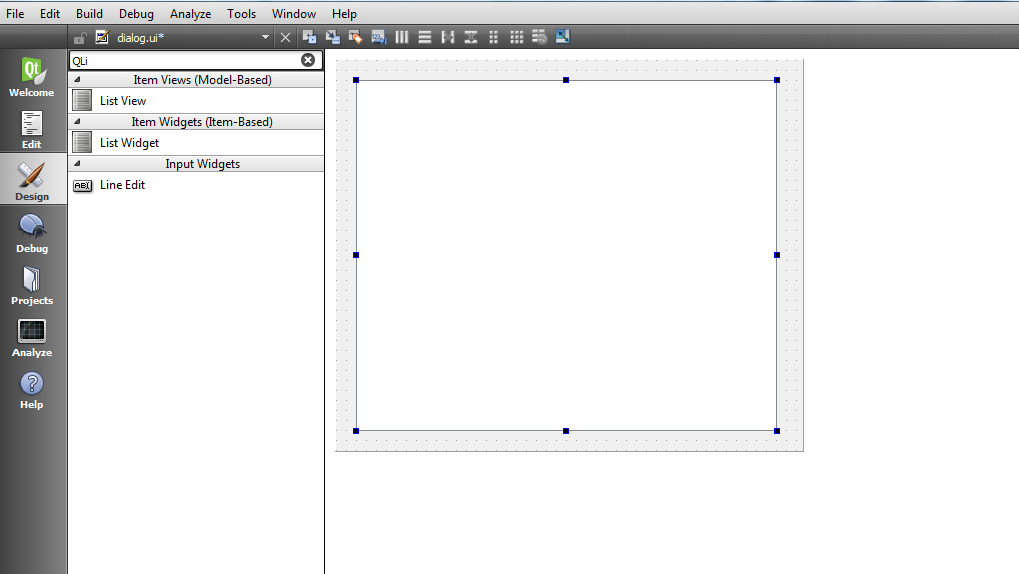
After that open your dialog.ui and we are going to give a simple design. basically you need to add a QListWidget in your dialog.ui.

OK now there are two ways that you can add items to QListWidget, the first way is by design. you need to right click on QListWidget
and after that choose Edit Items, in the dialog you can add your items like this.

And after that simple run the project and you will see the result
OK now the second way is by coding in C++ language, open your dialog.cpp and in the constructor add these line of codes .
|
1 2 3 4 5 6 7 |
QStringList languages = {"C++", "Python", "C#", "Java", "Ruby", "PHP"}; foreach(QString item, languages) { ui->listWidget->addItem(item); } |
and dialog.cpp will look like this
|
1 2 3 4 5 6 7 8 9 10 11 12 13 14 15 16 17 18 19 20 21 22 |
#include "dialog.h" #include "ui_dialog.h" Dialog::Dialog(QWidget *parent) : QDialog(parent), ui(new Ui::Dialog) { ui->setupUi(this); QStringList languages = {"C++", "Python", "C#", "Java", "Ruby", "PHP"}; foreach(QString item, languages) { ui->listWidget->addItem(item); } } Dialog::~Dialog() { delete ui; } |
Run the project and this will be the result

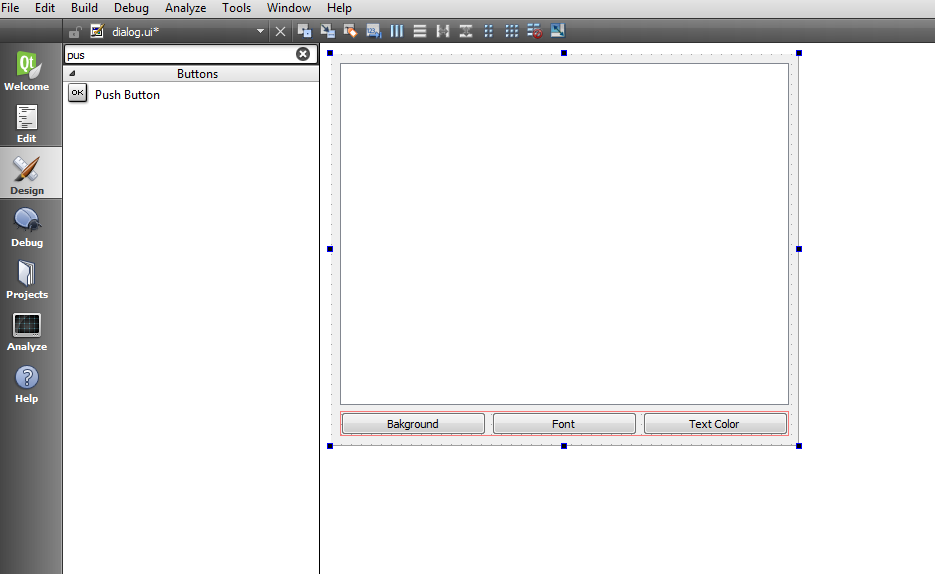
Now we are going to implement signal and slot to our project, first you need to add three QPushButton in your project.

After that right click on them and choose Go To Slot and in the dialog choose clicked() signal , for all three QPushButton do the same process.
and after that your dialog.cpp file will look like this
|
1 2 3 4 5 6 7 8 9 10 11 12 13 14 15 16 17 18 19 20 21 22 23 24 25 26 27 28 29 30 31 32 33 34 35 36 37 |
#include "dialog.h" #include "ui_dialog.h" Dialog::Dialog(QWidget *parent) : QDialog(parent), ui(new Ui::Dialog) { ui->setupUi(this); QStringList languages = {"C++", "Python", "C#", "Java", "Ruby", "PHP"}; foreach(QString item, languages) { ui->listWidget->addItem(item); } } Dialog::~Dialog() { delete ui; } void Dialog::on_pushButton_clicked() { } void Dialog::on_pushButton_2_clicked() { } void Dialog::on_pushButton_3_clicked() { } |
So after adding the slot code your dialog.cpp look like this
|
1 2 3 4 5 6 7 8 9 10 11 12 13 14 15 16 17 18 19 20 21 22 23 24 25 26 27 28 29 30 31 32 33 34 35 36 37 38 39 40 41 42 43 44 45 |
#include "dialog.h" #include "ui_dialog.h" Dialog::Dialog(QWidget *parent) : QDialog(parent), ui(new Ui::Dialog) { ui->setupUi(this); QStringList languages = {"C++", "Python", "C#", "Java", "Ruby", "PHP"}; foreach(QString item, languages) { ui->listWidget->addItem(item); } } Dialog::~Dialog() { delete ui; } void Dialog::on_pushButton_clicked() { QListWidgetItem *item = ui->listWidget->currentItem(); item->setTextColor(Qt::red); } void Dialog::on_pushButton_2_clicked() { QFont font("Times", 15, QFont::Bold); QListWidgetItem *item = ui->listWidget->currentItem(); item->setFont(font); } void Dialog::on_pushButton_3_clicked() { QListWidgetItem *item = ui->listWidget->currentItem(); item->setBackgroundColor(Qt::green); } |
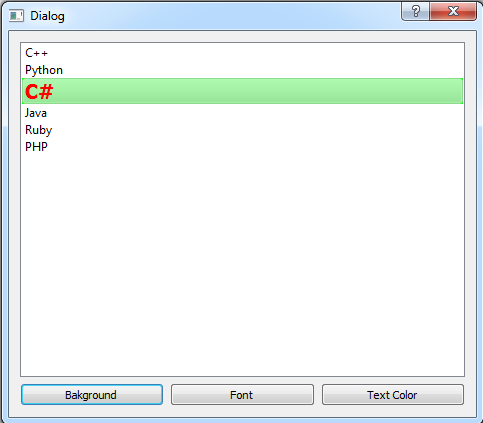
So run the project and this will be the result

Also watch the complete video for this article
Subscribe and Get Free Video Courses & Articles in your Email