In this PyQt5 QtQuick article iam going to show you Loading Image In Window.
So before this we had some articles about QtQuick And QML, so you can check them from
the below link.
QML Previous Articles
1: How To Create Window In PyQt5 QtQuick
2: PyQt5 QtQuick Writing Text In Window
Also you can check Python GUI Development Tutorials in the below links.
1: PyQt5 GUI Development Tutorials
2: TKinter GUI Development Tutorials
3: Pyside2 GUI Development Tutorials
4: Kivy GUI Development Tutorials
5: wxPython GUI Development Tutorials
QML Applications ?
QML is a declarative language that allows user interfaces to be described in terms of their visual components and how they interact and relate with one another.
It is a highly readable language that was designed to enable components to be interconnected in a dynamic manner,
and it allows components to be easily reused and customized within a user interface. Using the QtQuick module,
designers and developers can easily build fluid animated user interfaces in QML, and have the option of connecting these user interfaces to any back-end C++ libraries.
What Is QML ?
QML is a user interface specification and programming language. It allows developers and designers alike to create highly performance, fluidly animated and visually appealing applications. QML offers a highly readable, declarative, JSON-like syntax with support for imperative JavaScript expressions combined with dynamic property bindings.
So First of all this is the main.qml file.
|
1 2 3 4 5 6 7 8 9 10 11 12 13 14 15 16 17 18 19 20 21 22 23 24 25 26 27 28 29 30 31 32 33 34 35 36 37 38 39 40 41 42 43 44 45 46 47 48 49 50 51 52 53 54 55 56 57 58 59 60 61 62 63 64 65 66 67 68 69 70 |
import QtQuick.Window 2.2 import QtQuick 2.3 Window { visible:true width:600 height:400 color:"yellow" title: "PyQt5 QML Window" Rectangle { id:blueRect color:"blue" width:450 height:64 //x:80 //y:80 anchors.centerIn:parent border.color:"black" border.width:6 radius:15 } Text { id:text1 text:"Hello QtQuick Application" font.pixelSize:30 font.bold:true color:"white" anchors.centerIn:parent } Image { id:image source:"qml.png" sourceSize.width:parent.width/2 sourceSize.height:parent.height/2 } } |
This is our main window and rectangle.
|
1 2 3 4 5 6 7 8 9 10 11 12 13 14 15 16 17 18 19 20 21 22 23 24 25 26 27 |
Window { visible:true width:600 height:400 color:"yellow" title: "PyQt5 QML Window" Rectangle { id:blueRect color:"blue" width:450 height:64 //x:80 //y:80 anchors.centerIn:parent border.color:"black" border.width:6 radius:15 } |
also in here we are going to create a text in the window , for more information about text
creation in QML you can check my previous article.
|
1 2 3 4 5 6 7 8 9 10 |
Text { id:text1 text:"Hello QtQuick Application" font.pixelSize:30 font.bold:true color:"white" anchors.centerIn:parent } |
And now this is the code that we are going to load our image. make sure that you have
an image in your working directory.
|
1 2 3 4 5 6 7 8 9 10 |
Image { id:image source:"qml.png" sourceSize.width:parent.width/2 sourceSize.height:parent.height/2 } |
And this is our main.py for loading the QML file.
|
1 2 3 4 5 6 7 8 9 10 11 12 13 14 15 16 17 18 19 20 21 22 23 24 |
from PyQt5.QtQml import QQmlApplicationEngine from PyQt5.QtWidgets import QApplication from PyQt5.QtGui import QIcon import sys def runQML(): app =QApplication(sys.argv) engine = QQmlApplicationEngine() app.setWindowIcon(QIcon("icon.png")) engine.load('main.qml') if not engine.rootObjects(): return -1 return app.exec_() if __name__ == "__main__": sys.exit(runQML()) |
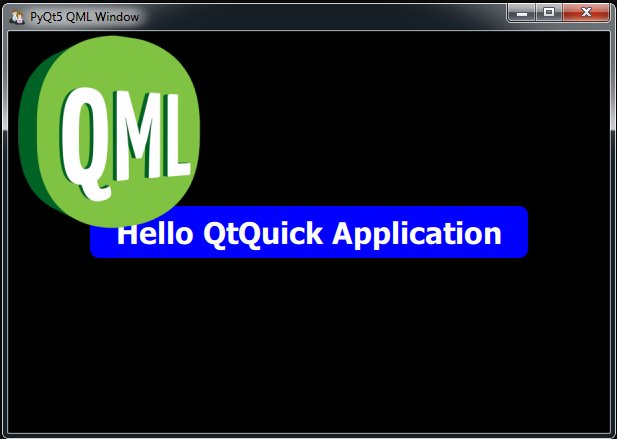
So run the complete code and this will be the result
Also you can watch the complete video for PyQt5 QtQuick Loading Image In Window
Subscribe and Get Free Video Courses & Articles in your Email