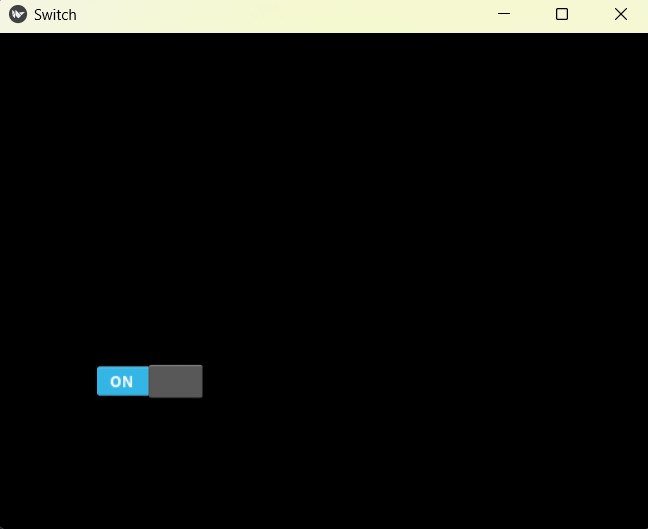
In this Python Kivy Tutorial we want to learn Creating Switch in Kivy, Kivy is powerful Python framework for building cross platform user interfaces, including mobile and desktop applications. in this article we want to talk that how to create a switch in Kivy, switch is a widget and you can use that for toggling between two states.
This is the complete code for this article
|
1 2 3 4 5 6 7 8 9 10 11 12 13 14 15 16 17 18 19 20 21 22 23 24 25 26 27 28 29 30 31 32 33 |
from kivy.app import App from kivy.uix.widget import Widget from kivy.uix.switch import Switch # Define custom widget class that inherits from Widget class MyWidget(Widget): def __init__(self, **kwargs): # Call constructor of the parent class super(MyWidget, self).__init__(**kwargs) # Create Switch widget and set its position self.switch = Switch(pos=(100, 100)) # Bind the switch's active property self.switch.bind(active=self.on_switch_active) # Add the switch widget to the custom widget self.add_widget(self.switch) # Define a callback method def on_switch_active(self, switch, active): if active: print("Switch is on") else: print("Switch is off") # Define main application class that inherits from App class SwitchApp(App): def build(self): # Return an instance of MyWidget return MyWidget() # Entry point of application if __name__ == '__main__': # Run the application SwitchApp().run() |
In the above code first we have imported kivy.
|
1 2 3 |
from kivy.app import App from kivy.uix.widget import Widget from kivy.uix.switch import Switch |
Next step is to create a switch using Switch class. the constructor takes no arguments, in here we are creating a switch and after that adding it to a widget using add_widget method.
|
1 2 3 4 5 |
class MyWidget(Widget): def __init__(self, **kwargs): super(MyWidget, self).__init__(**kwargs) self.switch = Switch(pos=(100, 100)) self.add_widget(self.switch) |
The final step is to add functionality to the switch. we can do this by binding a function to the switch on_active event, in here we are creating a function called on_switch_active that takes two arguments, switch that triggered the event and its new active state. inside the function we check whether the switch is on or off and print a message.
|
1 2 3 4 5 6 7 8 9 10 11 12 |
class MyWidget(Widget): def __init__(self, **kwargs): super(MyWidget, self).__init__(**kwargs) self.switch = Switch(pos=(100, 100)) self.switch.bind(active=self.on_switch_active) self.add_widget(self.switch) def on_switch_active(self, switch, active): if active: print("Switch is on") else: print("Switch is off") |
Run the complete code and this will be the result

FAQs:
How do you make a button in Kivy Python?
For creating a button in Kivy Python, you need to import the Button class from the kivy.uix.button module and add it to your layout or widget.
What is Kivy used for?
Kivy is an open-source Python library, and it is used for developing multi-touch applications. It is particularly good for creating cross-platform applications that run on Windows, macOS, Linux, Android, iOS, and Raspberry Pi. Kivy is used for building different types of applications like:
- Mobile apps
- Games
- Interactive simulations
- Data visualization tools
- GUI applications
What are the system requirements for Kivy?
The system requirements for running Kivy is this:
- Operating System: Kivy supports Windows, macOS, Linux, Android, iOS and Raspberry Pi.
- Python Version: Python 3.6 or higher is recommended.
- Dependencies: Kivy has several dependencies, which are typically installed automatically when using a package manager like pip. These dependencies include:
- cython
- sdl2
- glew
- gstreamer
- pil
- numpy
Subscribe and Get Free Video Courses & Articles in your Email