In this PyQt6 Tutorial we want to learn How to Add Animation and Effects in PyQt6, so PyQt6 is Python binding for the popular Qt framework, PyQt6 provides a powerful tool for building GUIs in Python programming language, also using PyQt6 you can add animations and effects to your PyQt6 applications.
First of all we need to install PyQt6 and for that we can use pip:
|
1 |
pip install PyQt6 |
First of all we need tp import required modules and classes from PyQt6.
|
1 2 3 |
from PyQt6.QtCore import QPropertyAnimation, QPoint, QEasingCurve from PyQt6.QtWidgets import QLabel, QMainWindow, QApplication, QGraphicsColorizeEffect from PyQt6.QtGui import QColor |
In here we have created our QMainWindow and a QLabel widget:
|
1 2 3 4 5 |
app = QApplication([]) window = QMainWindow() label = QLabel("Codeloop.org", window) label.move(10, 10) window.show() |
After that we have created an animation and define its properties:
|
1 2 3 |
animation = QPropertyAnimation(label, b"pos") animation.setDuration(2000) animation.setEndValue(QPoint(200, 200)) |
And using this code we can start our animation
|
1 |
animation.start() |
Also you can add Easing Curve, Easing curves control the pace of an animation, and it allows you to create more natural and visually appealing effects. PyQt6 provides different predefined easing curves, such as linear, ease-in, ease-out, ease-in-out and custom curves. You can set the easing curve for an animation using the setEasingCurve() method.
For example we can apply an ease-in-out effect to our previous example:
|
1 |
animation.setEasingCurve(QEasingCurve.Type.InOutQuad) |
PyQt6 Applying Effects
In addition to animations, Also you can apply effects to PyQt6 UI elements. QGraphicsEffect class serves as the base class for different effects, including blur, drop shadow, opacity and colorization.
For adding effects first we need to add our imports
|
1 |
from PyQt6.QtWidgets import QGraphicsColorizeEffect |
Create an effect and set its properties:
|
1 2 |
effect = QGraphicsColorizeEffect() effect.setColor(QColor("red")) |
Apply the effect to the widget, for example in here we want to add to the label.
|
1 |
label.setGraphicsEffect(effect) |
This is the complete code for this article
|
1 2 3 4 5 6 7 8 9 10 11 12 13 14 15 16 17 18 19 20 21 22 23 24 25 26 27 28 29 30 31 32 33 34 35 36 37 38 39 40 41 42 43 44 45 46 |
from PyQt6.QtCore import QPropertyAnimation, QPoint, QEasingCurve from PyQt6.QtWidgets import QLabel, QMainWindow, QApplication, QGraphicsColorizeEffect from PyQt6.QtGui import QColor, QIcon def main(): app = QApplication([]) window = QMainWindow() window.setWindowTitle("Codeloop.org - Animation") window.setWindowIcon(QIcon("codeloop.png")) # Set window dimensions window.setGeometry(100, 100, 400, 300) label = QLabel("Codeloop.org", window) # Set initial position and size label.setGeometry(10, 10, 100, 30) # Create property animation animation = QPropertyAnimation(label, b"pos") # Animation duration in milliseconds animation.setDuration(2000) # Target position animation.setEndValue(QPoint(200, 200)) # Apply easing curve animation.setEasingCurve(QEasingCurve.Type.InOutQuad) # Create a colorize effect effect = QGraphicsColorizeEffect() effect.setColor(QColor("red")) # Set the color # Apply the effect to the label label.setGraphicsEffect(effect) # Start the animation animation.start() window.show() app.exec() if __name__ == '__main__': main() |
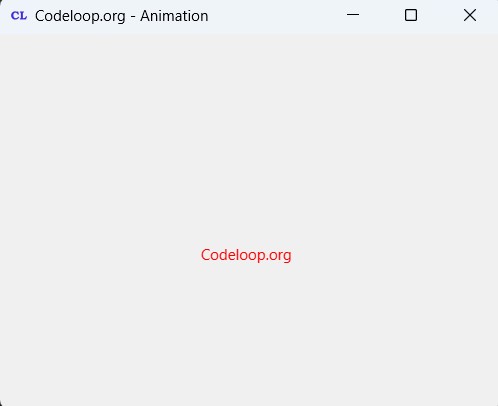
In the above code, we have created a QMainWindow and add a QLabel widget to it. after that we have defined a QPropertyAnimation that moves the label from its initial position (10, 10) to the target position (200, 200) over a duration of 2 seconds. also we apply an ease-in-out easing curve to the animation for a smooth effect.
Also we create a QGraphicsColorizeEffect and set it to a red color. We apply this effect to the label, which adds a colorization effect. and lastly we start the animation and execute the application event loop.
Run the code and this will be the result
Subscribe and Get Free Video Courses & Articles in your Email