In this Kivy Tutorial we want to learn that How to Create a BoxLayout in Python Kivy, so Kivy is powerful and open source Python GUI Framework, and it is used for building multi touch applications, Kivy provides different layout managers, using these layout managers we can structure our application. one important layout is BoxLayout, which arrange widgets in a linear fashion.
First of all we need to install Kivy and we can use pip for the installation, open your command prompt or terminal and write this command.
|
1 |
pip install kivy |
After installation, this is the complete code for this article
|
1 2 3 4 5 6 7 8 9 10 11 12 13 14 15 16 17 18 19 20 21 22 23 24 25 26 27 28 |
from kivy.app import App # Import the BoxLayout class from kivy.uix.boxlayout import BoxLayout # Import the Label class from kivy.uix.label import Label class MyBoxLayout(BoxLayout): def __init__(self): super().__init__() # Set orientation of the BoxLayout to vertical self.orientation = 'vertical' # Add three Label widgets to the BoxLayout self.add_widget(Label(text='Codeloop.org')) self.add_widget(Label(text='Codeloop.org')) self.add_widget(Label(text='Codeloop.org')) class MyApp(App): # Override the build method def build(self): # Return an instance of MyBoxLayout return MyBoxLayout() if __name__ == '__main__': # Run the Kivy application MyApp().run() |
In the above code first we have imported the required modules.
|
1 2 3 |
from kivy.app import App from kivy.uix.boxlayout import BoxLayout from kivy.uix.label import Label |
After that we define a class that inherits from BoxLayout class. this class will represent our box layout. in our this class we want to define the structure and properties of our layout.
|
1 2 3 4 5 6 7 8 9 |
class MyBoxLayout(BoxLayout): def __init__(self): super().__init__() self.orientation = 'vertical' self.add_widget(Label(text='Codeloop.org')) self.add_widget(Label(text='Codeloop.org')) self.add_widget(Label(text='Codeloop.org')) |
In the above code, we have created an instance of the MyBoxLayout class and set the orientation to vertical. after that we add three Label widgets to the box layout using the add_widget method.
Now, we need to create an App class to run our application. this class will be responsible for creating and running the user interface, in the build method, we instantiate our MyBoxLayout class and return it.
|
1 2 3 |
class MyApp(App): def build(self): return MyBoxLayout() |
For starting our application, we need to create an instance of the MyApp class and call its run method.
|
1 2 |
if __name__ == '__main__': MyApp().run() |
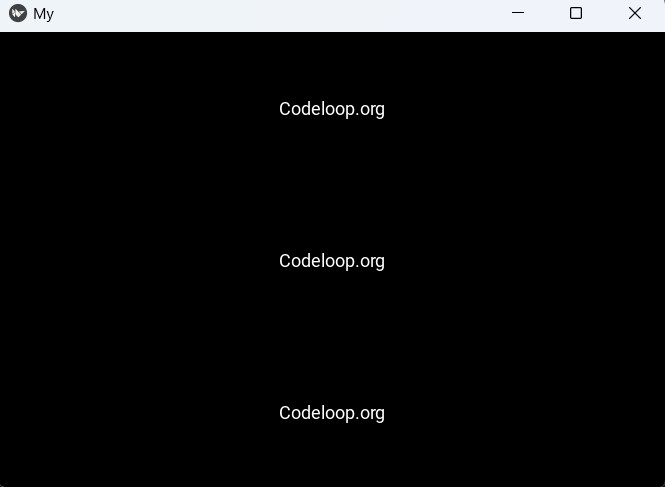
Run the complete code and this will be the result
Subscribe and Get Free Video Courses & Articles in your Email