In this lesson we want to learn about Introduction to Python Tkinter GUI Programming, so Graphical User Interfaces (GUIs) are the backbone of many modern applications, from desktop software to mobile apps, and in Python Programming Language we have different options for building GUI applications, In this article we are going to explore the basics of Python Tkinter GUI programming.
What is Tkinter?
Tkinter is standard Python library for creating graphical user interfaces. TKinter provides a lot of widgets and tools for building desktop applications that can run on Windows, macOS, and Linux operating systems. Tkinter is easy to learn and it is a great choice for beginners and experienced programmers, you don’t need to install Python TKinter, because it is already installed.
Now let’s talk about TKinter Widgets
Tkinter Widgets
Tkinter provides different widgets that you can use that for building GUI applications. some of the most commonly used widgets include:
- Button: clickable button that can perform an action.
- Label: static text label.
- Entry: text box that can be used to input text.
- Frame: container for other widgets.
- Canvas: drawing area for creating graphics.
Introduction to Python Tkinter GUI Programming
Now let’s create basic GUI Application with Python TKinter
|
1 2 3 4 5 6 7 8 9 10 11 12 13 14 15 16 |
import tkinter as tk class Application(tk.Frame): def __init__(self, master=None): super().__init__(master) self.master = master self.pack() self.create_widgets() def create_widgets(self): self.hello_label = tk.Label(self, text="Codeloop Programming Articles") self.hello_label.pack(side="top") root = tk.Tk() app = Application(master=root) app.mainloop() |
In the above code we have imported the Tkinter library using alias tk. after that we have created new class called Application that extends from tk.Frame class. __init__ method initializes the frame and creates the widgets using the create_widgets method.
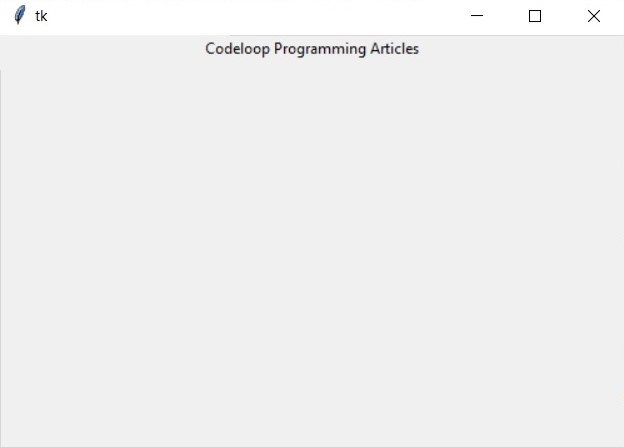
in create_widgets method, we creates Label widget that displays text Codeloop Programming Articles and pack it using the pack method.
and finally we have created new instance of the Application class and call the mainloop method, which starts the Tkinter event loop and keeps the application running.
If you run this code this will be the result

we can customize the appearance of Tkinter widgets using different options. for example we can change font and color of a label like this:
|
1 |
self.hello_label = tk.Label(self, text="Hello, World!", font=("Helvetica", 24), fg="red") |
This sets font to Helvetica with a size of 24 points and the text color to red.
We can also change layout of widgets using grid and place methods. for example we can create a button that is centered on the screen like this:
|
1 2 |
self.quit_button = tk.Button(self, text="Quit", command=self.master.destroy) self.quit_button.place(relx=0.5, rely=0.5, anchor="center") |
This is the complete code for customizing widgets in Python TKinter
|
1 2 3 4 5 6 7 8 9 10 11 12 13 14 15 16 17 18 19 20 21 22 23 24 25 26 27 28 29 30 |
import tkinter as tk class MyWindow(tk.Frame): def __init__(self, master=None): super().__init__(master) self.master = master self.pack() self.create_widgets() def create_widgets(self): # create label with custom font and color self.hello_label = tk.Label(self, text="Codeloop.org Articles", font=("Helvetica", 24), fg="red") self.hello_label.pack(side="top") # create button with custom background color self.quit_button = tk.Button(self, text="Quit", command=self.master.destroy, bg="#0077cc", fg="white") self.quit_button.pack(side="bottom", pady=20) # create text box with custom border self.text_box = tk.Text(self, bd=5, relief="groove") self.text_box.pack(side="left", padx=20) # create canvas with custom background color and shape self.canvas = tk.Canvas(self, width=200, height=200, bg="white") self.canvas.pack(side="right", padx=20) self.canvas.create_rectangle(50, 50, 150, 150, fill="green") root = tk.Tk() window = MyWindow(master=root) window.mainloop() |
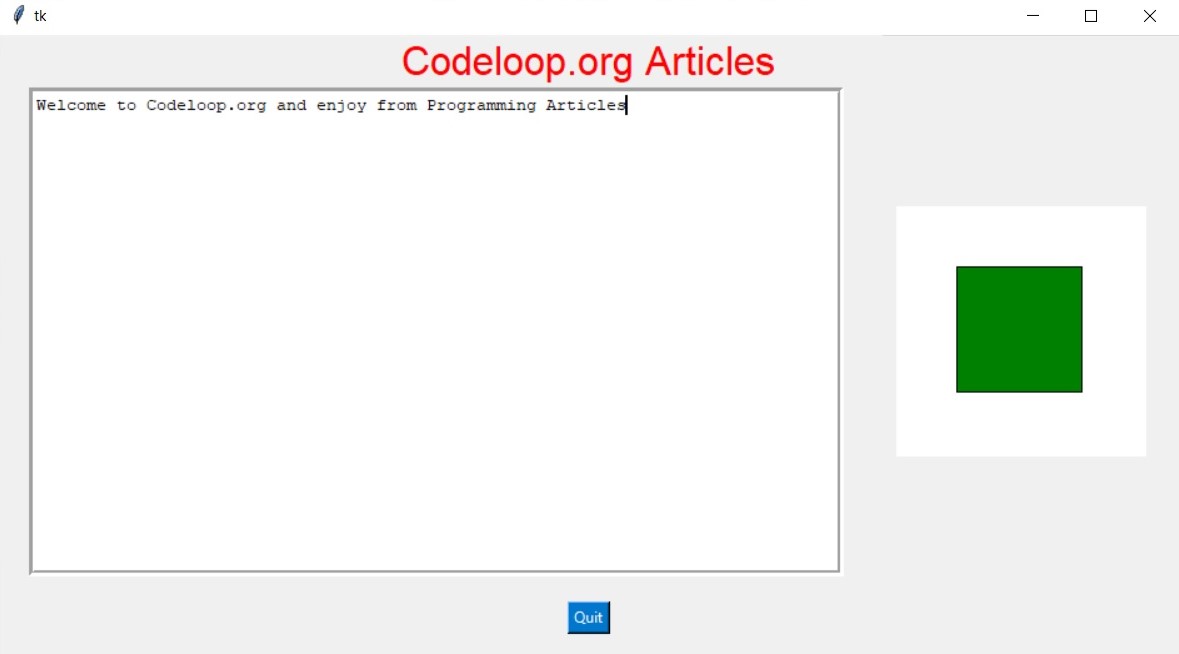
In the above example we have created four widgets label, button, text box and canvas, and also we have customized each one using different options:
label has custom font (Helvetica with a size of 24 points) and text color (red).
button has custom background color (#0077cc, a shade of blue) and text color (white).
text box has custom border (5 pixels wide with a groove style).
canvas has custom background color (white) and green rectangle drawn on it using the create_rectangle method.
By customizing these widgets, we can create more visually appealing and user friendly interface for our application.
Run your code and this is the output

Learn More on TKinter
- How To Create TextBox In Python TKinter
- How To Create Labels In Python TKinter
- How to Create GUI Window in Python TKinter
- How To Browse A File In Python TKinter
Subscribe and Get Free Video Courses & Articles in your Email