In this article we want to learn How to Install PyQt6, Python is one of the popular programming language, and also it has become a go-to language for developers across different sections. when it comes to building graphical user interfaces (GUIs) applications in Python then there are different choices that you can use, one of them is PyQt6, in this article we want to learn about the installation of PyQt6.
What is PyQt6?
PyQt6 is a set of Python bindings for Qt application framework, PyQt6 is developed by Riverbank Computing. and Qt is a popular cross-platform framework for building GUI applications in C++. PyQt6 allows Python developers to create powerful GUI applications.
Key features of PyQt6 :
-
- Cross-platform compatibility: When you create a GUI application with PyQt6, then it can run on different platforms, including Windows, macOS, Linux, and mobile platforms like Android and iOS.
- Rich set of widgets: PyQt6 provides access to Qt’s extensive collection of widgets and controls, using PyQt6 you can easily create highly customizable and attractive user interfaces.
- Signal and slot mechanism: PyQt6 uses Qt’s signal and slot mechanism for event handling, and using that we can connect different parts of the application in a flexible and efficient manner.
- Integration with Qt Designer: PyQt6 smoothly integrates with Qt Designer, Qt Designer is visual design tool for creating Qt-based GUI applications. You can use Qt Designer to design user interfaces visually and then generate Python code using PyQt6.
- Extensive documentation and community support: PyQt6 has complete documentation and large community of users and developers. There are a lot of resources available to help developers get started with PyQt6 and solve any issues they encounter during development.
There is a good course in Udemy on PyQt6 in the name of (PyQt6 GUI Development with Qt Designer ) that you can join.
How to Install PyQt6?
Before we dive into the installation process, ensure that you have Python installed on your system. PyQt6 is compatible with Python versions 3.6 and above. Once you have Python set up, follow these simple steps to install PyQt6:
|
1 |
pip install PyQt6 |
To verify that PyQt6 has been successfully installed, you can run the following Python code in your terminal:
|
1 2 3 |
import PyQt6.QtCore print("PyQt6 installed successfully!") |
Now let’s create a basic window in PyQt6
|
1 2 3 4 5 6 7 8 9 10 11 12 13 14 15 16 17 18 19 20 21 22 23 24 25 |
import sys from PyQt6.QtWidgets import QApplication, QWidget # Create subclass of QWidget to represent our window class MyWindow(QWidget): def __init__(self): super().__init__() # Set window title self.setWindowTitle('PyQt6 Window - Codeloop.org') # Set window size (width, height) self.setGeometry(100, 100, 400, 200) # Create an instance of QApplication app = QApplication(sys.argv) # Create an instance of MyWindow window = MyWindow() # Show the window window.show() # Start the event loop sys.exit(app.exec()) |
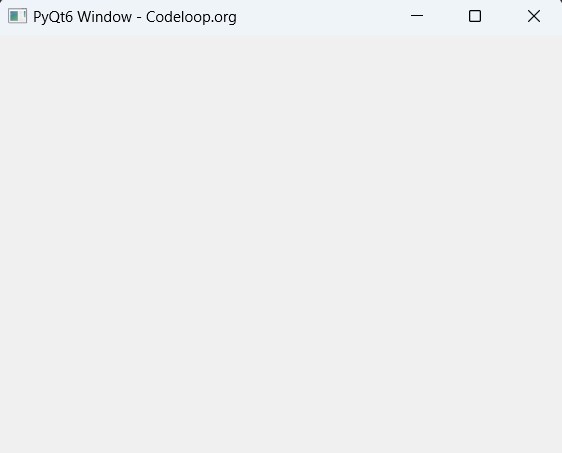
This code creates a simple window with the title “PyQt6 Window – Codeloop.org” and a size of 400×200 pixels. When you run this script, a window will appear on your screen displaying the title specified. This is just a basic example to get you started with PyQt6 window creation. You can customize the window further by adding widgets, layouts, and event handlers as needed for your application.
Run the code and this will be the result
FAQ:
Q: What is PyQt6, and why would I want to install it?
A: PyQt6 is a set of Python bindings for the Qt application framework, Using PyQt6 Python developers can create GUI applications with Qt. You would want to install PyQt6 if you’re interested in building cross-platform desktop applications in Python.
Q: Is PyQt6 free to use?
A: Yes, PyQt6 is available under the GNU General Public License (GPL) and a commercial license. You can use it for free under the GPL license for open-source projects, and commercial licenses are available for closed-source or proprietary projects.
Q: What are the prerequisites for installing PyQt6?
A: Before installing PyQt6, you should have Python installed. PyQt6 is compatible with Python versions 3.6 and above. You’ll also need a package manager like pip, which comes bundled with Python.
Q: How do I install PyQt6 using pip?
A: You can install PyQt6 using pip, the Python package manager, with the following command (pip install PyQt6).
Q: Can I install PyQt6 using conda instead of pip?
A: Yes, if you’re using Anaconda distribution, you can install PyQt6 using conda with the following command (conda install pyqt).
Learn More:
Subscribe and Get Free Video Courses & Articles in your Email
