In this wxPython Tutorial we want to talk about Creating ToolBar in wxPython, Toolbars provides a quick and easy way for users to access the most commonly used features of an application. in wxPython creating toolbar is easy and simple, you can just use wx.ToolBar class for creating toolbar.
First of all we need to import the required modules from wxPython.
|
1 2 |
import wx import sys |
After that we creates the main frame of our application. this will serve as the container for the toolbar and other GUI components, in the above code we creates the main frame of our application by inheriting from wx.Frame class. we set the title of the frame and its size. after that we define InitUI() method, after that we creates the toolbar using CreateToolBar() method of the frame. we add a tool to the toolbar using AddTool() method, which takes a tool identifier, label and an optional bitmap. we also call the Realize() method of the toolbar to display the toolbar. we bind OnExit() method to the tool using the Bind() method, and we show the frame using the Show() method.
|
1 2 3 4 5 6 7 8 9 10 11 12 13 14 15 16 17 |
class MyApp(wx.Frame): def __init__(self, parent, title): super(MyApp, self).__init__(parent, title=title, size=(400, 300)) self.InitUI() def InitUI(self): toolbar = self.CreateToolBar() exitTool = toolbar.AddTool(wx.ID_ANY, 'Exit', wx.Bitmap('exit.png')) toolbar.Realize() self.Bind(wx.EVT_TOOL, self.OnExit, exitTool) self.Show(True) def OnExit(self, e): self.Close() |
OnExit() method is responsible for handling the tool event. when the user clicks on the tool, we want to exit the application. we do this by calling the Close() method of the frame.
|
1 2 |
def OnExit(self, e): self.Close() |
To run the application, we need to create an instance of our main frame class and start the wxPython event loop.
|
1 2 3 4 |
if __name__ == '__main__': app = wx.App() MyApp(None, 'Codeloop.org - Toolbar Example') app.MainLoop() |
This is the complete code for this article
|
1 2 3 4 5 6 7 8 9 10 11 12 13 14 15 16 17 18 19 20 21 22 23 24 25 26 27 28 29 30 31 32 33 34 35 36 37 |
import wx class MyApp(wx.Frame): def __init__(self, parent, title): # Call the __init__ method super(MyApp, self).__init__(parent, title=title, size=(400, 300)) # Set the icon for the frame self.SetIcon(wx.Icon("codeloop.png")) # Call the method to initialize the user interface self.InitUI() def InitUI(self): # Create toolbar for the frame toolbar = self.CreateToolBar() # Add an exit tool to the toolbar exitTool = toolbar.AddTool(wx.ID_ANY, 'Exit', wx.Bitmap('exit.png')) # Realize the toolbar toolbar.Realize() # Bind exit tool event to the OnExit method self.Bind(wx.EVT_TOOL, self.OnExit, exitTool) # Show the frame self.Show(True) def OnExit(self, e): # Close the frame self.Close() if __name__ == '__main__': # Create a new application object app = wx.App() # Create an instance of MyApp with MyApp(None, 'Codeloop.org - Toolbar Example') # Enter the application's main loop app.MainLoop() |
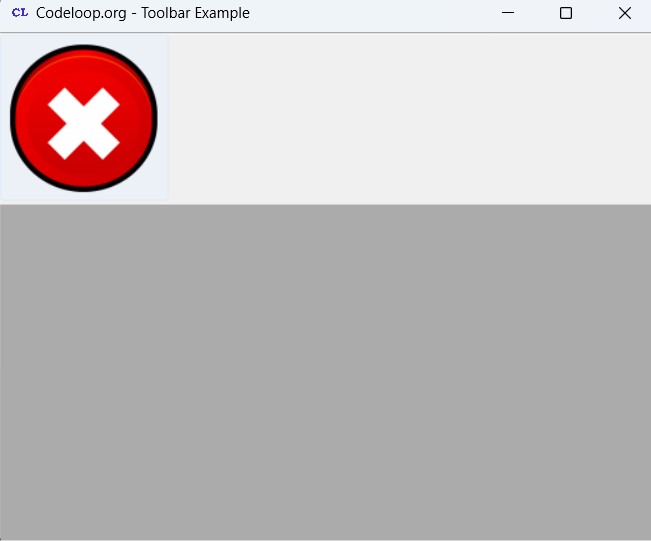
Run the code and this will be the result
Subscribe and Get Free Video Courses & Articles in your Email