In this article we want to talk about Working with Excel in Python with Openpyxl, so first of all let’s talk about some concepts about Python.
Introduction to Python
Python is one of the best programming language for data manipulation, and one of the most common data formats is Excel files. You can modify Excel files manually, but using Python you can manipulate them in easy way. So there are different libraries that you can use for Excel data manipulation in Python, one popular library for working with Excel files in Python is openpyxl. In this blog post, we want to talk about openpyxl.
What is Openpyxl ?
Openpyxl is Python library for reading and writing Excel files (XLSX) and it is one of the best alternative to XlsxWriter. It was created to support Excel 2010 and later, and it is one of the popular choice for working with excel files in Python.
Features of Openpyxl
Openpyxl provides several features for working with Excel files, these are some features:
- Reading and writing cell data: With openpyxl you can read and write cell data from Excel files. this includes text, numbers, dates and formulas.
- Formatting cells: You can also format cells in Excel files with openpyxl. This includes setting the font, color, and size of cells, as well as alignment, border styles and many more.
- Working with charts: openpyxl supports working with charts , and you can add charts to Excel files and customize their appearance.
- Data validation: You can add data validation to cells in Excel files with openpyxl. and this will ensure that users input valid data in specific cells.
- Working with worksheets: openpyxl provides several features for working with worksheets in Excel files, including adding new sheets, renaming sheets and deleting sheets.
How to Install Openpyxl ?
For Openpyxl installation you can use pip, open your command prompt or terminal, and write this command.
|
1 |
pip install openpyxl |
Working with Excel in Python with Openpyxl
This is a simple example of Openpyxl
|
1 2 3 4 5 6 7 8 9 10 11 12 13 14 15 16 17 18 19 20 21 22 23 24 25 26 27 28 29 30 31 32 |
import openpyxl try: # Open the Excel file workbook = openpyxl.load_workbook('example.xlsx') # Select a worksheet worksheet = workbook['Sheet1'] # Read cell data cell_value = worksheet['A1'].value # Check if cell value is not None and print it if cell_value is not None: print("Value in cell A1:", cell_value) else: print("Cell A1 is empty.") # Write cell data worksheet['B1'] = 'Codeloop.org' # Save the changes workbook.save('example.xlsx') print("Data written successfully!") except FileNotFoundError: print("The file 'example.xlsx' does not exist.") except KeyError: print("The sheet 'Sheet1' does not exist in the Excel file.") except Exception as e: print("An error occurred:", e) |
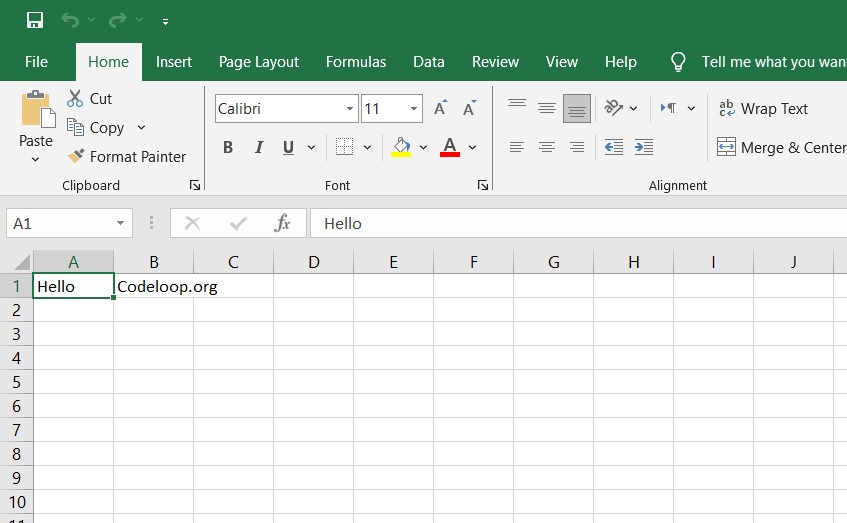
In this example we first open an Excel file called example.xlsx and selected worksheet named Sheet1. After that we read the value of cell A1 and printed it to the console. Next we wrote the string “codeloop.org” to cell B1 and saved the changes to the file.
This will be the result
These are some more examples of what you can do with openpyxl in Python:
- Adding a new worksheet with openpyxl:
|
1 2 3 4 5 6 7 8 9 10 11 12 13 |
import openpyxl # Open the Excel file workbook = openpyxl.load_workbook('example.xlsx') # Create a new worksheet worksheet = workbook.create_sheet('New Sheet') # Write data to the new worksheet worksheet['A1'] = 'New data' # Save the changes workbook.save('example.xlsx') |
In this example, we added a new worksheet called “New Sheet” to the Excel file and wrote data to cell A1.
- Formatting cells with openpyxl:
|
1 2 3 4 5 6 7 8 9 10 11 12 13 14 15 16 17 18 19 20 21 |
import openpyxl from openpyxl.styles import Font, Alignment, Border, Side # Open Excel file workbook = openpyxl.load_workbook('example.xlsx') # Select worksheet worksheet = workbook['Sheet1'] # Set cell font, alignment and border font = Font(name='Arial', size=12, bold=True, color='FF0000') alignment = Alignment(horizontal='center', vertical='center') border = Border(left=Side(style='thin'), right=Side(style='thin'), top=Side(style='thin'), bottom=Side(style='thin')) cell = worksheet['A1'] cell.font = font cell.alignment = alignment cell.border = border # Save changes workbook.save('example.xlsx') |
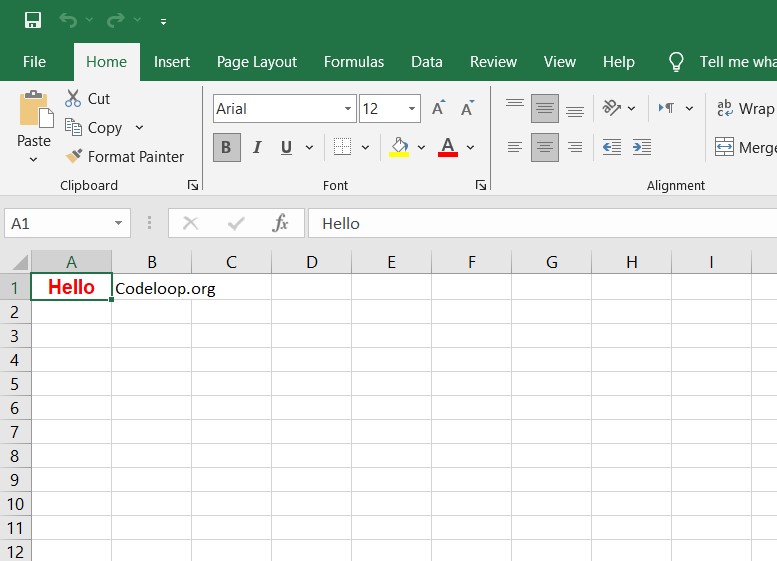
In this example, we formatted cell A1 with a red, bold, Arial font, centered alignment, and a thin border on all sides.
This will be the result
- Working with charts openpyxl:
|
1 2 3 4 5 6 7 8 9 10 11 12 13 14 15 16 17 18 19 20 21 22 23 24 25 26 27 28 |
import openpyxl from openpyxl.chart import BarChart, Reference # Open Excel file workbook = openpyxl.load_workbook('example.xlsx') # Select worksheet worksheet = workbook['Sheet1'] # Create chart chart = BarChart() chart.title = 'Sales by Region' chart.x_axis.title = 'Region' chart.y_axis.title = 'Sales' # Define chart data data = Reference(worksheet, min_col=2, min_row=1, max_col=3, max_row=6) categories = Reference(worksheet, min_col=1, min_row=2, max_row=6) # Add chart data and categories chart.add_data(data, titles_from_data=True) chart.set_categories(categories) # Add chart to the worksheet worksheet.add_chart(chart, 'E1') # Save changes workbook.save('example.xlsx') |
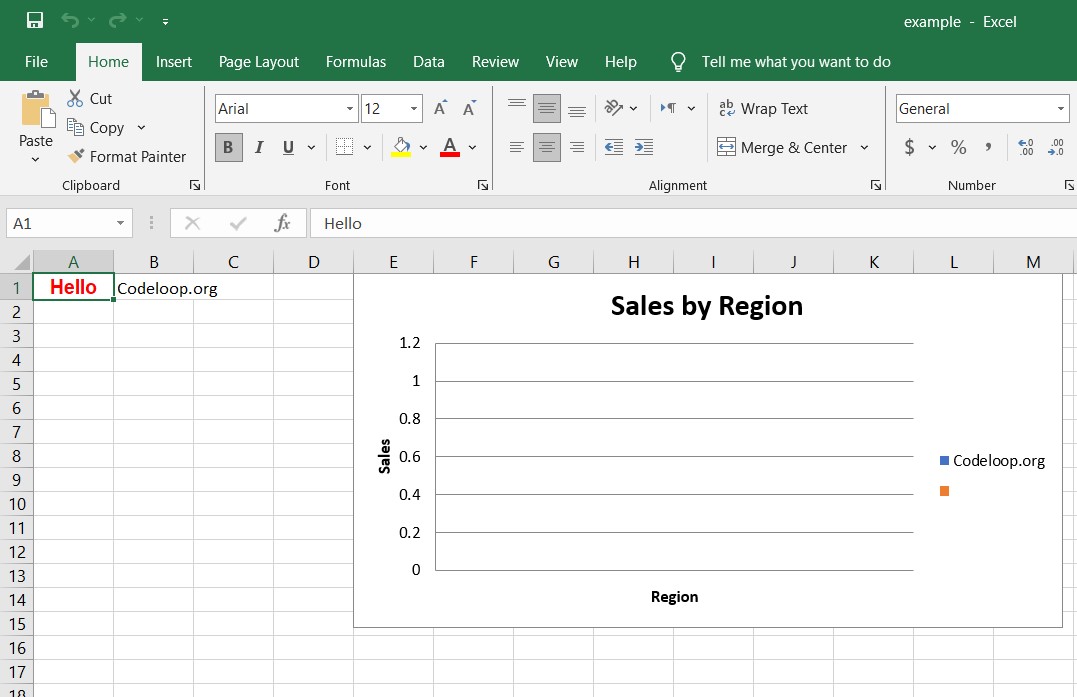
In this example, we created a bar chart showing sales by region using data from columns B and C and categories from column A.
These examples demonstrate the versatility and power of openpyxl for working with Excel files in Python.
This will be the result
FAQs:
How to create an Excel file in Python using openpyxl?
For creating an Excel file in Python using openpyxl, follow these steps:
|
1 2 3 4 5 6 7 8 9 10 |
import openpyxl # Create a new workbook workbook = openpyxl.Workbook() # Add a worksheet (optional) worksheet = workbook.active # Save the workbook workbook.save('example.xlsx') |
How to read Excel file with openpyxl in Python?
For reading an Excel file in Python using openpyxl, follow these steps:
|
1 2 3 4 5 6 7 8 9 10 11 |
import openpyxl # Open the Excel file workbook = openpyxl.load_workbook('example.xlsx') # Select a worksheet worksheet = workbook['Sheet'] # Read cell data cell_value = worksheet['A1'].value print(cell_value) |
How to work with Excel in Python?
For working with Excel in Python, you can use openpyxl library. It allows you to create, read, and modify Excel files. You can perform operations like writing data to cells, formatting cells, adding formulas, and many more.
How to apply Excel formula using openpyxl?
For applying Excel formulas using openpyxl, you can use openpyxl.formula module. This is an an example of how to apply a formula to a cell:
|
1 2 3 4 5 6 7 8 9 10 11 12 13 |
import openpyxl # Open the Excel file workbook = openpyxl.load_workbook('example.xlsx') # Select a worksheet worksheet = workbook['Sheet'] # Apply formula to a cell worksheet['B1'] = '=SUM(A1:A10)' # Save the changes workbook.save('example.xlsx') |
Subscribe and Get Free Video Courses & Articles in your Email