What is Flask – Python Web Framework , This is our first tutorial in Flask, in this tutorial we are going to have a simple introduction to Flask Python Web Framework, also we are going to create our first example in Flask.
If you are interested in Web Development with Django Framework, than you can read the complete
articles with video training in this link, Django Web Development Tutorials.
What is Flask ?
Flask is a web framework. This means flask provides you with tools, libraries and technologies that allow you to build a web application. This web application can be some web pages, a blog, a wiki or go as big as a web-based calendar application or a commercial website.
Flask is part of the categories of the micro-framework. Micro-framework are normally framework with little to no dependencies to external libraries. This has pros and cons. Pros would be that the framework is light, there are little dependency to update and watch for security bugs, cons is that some time you will have to do more work by yourself or increase yourself the list of dependencies by adding plugins.
Installation
You can use simply pip for installing flask.
|
1 |
pip install Flask |
OK after installation, you need to open an IDE, iam using Pycharm IDE, but you can use what IDE you want.
create a new Python file at name of app.py, now this is our complete code.
|
1 2 3 4 5 6 7 8 9 10 11 12 13 14 15 16 17 18 19 20 21 22 |
from flask import Flask #create the object of Flask app = Flask(__name__) #creating our routes @app.route('/') def index(): return "<h1>Codeloop.org, Flask Web Development Tutorial Number 1 </h1>" #run flask app if __name__ == "__main__": app.run(debug=True) |
So first of all all Flask Applications must create an application object, The web server passes all
requests it receives from clients to this object for handling, using a protocol called Web
Server Gateway Interface (WSGI). you can create the application object like this.
|
1 |
app = Flask(__name__) |
The only required argument to the Flask class constructor is the name of the main
module or package of the application. For most applications, Python’s __name__ variable
is the correct value.
Also for every Flask Application we need to define routes, you can use app.route decorator for creating routes in Flask, which registers the decorated function as a rout. as we have already done in our above complete code like this.
|
1 2 3 |
@app.route('/') def index(): return "<h1>Codeloop.org, Flask Web Development Tutorial Number 1 </h1>" |
OK in this code we have registered the function index() as the handler for the applications’s root URL. functions like index() are called view functions. a response returned by a view function can be a simple string with HTML content, but it can also take more complex forms.
At the end we need to run our web application using development server.
|
1 2 |
if __name__ == "__main__": app.run(debug=True) |
The __name__ == ‘__main__‘ is used here to ensure that the development web server is started only when the script is executed directly, and also you can see that we have made debugging mode True, but when you are going to publish your web application , you need to make false, for development purposes you can keep it true.
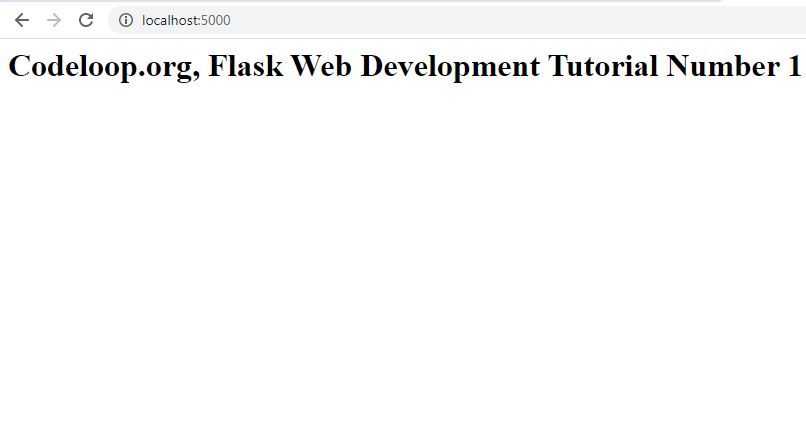
So now if you run your application, and go to http://localhost:5000/. this will be the result.

Also you can pass dynamic URLS to your flask routes like this.
|
1 2 3 4 5 6 7 8 9 10 11 12 13 14 15 16 17 18 19 20 21 22 23 24 25 26 27 28 |
from flask import Flask #create the object of Flask app = Flask(__name__) #creating our routes @app.route('/') def index(): return "<h1>Codeloop.org, Flask Web Development Tutorial Number 1 </h1>" #dynamic routes @app.route('/login/<username>') def login(username): return "<h2>Codeloop.org , Welcome Mr {} </h2>".format(username) #run flask app if __name__ == "__main__": app.run(debug=True) |
OK in the above code you can see that we have added a new route at name of login.
also we have passed parameter in the route and view function.
|
1 2 3 |
@app.route('/login/<username>') def login(username): return "<h2>Codeloop.org , Welcome Mr {} </h2>".format(username) |
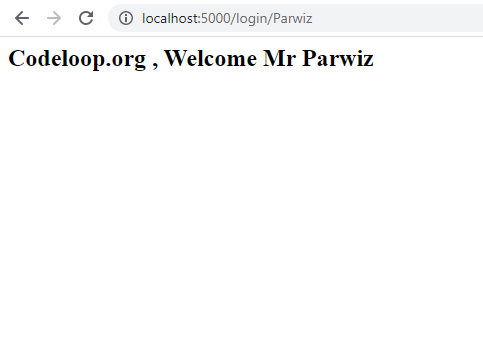
now if you run the development server this will be the result.
http://localhost:5000/login/Parwiz

Subscribe and Get Free Video Courses & Articles in your Email