In this Flutter lesson we want to learn about Row and Columns in Flutter, so we can say that these layout widgets allow you to arrange child widgets horizontally (in a row) or vertically (in a column), and it is one of powerful tools for building complex UI designs. In this article we want to talk about the capabilities of Row and Column widgets.
Row Widget in Flutter
Row widget in Flutter is used to arrange child widgets horizontally, from left to right. It automatically sizes its children based on their content and aligns them along the main axis (horizontal axis by default). Developers can customize the layout and behavior of a Row using different properties such as mainAxisAlignment, crossAxisAlignment and mainAxisSize.
Column Widget in Flutter
The Column widget, on the other hand, arranges child widgets vertically, from top to bottom. Similar to the Row widget, it sizes its children based on their content and aligns them along the main axis (vertical axis by default). Developers can control the layout and alignment of a Column using properties like mainAxisAlignment, crossAxisAlignment and mainAxisSize.
Create Dynamic Layouts with Row and Column in Flutter
To use Row and Column widgets in your Flutter app, simply wrap your child widgets inside a Row or Column widget. This is a basic example of how to create a row and column layout:
|
1 2 3 4 5 6 7 8 9 10 11 12 13 14 15 16 17 18 19 20 21 22 23 24 25 26 27 28 29 30 31 32 33 34 35 36 37 38 39 40 41 42 43 44 45 46 |
import 'package:flutter/material.dart'; void main() { runApp(MyApp()); } class MyApp extends StatelessWidget { @override Widget build(BuildContext context) { return MaterialApp( home: Scaffold( appBar: AppBar( title: Text('Row and Column Example'), ), body: Center( child: Column( mainAxisAlignment: MainAxisAlignment.center, children: <Widget>[ Text('Column Layout:', style: TextStyle(fontSize: 18)), SizedBox(height: 10), Column( mainAxisAlignment: MainAxisAlignment.center, children: <Widget>[ Text('Widget 1'), Text('Widget 2'), Text('Widget 3'), ], ), SizedBox(height: 20), Text('Row Layout:', style: TextStyle(fontSize: 18)), SizedBox(height: 10), Row( mainAxisAlignment: MainAxisAlignment.center, children: <Widget>[ Text('Widget 1'), Text('Widget 2'), Text('Widget 3'), ], ), ], ), ), ), ); } } |
In this example:
- We have a MaterialApp with a Scaffold as the root widget.
- The AppBar provides the title for the app.
- The body of the Scaffold contains a Center widget with a Column as its child.
- Inside the Column, we have two sections: one demonstrating the Column layout and another demonstrating the Row layout.
- Each section contains a heading text followed by the Column or Row widget with three Text widgets representing the child widgets.
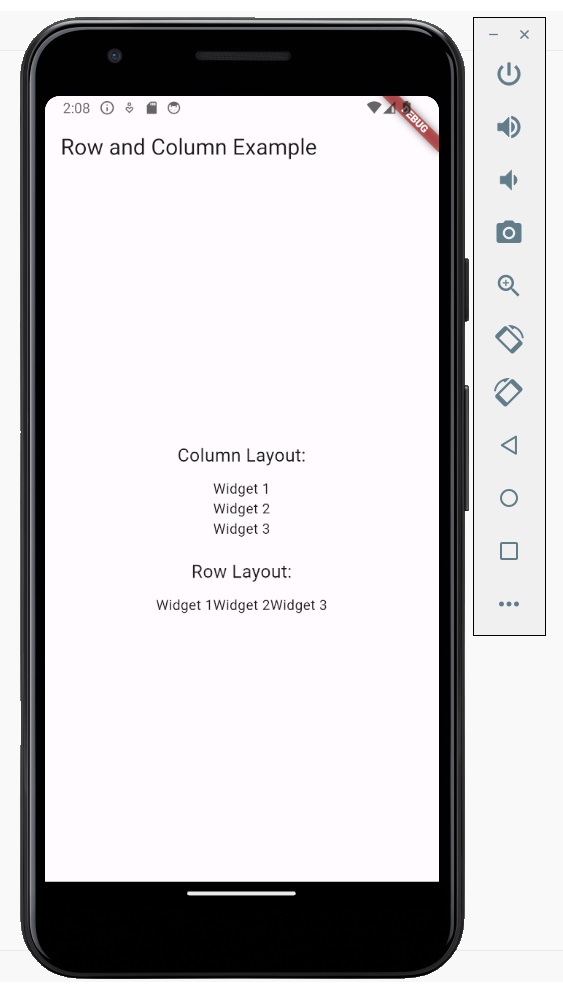
This example will display a centered Column layout followed by a centered Row layout, each containing three Text widgets.
Run your code in emulator and this will be the result

- How to Run Dart Code in VS Code
- How to Create Text Widget in Flutter
- MaterialApp and Scaffold in Flutter
- Stateless Widget in Flutter
Subscribe and Get Free Video Courses & Articles in your Email