In this Python article we are going to learn about Multi Document Interface with Pyside2.
so for this purpose we are using QMdiArea class. The QMdiArea widget
provides an area in which MDI windows are displayed. so QMdiArea functions, essentially,
like a window manager for MDI windows. For instance, it draws the windows it manages on
itself and arranges them in a cascading or tile pattern. QMdiArea is commonly used as the
center widget in a QMainWindow to create MDI applications, but can also be placed in any layout.
What is MDI Application ?
When we are going to develop GUI Applications, some times we need to open more than
one document at a time to process them, for this kind of functionality we are going to use
MDI approach. in Multiple Document Interface (MDI) application the central widget
is instantiated with multiple instances. All these widgets will be interrelated within the main
window and share the common menu bar, toolbar, and other components. MDI applications
will use lesser resources compared with SDI applications. The MDI applications are provided
with an extra menu to manage between windows because shifting between them is not
controlled by the underlying operating system.
Also you can check more Python GUI Development tutorials with different libraries.
1: PyQt5 GUI Development Tutorials
2: TKinter GUI Development Tutorials
3: wxPython GUI Development Tutorials
4: Kivy GUI Development Tutorials
So now this is the complete code for Python Multi Document Interface with Pyside2
|
1 2 3 4 5 6 7 8 9 10 11 12 13 14 15 16 17 18 19 20 21 22 23 24 25 26 27 28 29 30 31 32 33 34 35 36 37 38 39 40 41 42 43 44 45 46 47 48 49 50 51 52 53 54 55 56 57 58 59 60 61 62 63 64 65 66 67 68 69 70 |
from PySide2.QtWidgets import QApplication, QMainWindow, QMdiArea, QMdiSubWindow, QTextEdit, QAction import sys from PySide2.QtGui import QIcon #our main window class class WindowWidget(QMainWindow): count =0 def __init__(self): super().__init__() self.init_ui() def init_ui(self): #title, geoemtry and icon for this window self.setWindowTitle("Pyside2 MDI Window") self.setGeometry(100,100, 900, 500) self.setWindowIcon(QIcon('pyicon.png')) #creating object of MDI self.mdi = QMdiArea() self.setCentralWidget(self.mdi) #our menu bar menu_bar = self.menuBar() #our menu items file = menu_bar.addMenu("File") file.addAction("New") file.addAction("Cascade") file.addAction("Tiled") file.triggered[QAction].connect(self.window_triggered) self.show() def window_triggered(self, p): if p.text() == "New": WindowWidget.count = WindowWidget.count + 1 sub = QMdiSubWindow() sub.setWidget(QTextEdit()) sub.setWindowTitle("Sub Window " + str(WindowWidget.count)) self.mdi.addSubWindow(sub) sub.show() if p.text() == "Cascade": self.mdi.cascadeSubWindows() if p.text() == "Tiled": self.mdi.tileSubWindows() if __name__ == "__main__": app = QApplication(sys.argv) window = WindowWidget() sys.exit(app.exec_()) |
This is for setting our window title
|
1 |
self.setWindowTitle("Pyside2 MDI Window") |
In here we are setting our window geometry like x,y position of the window and also
width and height of the window.
|
1 |
self.setGeometry(100,100, 900, 500) |
Also we want an icon for our window, make sure that you have added an icon in your
working directory.
|
1 |
self.setWindowIcon(QIcon('pyicon.png')) |
In here we have created the object of our QMdiArea also we have set the QMdiArea
as central widget of our main window.
|
1 2 |
self.mdi = QMdiArea() self.setCentralWidget(self.mdi) |
These are our menu items.
|
1 2 3 4 |
file = menu_bar.addMenu("File") file.addAction("New") file.addAction("Cascade") file.addAction("Tiled") |
Also we need to connect the triggered signal of menu items with our method that we will create.
|
1 |
file.triggered[QAction].connect(self.window_triggered) |
This method is for creating of our sub windows , we are going to create our three
different types of sub windows and after that we add the sub window in the mdi area.
|
1 2 3 4 5 6 7 8 9 10 11 12 13 14 15 16 17 |
def window_triggered(self, p): if p.text() == "New": WindowWidget.count = WindowWidget.count + 1 sub = QMdiSubWindow() sub.setWidget(QTextEdit()) sub.setWindowTitle("Sub Window " + str(WindowWidget.count)) self.mdi.addSubWindow(sub) sub.show() if p.text() == "Cascade": self.mdi.cascadeSubWindows() if p.text() == "Tiled": self.mdi.tileSubWindows() |
What is QMdiSubWindow ?
The QMdiSubWindow class provides a subwindow class for QMdiArea. so QMdiSubWindow represents a top-level window in a QMdiArea , and consists of a title bar with window decorations, an internal widget, and (depending on the current style) a window frame and a size grip. QMdiSubWindow has its own layout, which consists of the title bar and a center area for the internal widget.
Finally, we have entered to the main loop of the application. The event handling
starts from this point. also we have created the object of our Window and QApplication.
|
1 2 3 |
app = QApplication(sys.argv) window = WindowWidget() sys.exit(app.exec_()) |
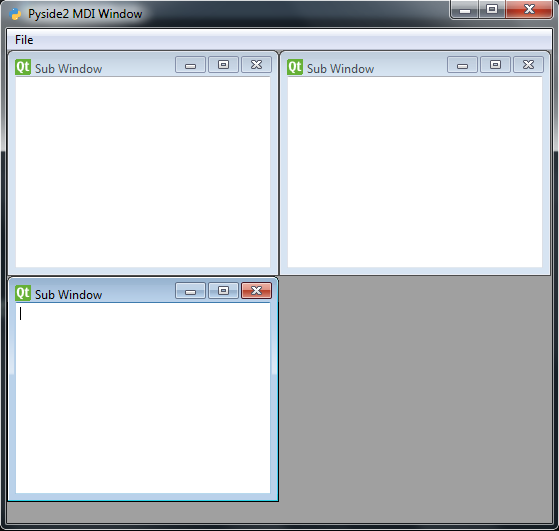
So if you run the complete code this will be the result
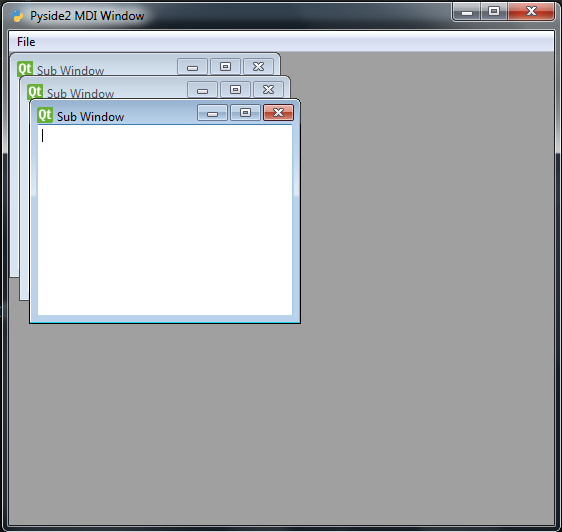
Cascade Style
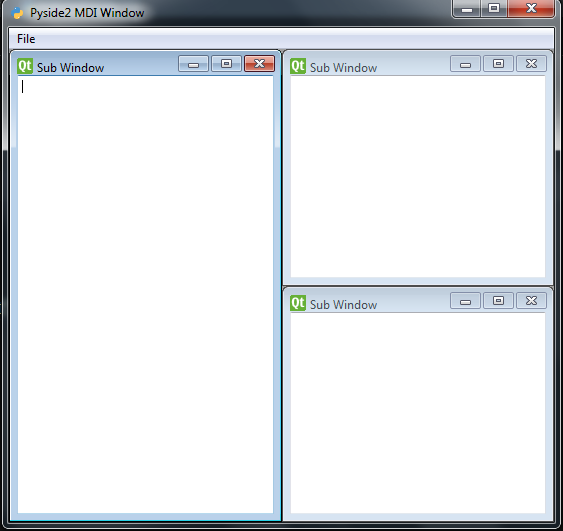
Tiled Style
Also you can watch the complete video tutorial for this article
Subscribe and Get Free Video Courses & Articles in your Email