In this Python Kivy article we are going to learn How to Play Mp3 Music in Kivy, so for this
we need to use SoundLoader class from kivy.core.audio.
Also if you are interested in Python GUI Development with different libraries, you
can check the below links.
1: PyQt5 GUI Development Tutorials
2: Pyside2 GUI Development Tutorials
3: wxPython GUI Development Tutorials
4: TKinter GUI Development Tutorials
Also you can watch the complete video for this article
We are going to create two examples, the first one will be an easy example, the second will be
a little complex example. this is the first example code.
Source code for Python Kivy How to Play Mp3 Music
|
1 2 3 4 5 6 7 8 9 10 11 12 13 14 15 16 17 18 19 20 21 22 23 24 25 26 27 |
from kivy.app import App from kivy.core.audio import SoundLoader from kivy.uix.label import Label #our main window class class MusicWindow(App): def build(self): #load the mp3 music music = SoundLoader.load('music.mp3') #check the exisitence of the music if music: music.play() return Label(text = "Music is playing") if __name__ == "__main__": window = MusicWindow() window.run() |
These are the imports that we have used in the above code, you can see that we have imported
the SoundLoader class from kivy.core.audio module.
|
1 2 3 |
from kivy.app import App from kivy.core.audio import SoundLoader from kivy.uix.label import Label |
In this line of code we have loaded our Mp3 music, make sure that you have added an Mp3
sound in your working directory, as i have already added the mp3 sound.
|
1 |
music = SoundLoader.load('music.mp3') |
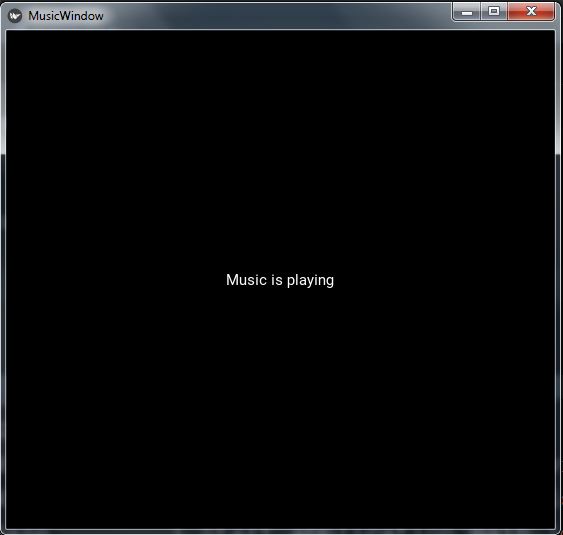
If you run the code you will see the music is playing.

Now let’s create the second example, in this example we are going to create a button using our
kivy file, and after that we want when a user clicks on the button, we want to play mp3 music.
So first create a python file, iam going to call it kivymusicapp.py, you can see that the first class extends from the FloatLayout, also we have added a method in this class for loading and playing our mp3 sound, because we will connect this method with the button that we create in the .kv file.
|
1 2 3 4 5 6 7 8 9 10 11 12 13 14 15 16 17 18 19 20 21 22 23 24 25 26 27 28 29 30 31 32 |
from kivy.app import App from kivy.core.audio import SoundLoader from kivy.uix.floatlayout import FloatLayout class MyFloatLayout(FloatLayout): def play_music(self): music = SoundLoader.load('music.mp3') if music: music.play() class MusicWindow(App): def build(self): return MyFloatLayout() if __name__ == "__main__": window = MusicWindow() window.run() |
Now you need to create a .kv file, iam going to call it musicwindow.kv, make sure that your kv file name should be the same as your main App class, in my case my main window class name is MusicWindow, and my kv file name should be musicwindow.kv. in the kv file we have just created a button, and we have connected the button with the play_music() method that is located in our MyFloatLayout class.
|
1 2 3 4 5 6 7 8 9 10 11 12 |
#:kivy 1.10.0 <MyFloatLayout>: Button: bold:True size_hint:.8,.3 text:'Play Music' background_color:0,1,1,1 pos_hint: {'right':1, 'y':0} on_release: root.play_music() |
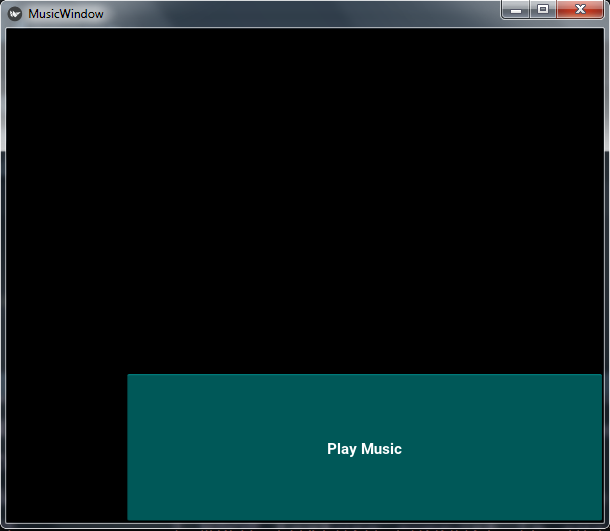
So run the complete code this will be the result, if you click on the button, the mp3 music
will be played.

Subscribe and Get Free Video Courses & Articles in your Email
Good, the first thing is to thank you for your
videos has helped me learn. I would like to ask you a question about printing with QPrintPreviewDialog. As I could avoid the 20mm margins in the prints, I would like less than a 5mm. Thanks a greeting
Good tur . Thanks for sharing