In this article we want to learn about Python GUI Programming with TKinter, Python offers different libraries for creating graphical user interfaces (GUIs), and Tkinter is one of the most popular and beginner friendly Python GUI Programming library. In this article, we want to talk about Tkinter, exploring its features, functionalities, and how to build interactive GUI applications in Python, so first of all let’s talk about TKinter itself.
What is TKinter?
Tkinter is a standard GUI toolkit, and it is included with Python, TKinter provides different modules for creating graphical user interfaces. It’s based on the Tk GUI toolkit, and originally it was developed for the Tcl programming language. Tkinter offers a simple way to build desktop applications with Python, and this is one of the best choice for beginners and professionals.
How to Install TKinter?
Before using Tkinter, you need to ensure that it’s installed on your system. luckily, Tkinter comes pre-installed with most Python distributions, so you typically don’t need to install anything extra. However, if you’re using Python 2, you may need to install Tkinter separately using pip.
Building Your First Tkinter Application
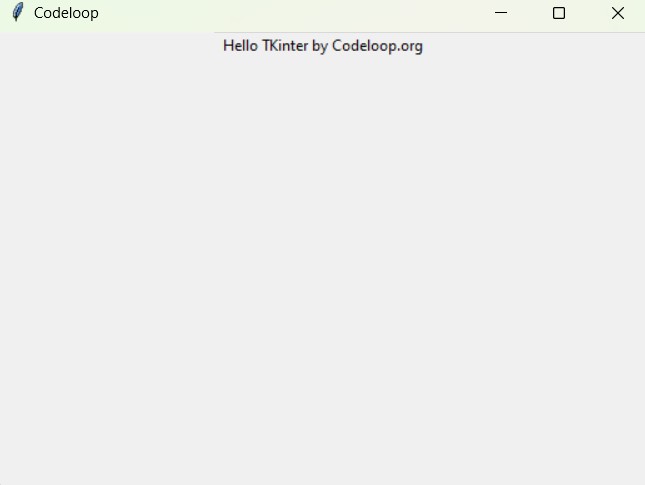
Let’s start by creating a simple Tkinter application to display window with a label. We will walk through the code step by step, and also explain each component:
|
1 2 3 4 5 6 7 8 9 10 11 12 13 14 15 16 |
from tkinter import * # Create the main window root = Tk() # Set the window title root.title("Codeloop") # Create a label widget label = Label(root, text="Hello TKinter by Codeloop.org") # Pack the label widget into the window label.pack() # Run the application root.mainloop() |
In this example, we have imported Tkinter module (from tkinter import *), after that we have created a main window (Tk()), we set the window title, we creates a label widget (Label()), pack the label into the window (pack()), and start the main event loop (mainloop()).\
Run your code and this will be the result
Widgets and Layout Management in TKinter
Tkinter provides different widgets such as buttons, labels, entry fields, text areas and many more, and allows you to create interactive interfaces. Layout management in Tkinter involves organizing these widgets inside the window using geometry managers like pack(), grid(), and place(). Understanding these managers is essential for designing well structured GUIs.
Buttons and Label in Tkinter
Buttons are one of the most common widgets in Tkinter, and they are used to trigger actions when it is clicked. They provide a clickable area that users can interact with that, typically it is labeled with text or an image. Buttons can be customized with different properties such as text color, background color, font style and more, on the other hand label in Tkinter is a widget, and it is used to display text or images. It provides a non editable text field that can be used to provide instructions, descriptions or information to the user within a Tkinter GUI application. Labels are typically used to provide static text content and are not interactive.
So now let’s create an example of TKinter Button
|
1 2 3 4 5 6 7 8 9 10 11 12 13 14 15 16 17 18 19 20 21 22 23 24 25 26 27 28 29 30 31 32 33 34 35 36 37 38 39 40 41 42 43 44 |
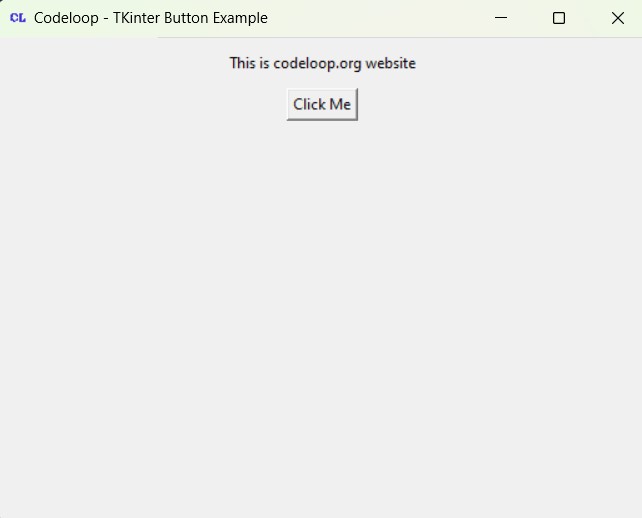
import tkinter as tk class MyApplication: def __init__(self, root): # Initialize application with the root window self.root = root # Set title of the root window self.root.title("Codeloop - TKinter Button Example") # Load the icon image icon_image = tk.PhotoImage(file="codeloop.png") # Set the icon of the root window self.root.iconphoto(True, icon_image) # Create a label widget with initial text self.label = tk.Label(root, text="Click the button") # Pack the label widget into the root window # with vertical padding self.label.pack(pady=10) # Create button widget with text # and bind it to the change_text method self.button = tk.Button(root, text="Click Me", command=self.change_text) # Pack the button widget into the root window self.button.pack() def change_text(self): # Method to change the text of the label self.label.config(text="This is codeloop.org website") def main(): # Create the main Tkinter window root = tk.Tk() # Instantiate the MyApplication class with the root window app = MyApplication(root) # Start the Tkinter event loop root.mainloop() if __name__ == "__main__": main() |
In this example:
- We have defined a class MyApplication that represents our Tkinter application.
- In the constructor __init__, we creates main window (root) and initialize the label and button widgets.
- change_text method is bounded to the button command option, which specifies the action to be performed when the button is clicked. In this case, it changes the text of the label.
- Maain function creates an instance of MyApplication and starts the Tkinter event loop.
Run the code and this is the result
How to Add Image in TKinter with Label
In Tkinter, you can add images to labels using PhotoImage class. This is a step-by-step guide on how to add an image to a label in Tkinter:
- Import the necessary modules from the Tkinter library.
- Create the main Tkinter window.
- Load the image using the PhotoImage class.
- Create a label widget and specify the image as its image parameter.
- Pack or grid the label widget into the window to display it.
- Start the Tkinter event loop.
This is our example for Image loading in TKinter
|
1 2 3 4 5 6 7 8 9 10 11 12 13 14 15 16 17 18 19 20 21 22 23 24 25 26 27 28 29 |
import tkinter as tk class ImageLabelApp: def __init__(self, root): self.root = root self.root.title("Codeloop - Image Label Example") # Set window icon icon_image = tk.PhotoImage(file="codeloop.png") # Set the icon of the root window self.root.iconphoto(True, icon_image) # Load the image self.image = tk.PhotoImage(file="python.png") # Create a label widget and specify the image self.label = tk.Label(self.root, image=self.image) # Pack the label widget into the window self.label.pack() def main(): root = tk.Tk() app = ImageLabelApp(root) root.mainloop() if __name__ == "__main__": main() |
In this example:
- We have imported tkinter module as tk.
- After that we creates the main Tkinter window using tk.Tk().
- We load the image file using PhotoImage class.
- Then we creates a label widget (Label) and pass the loaded image as its image parameter.
- We pack the label widget into the window using the pack() method.
- And lastly we start the Tkinter event loop with root.mainloop().
Run the code and this will be the result
Entry Field in TKinter
In Tkinter, an entry field is a widget that allows users to input text or numbers interactively. It provides a single line text box where users can type or edit text. Entry fields are commonly used in GUI applications for tasks such as data entry, login forms, search bars and many more.
This is an example of Entery Field in Python TKinter
|
1 2 3 4 5 6 7 8 9 10 11 12 13 14 15 16 17 18 19 20 21 |
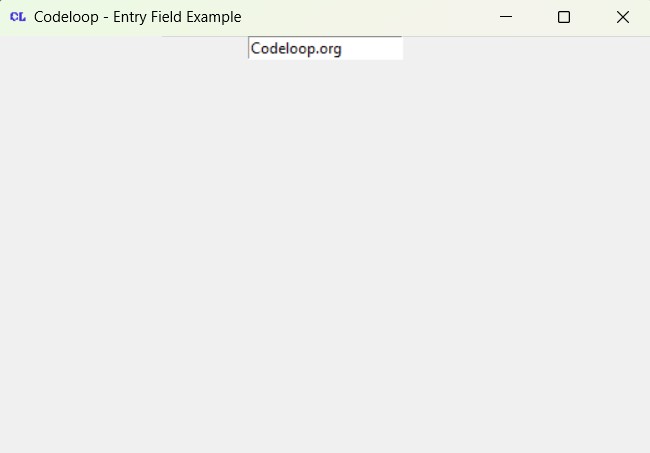
import tkinter as tk class EntryFieldApp: def __init__(self, root): self.root = root self.root.title("Codeloop - Entry Field Example") # Set window icon - # Replace "icon.png" with your icon file self.root.iconphoto(True, tk.PhotoImage(file="codeloop.png")) # Create an entry field widget self.entry = tk.Entry(self.root) self.entry.pack() def main(): root = tk.Tk() app = EntryFieldApp(root) root.mainloop() if __name__ == "__main__": main() |
In this code:
- We have defined a class at name of EntryFieldApp to encapsulate Tkinter application logic.
- In the constructor __init__, we have initialized the main window (root) and set its title.
- Also we set the window icon using iconphoto method. Make sure to replace the icon name with the path to your PNG icon file.
- Then we creates an entry field widget (Entry) and pack it into the window.
- And lastly we creates an instance of EntryFieldApp and start the Tkinter event loop.
Run the code and this will be the result
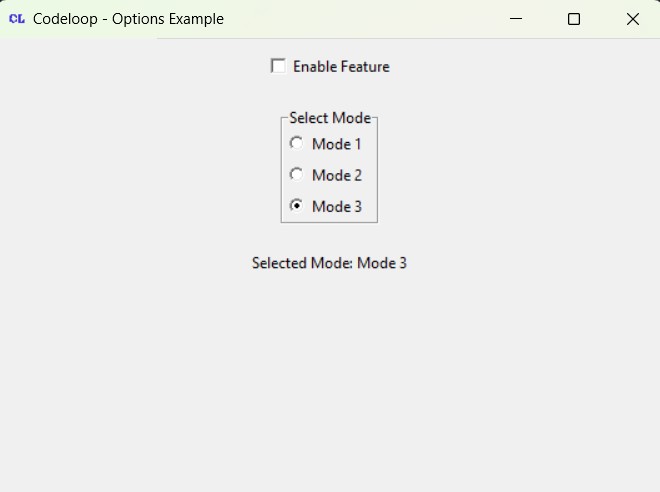
TKinter RadioButton and CheckBox
RadioButton in Tkinter represents a group of mutually exclusive choices where users can select only one option from the group. It’s also known as a Radio button or Option button. RadioButton widgets are commonly used when you have a set of related options and you want the user to choose one among them. on the other hand CheckBox in Tkinter represents a binary choice that can be toggled on or off. It’s also known as a Checkbutton or Checkbox. CheckBox widgets are commonly used when you want users to enable or disable options, preferences, or features in the application.
This is an example
|
1 2 3 4 5 6 7 8 9 10 11 12 13 14 15 16 17 18 19 20 21 22 23 24 25 26 27 28 29 30 31 32 33 34 35 36 37 38 39 40 41 42 43 44 45 46 47 |
import tkinter as tk class OptionsApp: def __init__(self, root): self.root = root self.root.title("Codeloop - Options Example") # Set window icon self.root.iconphoto(True, tk.PhotoImage(file="codeloop.png")) # Replace "icon.png" with your icon file # Create Checkbutton for enabling/disabling an option self.enable_var = tk.BooleanVar() self.enable_checkbox = tk.Checkbutton(self.root, text="Enable Feature", variable=self.enable_var, command=self.toggle_feature) self.enable_checkbox.pack(pady=10) # Create Radiobuttons for selecting a mode self.mode_var = tk.StringVar() self.mode_var.set("Mode 1") # Default mode self.mode_frame = tk.LabelFrame(self.root, text="Select Mode") self.mode_frame.pack(pady=10) modes = ["Mode 1", "Mode 2", "Mode 3"] for mode in modes: mode_radio = tk.Radiobutton(self.mode_frame, text=mode, variable=self.mode_var, value=mode, command=self.display_mode) mode_radio.pack(anchor="w") # Label to display selected mode self.mode_label = tk.Label(self.root, text="") self.mode_label.pack(pady=10) def toggle_feature(self): if self.enable_var.get(): print("Feature enabled") else: print("Feature disabled") def display_mode(self): selected_mode = self.mode_var.get() self.mode_label.config(text=f"Selected Mode: {selected_mode}") def main(): root = tk.Tk() app = OptionsApp(root) root.mainloop() if __name__ == "__main__": main() |
In this example:
- We have defined a class OptionsApp to encapsulate the Tkinter application logic.
- In the constructor __init__, we initialize the main window (root) and set its title and icon.
- We creates a BooleanVar to track the state of the Checkbutton (enabled/disabled).
- We create a Checkbutton (Checkbutton) to enable or disable a feature in the application.
- We create a StringVar to track the selected mode from the Radiobuttons.
- We create a frame (LabelFrame) to contain the Radiobuttons for selecting a mode.
- We create Radiobuttons (Radiobutton) for each mode option and pack them into the frame.
- We create a Label (Label) to display the selected mode.
- We define methods toggle_feature and display_mode to handle Checkbutton and Radiobutton events, respectively.
- Finally, we create an instance of OptionsApp and start the Tkinter event loop.
Run the complete code and this will be the result
Menu Widget in Tkinter
Menu widget in Tkinter provides a hierarchical menu structure for organizing commands, options, or features. It allows you to create menu bars, context menus, dropdown menus and more, also it offers user friendly way to interact with your application.
This is an example of creating Menu in TKinter
|
1 2 3 4 5 6 7 8 9 10 11 12 13 14 15 16 17 18 19 20 21 22 23 24 25 26 27 28 29 30 31 32 33 34 35 36 37 38 39 40 41 42 43 44 45 46 47 48 49 50 51 |
import tkinter as tk class MenuApp: def __init__(self, root): self.root = root self.root.title("Codeloop - Menu Example") # Set window icon self.root.iconphoto(True, tk.PhotoImage(file="codeloop.png")) # Create a menu bar self.menu_bar = tk.Menu(self.root) self.root.config(menu=self.menu_bar) # Create File menu self.file_menu = tk.Menu(self.menu_bar, tearoff=0) self.menu_bar.add_cascade(label="File", menu=self.file_menu) self.file_menu.add_command(label="New", command=self.new_file) self.file_menu.add_command(label="Open", command=self.open_file) self.file_menu.add_separator() self.file_menu.add_command(label="Exit", command=self.root.quit) # Create Edit menu self.edit_menu = tk.Menu(self.menu_bar, tearoff=0) self.menu_bar.add_cascade(label="Edit", menu=self.edit_menu) self.edit_menu.add_command(label="Cut", command=self.cut_text) self.edit_menu.add_command(label="Copy", command=self.copy_text) self.edit_menu.add_command(label="Paste", command=self.paste_text) def new_file(self): print("New file created") def open_file(self): print("File opened") def cut_text(self): print("Text cut") def copy_text(self): print("Text copied") def paste_text(self): print("Text pasted") def main(): root = tk.Tk() app = MenuApp(root) root.mainloop() if __name__ == "__main__": main() |
In this example:
- We have defined a class at name of MenuApp to encapsulate the Tkinter application logic.
- In the constructor __init__, we initialize the main window (root) and set its title and icon.
- Also we creates a menu bar (Menu) and configure it as the master window’s menu using master.config(menu=menu_bar).
- After that we creates File and Edit menus (Menu) and add them to the menu bar (add_cascade).
- We add menu items (add_command) to the File and Edit menus, associating them with callback functions.
- We define callback functions (new_file, open_file, cut_text, copy_text, paste_text) to handle menu item selections.
- And lastly we creates an instance of MenuApp and start the Tkinter event loop.
Subscribe and Get Free Video Courses & Articles in your Email