This is our second article on Python GUI Automation and in this article we are going to talk about Getting Mouse Position. in the first article we had a simple introduction to Python GUI Automation and how to automate gui in python. you can check the below link for the first article of Python GUI Automation. like previous video we are going to use PyAutoGUI library.
What is PyAutoGUI ?
The purpose of PyAutoGUI is to provide a cross-platform Python module for GUI automation for human beings. The API is designed to be as simple as possible with sensible defaults. PyAutoGUI can simulate moving the mouse, clicking the mouse, dragging with the mouse, pressing keys, pressing and holding keys, and pressing keyboard hotkey combinations.
Installation
You can simply install PyAutoGUI with pip like this pip install pyautogui . Full documentation available at https://pyautogui.readthedocs.org .
Getting the Mouse Position
You can determine the mouse’s current position by calling the pyautogui .position() function, which will return a tuple of the mouse cursor’s x and y positions at the time of the function call. Enter the following code into the IDE , moving the mouse around after each call:
|
1 2 3 |
import pyautogui print(pyautogui.position()) |
Of course, your return values will vary depending on where your mouse cursor is.
Get and Print the Mouse Coordinates
The code inside the while loop should get the current mouse coordinates, format them to look nice, and print them. Add the following code to the inside of the while loop like this:
|
1 2 3 4 5 6 7 8 9 10 11 |
import pyautogui try: while True: x, y = pyautogui.position() positionStr = 'X: ' + str(x).rjust(4) + ' Y: ' + str(y).rjust(4) print(positionStr) except KeyboardInterrupt: print('\nDone') |
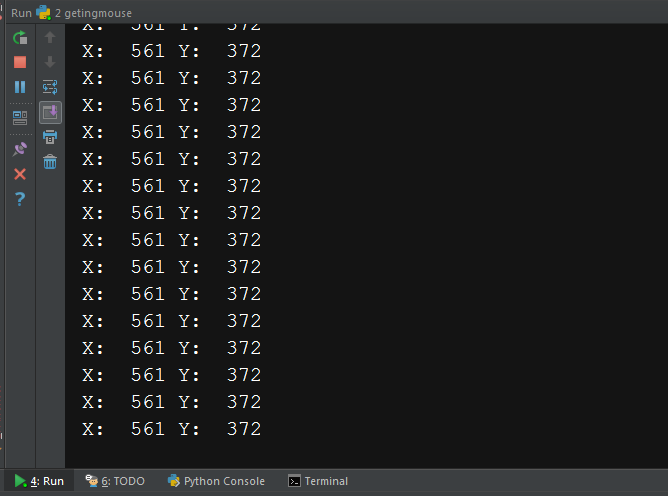
Using the multiple assignment trick, the x and y variables are given the values of the two integers returned in the tuple from pyautogui.position(). By passing x and y to the str() function, you can get string forms of the integer coordinates. The rjust() string method will right-justify them so that they take up the same amount of space, whether the coordinate has one, two, three, or four digits. Concatenating the right-justifed string coordinates with ‘X: ‘ and ‘ Y: ‘ labels gives us a neatly formatted string, which will be stored in positionStr.
If you run the code, this will be the result
Subscribe and Get Free Video Courses & Articles in your Email