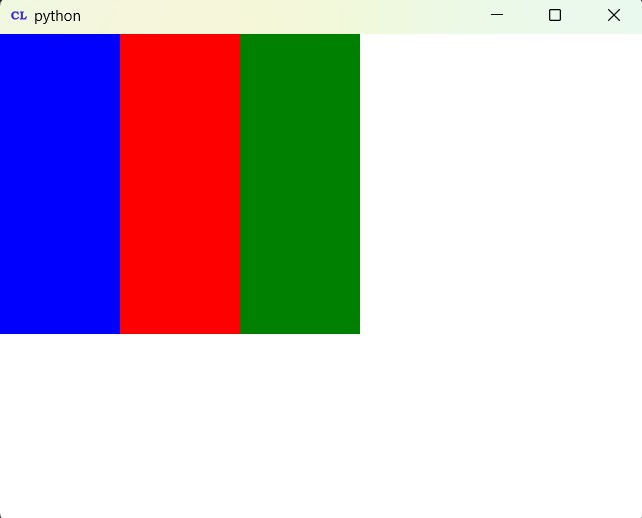
In this PyQt5 QML article iam going to show you Creating Row And Column, so this is one of the layouts that we are going to use in QML. first of all let’s talk about these layouts.
PyQt5 Tutorial: Creating Row and Column in QML
The Row/Column element in QML are called positioners. They position their children horizontally/vertically in a line-up. The Column and Row elements have the same properties: spacing, add and move. Spacing defines the space between positioned elements and add/move defines transitions when an element is added or moved (removed). First a simple example using Row and Column. You need to take care that the Row and Column element can determine the size of the elements.
Setting Up Your PyQt5 Project
OK now you need to create two files in your Pycharm IDE, the first one is row.qml and the second one main.qml.
Creating QML Design with Row Layout
So now this is the row.qml, in row.qml we are going to write our QML design with Row layout
|
1 2 3 4 5 6 7 8 9 10 11 12 13 14 15 16 17 18 19 20 21 22 23 24 25 26 27 28 29 30 31 32 33 34 35 36 37 38 39 40 41 42 43 44 45 46 |
import QtQuick.Window 2.2 import QtQuick 2.3 Window { visible:true id:root width:360 height:360 Row { Rectangle { color:"blue" width:360/3 height:360/1.2 } Rectangle { color:"red" width:360/3 height:360/1.2 } Rectangle { color:"green" width:360/3 height:360/1.2 } } } |
In the above code these are the imports that we are going to use.
|
1 2 |
import QtQuick.Window 2.2 import QtQuick 2.3 |
This is our top level window, we have an id, width and height for our window.
|
1 2 3 4 5 |
Window { visible:true id:root width:360 height:360 |
And also we have three rectangle and we have wrapped them in a Row layout, you can also use Column layout. for using Column Layout you can check the video in the below.
|
1 2 3 4 5 6 7 8 9 10 11 12 13 14 15 16 17 18 19 20 21 22 23 24 25 26 27 28 29 |
Row { Rectangle { color:"blue" width:360/3 height:360/1.2 } Rectangle { color:"red" width:360/3 height:360/1.2 } Rectangle { color:"green" width:360/3 height:360/1.2 } } |
Loading the QML in Python
And now this is the time that load our row.qml in the python.
|
1 2 3 4 5 6 7 8 9 10 11 12 13 14 15 16 17 18 19 20 21 22 23 24 25 26 27 28 29 30 31 |
from PyQt5.QtQml import QQmlApplicationEngine from PyQt5.QtWidgets import QApplication from PyQt5.QtGui import QIcon import sys def runQML(): # Create instance of the application app = QApplication(sys.argv) # Create instance of QQmlApplicationEngine engine = QQmlApplicationEngine() # Set window icon for the application app.setWindowIcon(QIcon("codeloop.png")) # Load QML file engine.load('row.qml') # Check if there are any root objects. If not, exit the application if not engine.rootObjects(): return -1 # Execute the application return app.exec_() # Entry point of the script if __name__ == "__main__": # Exit the application and return the exit code sys.exit(runQML()) |
Run the complete code this will be the result

Subscribe and Get Free Video Courses & Articles in your Email