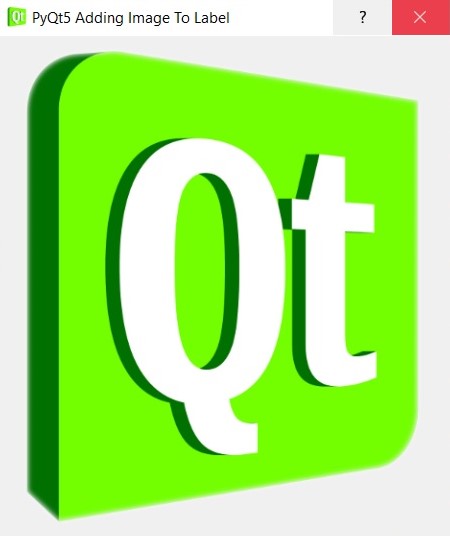
In this PyQt5 article iam going to show you How To Add Image In PyQt Window. basically we are using QLabel and QPixmap classes for this. so there are four classes for handling image data, QImage, QPixmap, QBitmap and QPicture. QImage is designed and optimized for I/O, and for direct pixel access and manipulation, while QPixmap is designed and optimized for showing images on screen. QBitmap is only a convenience class that inherits QPixmap, ensuring a depth of 1. The isQBitmap() function returns true if a QPixmap object is really a bitmap, otherwise returns false. Finally, the QPicture class is a paint device that records and replays QPainter commands.
Join PyQt5 Full Course for Free
PyQt5 Course
Also you can read more Python GUI articles in the below links
- Kivy GUI Development Tutorials
- TKinter GUI Development Tutorials
- Pyside2 GUI Development
- wxPython GUI Development Tutorials
- PyQt5 GUI Development Tutorials
OK now the first thing we need some imports from PyQt5 and these are the imports that we need.
|
1 2 3 4 |
from PyQt5 import QtGui from PyQt5.QtWidgets import QApplication, QDialog, QVBoxLayout, QLabel import sys from PyQt5.QtGui import QPixmap |
After that we are going to create our main Window class that extends from QDialog . and in the constructor of the class we need to initialize some requirements of the window . also we have called our initWindow() method in here.
|
1 2 3 4 5 6 7 8 9 |
class Window(QDialog): def __init__(self): super().__init__() self.title = "PyQt5 Adding Image To Label" self.top = 200 self.left = 500 self.width = 400 self.height = 300 self.InitWindow() |
After that we create our InitWindow() method and in that method we set our window icon, title and also we set our geometry also in this method first we create a QVBoxLayout and after that we create a QLabel object , for adding image we need to create a QPixmap object, make sure that you have added an image to to your working directory.
|
1 2 3 4 5 6 7 8 9 10 11 |
def InitWindow(self): self.setWindowIcon(QtGui.QIcon("icon.png")) self.setWindowTitle(self.title) self.setGeometry(self.left, self.top, self.width, self.height) vbox = QVBoxLayout() labelImage = QLabel(self) pixmap = QPixmap("pic2.jpg") labelImage.setPixmap(pixmap) vbox.addWidget(labelImage) self.setLayout(vbox) self.show() |
Also every PyQt5 application must create an application object.
|
1 |
App = QApplication(sys.argv) |
Finally, we enter the mainloop of the application. The event handling starts from this point.
|
1 2 |
window = Window() sys.exit(App.exec()) |
Complete source code PyQt5 How To Add Image In PyQt Window
|
1 2 3 4 5 6 7 8 9 10 11 12 13 14 15 16 17 18 19 20 21 22 23 24 25 26 27 28 29 30 31 |
from PyQt5 import QtGui from PyQt5.QtWidgets import QApplication, QDialog, QVBoxLayout, QLabel import sys from PyQt5.QtGui import QPixmap class Window(QDialog): def __init__(self): super().__init__() self.title = "PyQt5 Adding Image To Label" self.top = 200 self.left = 500 self.width = 400 self.height = 300 self.InitWindow() def InitWindow(self): self.setWindowIcon(QtGui.QIcon("icon.png")) self.setWindowTitle(self.title) self.setGeometry(self.left, self.top, self.width, self.height) vbox = QVBoxLayout() labelImage = QLabel(self) pixmap = QPixmap("pic2.png") labelImage.setPixmap(pixmap) vbox.addWidget(labelImage) self.setLayout(vbox) self.show() App = QApplication(sys.argv) window = Window() sys.exit(App.exec_()) |
Run the complete code and this will be the result

Also you can watch the complete video for this article
Subscribe and Get Free Video Courses & Articles in your Email