In this Kivy Tutorial we want to learn about Creating GridLayout in Python Kivy, so Kivy is powerful and open source Python GUI Framework, and it is used for building multi touch applications. Kivy provides different layout managers, using these layout managers we can structure our application. one important layout is GridLayout, and using that you can create grid like structure to organize widgets in rows and columns.
How to Install Kivy?
First of all we need to install Kivy and we can use pip for the installation.
|
1 |
pip install kivy |
After the installation, this is the complete code for this article
|
1 2 3 4 5 6 7 8 9 10 11 12 13 14 15 16 17 18 19 20 21 22 23 24 25 26 27 28 29 30 31 32 33 34 35 36 |
from kivy.app import App from kivy.uix.gridlayout import GridLayout from kivy.uix.label import Label class MyGridLayout(GridLayout): def __init__(self, **kwargs): # Initialize the superclass super().__init__(**kwargs) # Set number of columns in the grid self.cols = 2 # Add Label widgets to the grid layout self.add_widget(Label(text='Codeloop.org')) self.add_widget(Label(text='Codeloop.org')) self.add_widget(Label(text='Codeloop.org')) self.add_widget(Label(text='Codeloop.org')) class MyApp(App): def build(self): # Set window title self.title = "Codeloop.org - Grid Layout Example" # Return an instance of MyGridLayout return MyGridLayout() # Check if the script is being run directly if __name__ == '__main__': # Run the application MyApp().run() |
In the above code first we have imported our required libraries.
|
1 2 3 |
from kivy.app import App from kivy.uix.gridlayout import GridLayout from kivy.uix.label import Label |
After that we have defined a class that extends from the GridLayout class. this class will represent our grid layout. in this class we will define the structure and properties of our grid.
|
1 2 3 4 |
self.add_widget(Label(text='Codeloop.org')) self.add_widget(Label(text='Codeloop.org')) self.add_widget(Label(text='Codeloop.org')) self.add_widget(Label(text='Codeloop.org')) |
Now, we need to create an App class to run our application. this class will be responsible for creating and running the user interface, in the build method, we instantiate our MyGridLayout class and return it.
|
1 2 3 |
class MyApp(App): def build(self): return MyGridLayout() |
For starting our application, we need to create an instance of the MyApp class and call its run method.
|
1 2 |
if __name__ == '__main__': MyApp().run() |
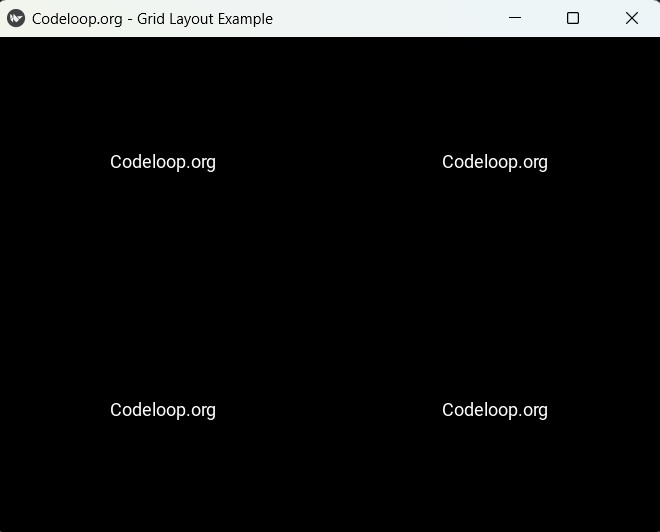
Run the complete code and this will be the result
FAQs:
What is GridLayout in Kivy?
GridLayout in Kivy is a type of layout that arranges its children in a grid of rows and columns. Each child widget occupies one cell in the grid, and the size of each cell is determined by the overall layout size divided by the number of rows and columns. This layout is useful for creating structured, grid like interfaces where widgets need to be evenly distributed.
Subscribe and Get Free Video Courses & Articles in your Email