In this Kivy Tutorial we want to talk that How to Create ProgressBar in Python Kivy, so we know that Kivy is an open source GUI framework for Python Programming Language, that you can use it for building multi touch applications for different platforms like desktops, mobile devices and Raspberry Pi, and ProgressBar allows users with a visual representation of progressing of a task.
For creating Kivy ProgressBar, first of all we need to import required modules from kivy.
|
1 2 |
from kivy.app import App from kivy.uix.progressbar import ProgressBar |
After that we have imported the necessary libraries, we can create a progress bar by instantiating the ProgressBar class.
|
1 |
progress_bar = ProgressBar(max=100) |
If you want to set value of the progress bar, for that we need to update its value property.
|
1 |
progress_bar.value = 50 |
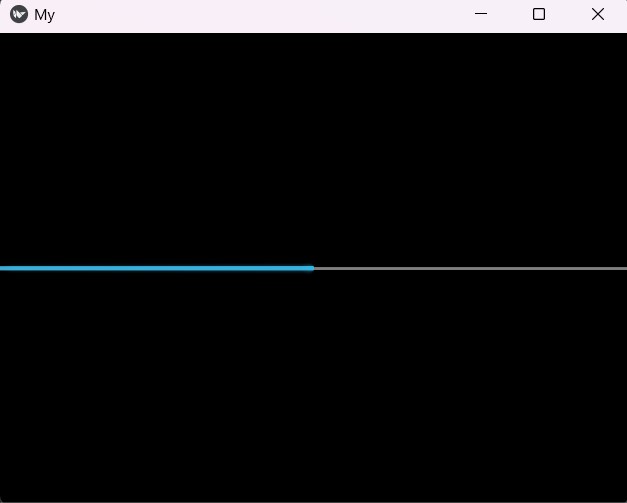
Now that we have created our progress bar, we need to add the progressbar to our Kivy app, in this code we have defined a class at name of MyApp that inherits from the App class. after that we override the build() method of the App class, and then we creates a progress_bar with a maximum value of 100 and an initial value of 50.
|
1 2 3 4 |
class MyApp(App): def build(self): progress_bar = ProgressBar(max=100, value=50) return progress_bar |
For runing our Kivy app, we need to create an instance of our MyApp class and call the run() method.
|
1 2 |
if __name__ == '__main__': MyApp().run() |
This is the complete code for this article
|
1 2 3 4 5 6 7 8 9 10 11 12 13 |
from kivy.app import App from kivy.uix.progressbar import ProgressBar class MyApp(App): def build(self): # Create an instance of ProgressBar progress_bar = ProgressBar(max=100, value=50) # Return the progress bar as the root widget return progress_bar if __name__ == '__main__': MyApp().run() # Run the Kivy app |
Run the code and this will be the result

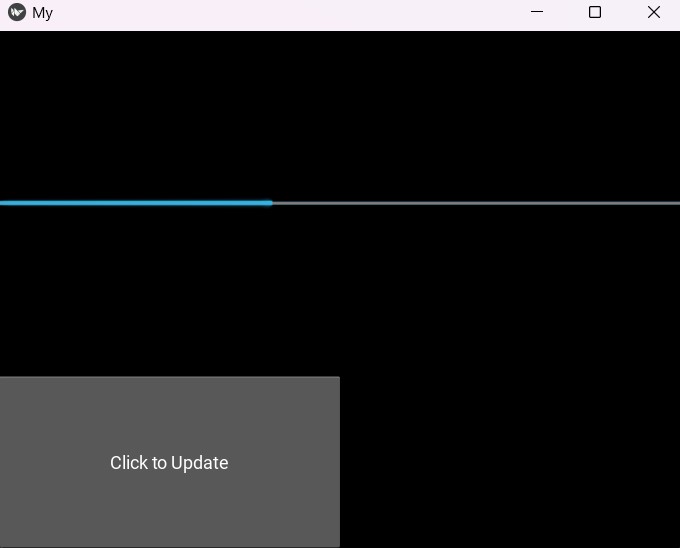
This is another code for Kivy ProgressBar, in this code we have a Button and ProgressBar, by default the value of ProgressBar is zero, and by clicking of the button we are going to update the Kivy ProgressBar.
|
1 2 3 4 5 6 7 8 9 10 11 12 13 14 15 16 17 18 19 20 21 22 23 24 25 26 27 28 29 30 31 32 33 34 35 36 37 38 39 40 41 42 43 44 45 46 |
from kivy.app import App from kivy.uix.progressbar import ProgressBar from kivy.uix.button import Button from kivy.uix.boxlayout import BoxLayout from kivy.clock import Clock class MyApp(App): def build(self): # Initialize the progress bar self.progress_bar = ProgressBar(max=100, value=0) # Create an update button button = Button(text='Click to Update', size_hint=(0.5, 0.5)) # Bind the button's on_press event to start_task method button.bind(on_press=self.start_task) # Create a vertical box layout layout = BoxLayout(orientation='vertical') # Add the progress bar to the layout layout.add_widget(self.progress_bar) # Add the button to the layout layout.add_widget(button) # Return the layout as the root widget return layout def start_task(self, instance): # Reset the progress bar value to 0 self.progress_bar.value = 0 # Set the increment value self.increment = 10 # Schedule the update_progress method to run every 0.5 seconds Clock.schedule_interval(self.update_progress, 0.5) def update_progress(self, dt): if self.progress_bar.value < 100: self.progress_bar.value += self.increment # Increment the progress bar value else: return False # Return False to stop the Clock scheduler if __name__ == '__main__': MyApp().run() # Run the Kivy app |
Run the code and click on the button, it will update ProgressBar value.

Subscribe and Get Free Video Courses & Articles in your Email