This is our second article on Kivy Crash Course, in this article we are going to talk about Kivy Design Language Introduction. Kivy provides a design language specifically geared towards easy and scalable GUI Design. The language makes it simple to separate the interface design from the application logic, also it is called KVlang. It has very clean syntax and makes Kivy interface design much more enjoyable than any other toolkit.
Also you can watch the video for this article
Kivy Crash Course Articles
1: Kivy Crash Course Introduction & Installation
So first of all you need to create a new file where you have your python code, iam going to to call it window.kv. Your .kv file should always have the same name as your app class. it is one of the important point that will be confusing for those who are new with kivy. but make sure when you create your .kv file, it should be the same as your main app class. for example i have called my python app class Window, now i need to create a .kv file at name of window.kv, the same as my app class.
|
1 2 3 4 5 6 |
#:kivy 1.10.0 <Label> text:"Hello Kivy Application" |
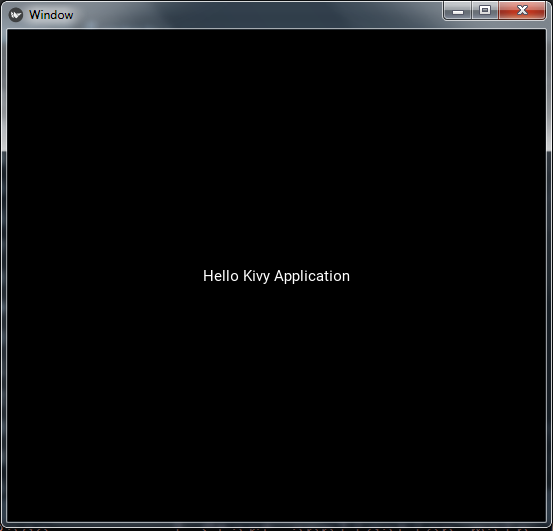
This is a very simple KV language file that creates a new Label object and sets its text to the Hello Kivy Application string. If you now run the code , you will see the window pop up, still with a black background, but also with the text displayed in its center.
So now this is our python file i have called it main4.py.
|
1 2 3 4 5 6 7 8 9 10 11 12 13 14 15 |
from kivy.app import App from kivy.uix .label import Label class Window(App): def build(self): return Label() if __name__ == "__main__": window = Window() window.run() |
You can see in the above code, in the build method we have just returned our label class.
So now run the code and this will be the result

Subscribe and Get Free Video Courses & Articles in your Email