In this lesson we want to learn How to Use ChatGPT API with Python, so first of all let’s that what is ChatGPT?
What is OpenAI ?
OpenAI is an artificial intelligence research company that develops advanced AI models and technologies. It was founded in 2015 by Elon Musk, Sam Altman, Greg Brockman, Ilya Sutskever, John Schulman, and others with the mission to ensure that AI benefits all of humanity.
What is ChatGPT?
ChatGPT is an advanced AI chatbot developed by OpenAI, based on the GPT (Generative Pre-trained Transformer) model. It can understand and generate human like text, making it and it is useful for answering questions, generating content, coding help, and much more.
Key Features of ChatGPT:
✅ Natural Language Understanding – It can understand and respond in a conversational way.
✅ Content Generation – Can write articles, summaries, emails, and scripts.
✅ Code Assistance – Helps with programming, debugging, and explaining code.
✅ Multilingual Support – Understands and translates multiple languages.
✅ Personalized Assistance – Can assist with brainstorming, tutoring, and general advice.
How to Use ChatGPT API with Python?
Now let’s learn that how we can use ChatGPT API with Python, so Artificial Intelligence (AI) has transformed the way we interact with technology, and OpenAI’s ChatGPT API allows you to integrate powerful conversational AI into your applications. In this tutorial, we want to learn how to use ChatGPT API with Python to create a chatbot that can interact with users and remember context.
How to Install OpenAI Python SDK?
Before we begin, make sure you have Python installed. Then, install OpenAI’s SDK using pip:
|
1 |
pip install openai |
How to Get OpenAI (ChatGPT) API Key ?
For using the API, you need an OpenAI API key. If you haven’t already, sign up at OpenAI and generate an API key.
Now let’s create our first interaction and code with OpenAI
|
1 2 3 4 5 6 7 8 9 10 11 12 13 14 15 16 17 18 19 20 21 22 23 |
import openai OPENAI_API_KEY = "YOUR API KEY" # Create an OpenAI client client = openai.OpenAI(api_key=OPENAI_API_KEY) def chat_with_gpt(prompt): response = client.chat.completions.create( model="gpt-3.5-turbo", # or "gpt-3.5-turbo gpt-4" messages=[ {"role": "system", "content": "You are a helpful assistant."}, {"role": "user", "content": prompt} ], temperature=0.7 ) return response.choices[0].message.content # Example usage user_input = "What is Python used for?" reply = chat_with_gpt(user_input) print(reply) |
This Python code connects to OpenAI’s ChatGPT API and allows interaction with an AI powered assistant. first of all it authenticates using an API key and then defines a function that sends user input to the GPT model. The model processes the input and generates a response. Finally, the code demonstrates how to use the function by sending a prompt and printing the AI’s reply. It’s a basic implementation of a chatbot using Python and OpenAI’s API.
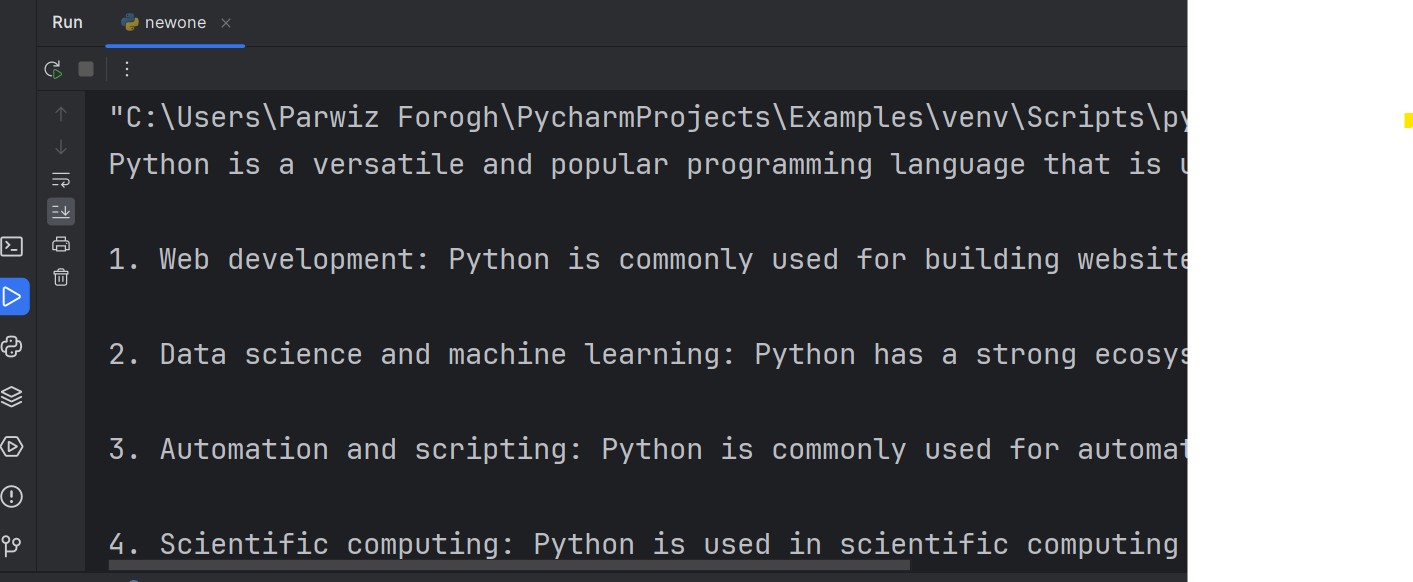
Now this will the result
Choosing Between Different Models (e.g., GPT-3.5, GPT-4)
When using OpenAI for response generation, it’s important to select the right model based on your use case. Each model has unique characteristics that make it more suitable for different tasks. Let’s take a look at two popular models: gpt-3.5-turbo and gpt-4.
GPT-3.5 (e.g., gpt-3.5-turbo):
Speed: Faster response times compared to GPT-4.
Cost: Generally more affordable than GPT-4.
Use Case: Ideal for tasks that don’t require extremely high
accuracy or complex reasoning. Great for casual conversations,
FAQs, and general assistance.
GPT-4 (e.g., gpt-4):
Accuracy: Provides more accurate and detailed responses,
particularly in complex or nuanced topics.
Reasoning: GPT-4 can handle tasks requiring better logical
reasoning, long-form content, and intricate problem-solving.
Cost: More expensive than GPT-3.5, so consider your budget.
Use Case: Ideal for high-stakes tasks, detailed content generation,
technical queries, or any task that requires precision and advanced reasoning.
Interactive Chatbot using ChatGPT API
|
1 2 3 4 5 6 7 8 9 10 11 12 13 14 15 16 17 18 19 20 21 22 23 24 25 26 27 28 29 30 31 32 33 34 35 36 37 |
import openai OPENAI_API_KEY = "YOUR API KEY" # Create OpenAI client client = openai.OpenAI(api_key=OPENAI_API_KEY) def chat_with_gpt(prompt): """ Sends user input to ChatGPT and returns the response. """ try: response = client.chat.completions.create( model="gpt-4", # You can use "gpt-3.5-turbo" messages=[{"role": "user", "content": prompt}], temperature=0.7 # Adjust for response creativity ) return response.choices[0].message.content except openai.APIError as e: return f"API Error: {str(e)}" except openai.RateLimitError: return "Rate limit exceeded. Try again later." except Exception as e: return f"An error occurred: {str(e)}" # Interactive chatbot loop print("ChatGPT is ready! Type 'exit' or 'quit' to stop.\n") while True: user_input = input("You: ") # Get user input if user_input.lower() in ["exit", "quit"]: # Exit condition print("Goodbye!") break reply = chat_with_gpt(user_input) # Get ChatGPT response print("ChatGPT:", reply) # Print response |
This Python code interacts with OpenAI’s GPT model (like ChatGPT) to create a chatbot. It imports the openai library for accessing GPT models and stores the API key required for authentication with OpenAI services. After that OpenAI client is initialized using API key to interact with the GPT models.
chat_with_gpt function sends user input (a prompt) to OpenAI’s GPT model (in this case, GPT-4) and returns the model’s response. It includes error handling for API issues, rate limits, or other exceptions.
This code enters an interactive loop where the user can type in prompts, and the chatbot responds. Typing “exit” or “quit” exits the loop and ends the conversation. This allows for a simple command-line chatbot where users can interact with GPT-4.
Implement Chat Memory (Context Retention)
In a typical ChatGPT chatbot, each conversation is stateless, It means that it doesn’t remember previous interactions. This can make the conversation feel robotic or disconnected. However, by implementing context retention (or chat memory), we can create a more natural and continuous conversation where the chatbot “remembers” past interactions. now the idea is to maintain a history of messages exchanged between the user and the assistant, and send that history back to the model to provide context for generating more accurate and relevant responses.
|
1 2 3 4 5 6 7 8 9 10 11 12 13 14 15 16 17 18 19 20 21 22 23 24 25 26 27 28 29 30 31 32 33 34 35 36 37 38 39 40 41 42 43 44 45 46 |
import openai OPENAI_API_KEY = "YOUR API Key" client = openai.OpenAI(api_key=OPENAI_API_KEY) chat_history = [ {"role": "system", "content": "You are a helpful assistant"} ] def chat_with_gpt(prompt): chat_history.append({"role":"user", "content":prompt}) try: response = client.chat.completions.create( model="gpt-4", messages=chat_history ) reply = response.choices[0].message.content chat_history.append({"role":"assistant", "content":reply}) return reply except openai.APIError as e: return f"API Error : {e}" except openai.RateLimitError: return f" Rate Limit Exceeded, Try again " except Exception as e: return f" An error occured : {e} " print("ChatGPT is Ready, Type 'exit' or 'quite' to stop \n") while True: user_input = input("You : ") if user_input.lower() in ['exit', 'quite']: print("Good bye") break reply = chat_with_gpt(user_input) print("ChatGPT : ", reply ) |
Subscribe and Get Free Video Courses & Articles in your Email