In this lesson we want to learn How to Build Weather App with Python & PyQt6, first of all we need to talk about PyQt6, What is PyQt6?
What is PyQt6?
PyQt6 is set of Python bindings for Qt library. PyQt6 allows you to use Qt library in Python, Using PyQt6 you can create graphical user interfaces (GUIs) using Qt widgets. PyQt6 is a version of PyQt that is compatible with Python 6.
How to Build Weather App with Python & PyQt6?
To build a weather app with Python and PyQt6, you can follow these steps:
- Install PyQt6 by running pip install PyQt6.
- Create new PyQt6 project in your preferred development environment.
- Use QtDesigner tool to design the user interface for your app. this can include widgets such as labels, buttons and text fields for displaying weather data, but in our example we are not going to use Qt Designer, we directly code our design using PyQt6
- Use requests library to make API calls to weather service such as OpenWeatherMap to retrieve current weather data for specific location. make sure to install requests library using pip install requests.
- Use the data retrieved from the API to update the text fields and labels in your app’s user interface.
- Use sys.exit() to close the application.
- Run the app with python main.py
Note: This is high level overview and you will have to do research on how to use PyQt6 and how to make API calls with python specifically with the API you choose.
This is simple code for Python and PyQt6 Weather App
|
1 2 3 4 5 6 7 8 9 10 11 12 13 14 15 16 17 18 19 20 21 22 23 24 25 26 27 28 29 30 31 32 33 34 35 36 37 38 39 40 41 42 43 44 45 46 47 48 49 50 |
import sys from PyQt6 import QtWidgets from PyQt6.QtGui import QFont import requests from PyQt6.QtGui import QIcon class WeatherApp(QtWidgets.QMainWindow): def __init__(self): super().__init__() self.setWindowTitle("Codeloop - Weather App") self.setWindowIcon(QIcon("weather.png")) # Create a vertical layout layout = QtWidgets.QVBoxLayout() # Create the label, textbox and button self.label = QtWidgets.QLabel("Enter a city:") self.textbox = QtWidgets.QLineEdit() self.button = QtWidgets.QPushButton("Get Weather") self.button.clicked.connect(self.get_weather) # Add widgets to layout layout.addWidget(self.label) layout.addWidget(self.textbox) layout.addWidget(self.button) # Create a central widget and set the layout central_widget = QtWidgets.QWidget() central_widget.setLayout(layout) self.setCentralWidget(central_widget) def get_weather(self): city = self.textbox.text() api_key = "Add Your API Key" url = f"http://api.openweathermap.org/data/2.5/weather?q={city}&appid={api_key}" r = requests.get(url) weather = r.json() temp = weather["main"]["temp"] humidity = weather["main"]["humidity"] self.label.setText(f"Temperature: {temp} F\nHumidity: {humidity}%") self.label.setFont(QFont("Times", 20)) app = QtWidgets.QApplication(sys.argv) weather_app = WeatherApp() weather_app.show() sys.exit(app.exec()) |
To run this code make sure that you have created an account in OpenWeatherMap and get your API key from their, and make sure to change the API Key in the code and your own one.
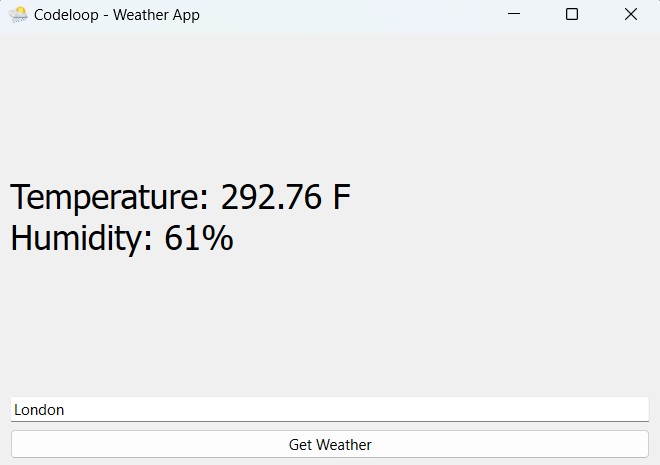
Run the code and this will be the result
Subscribe and Get Free Video Courses & Articles in your Email