In this article we want to learn about Getting Started with PySide6: Building Your First Window. so first of all let’s talk about PySide6 and also we want to talk about installation process of PySide6.
What is PySide6 ?
PySide6 is Python binding for the cross-platform graphical user interface (GUI) toolkit Qt. It is powerful tool that can be used to develop desktop applications that are compatible with multiple operating systems such as Windows, Linux, and macOS.
In this article, we will provide a brief introduction to PySide6 and demonstrate how to create basic window using PySide6.
How to Install PySide6?
To get started with PySide6, you will need to install it on your system. You can do this by running the following command in your terminal:
|
1 |
pip install PySide6 |
Creating Python Basic Window with PySide6
For creating basic window in PySide6, you will need to create QApplication object and QMainWindow object. QApplication object is responsible for managing application event loop, Ande QMainWindow object is main window of the application.
This is a simple code to create your first GUI Window with PySide6:
|
1 2 3 4 5 6 7 8 9 10 11 12 13 14 |
import sys from PySide6.QtWidgets import QApplication, QMainWindow # Create a QApplication instance app = QApplication(sys.argv) # Create a QMainWindow instance window = QMainWindow() # Make the main window visible window.show() # Start the application's event loop and wait for events to occur sys.exit(app.exec()) |
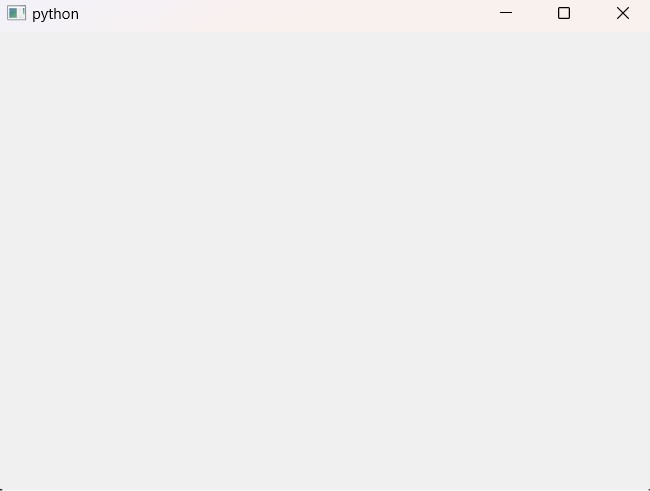
In the above code, we have imported the necessary modules from PySide6. after that we have created QApplication object and QMainWindow object. QMainWindow object is assigned to the window variable.
And lastly we call the show() method to display the window and the sys.exit() method to start the application’s event loop.
Run the complete code and this will be the result.

Customizing PySide6 Window
Now that we have created basic window we can customize it according to our needs. we can add widgets such as buttons, labels, and text boxes, and also we can modify the window’s appearance by changing its size, title, and background color.
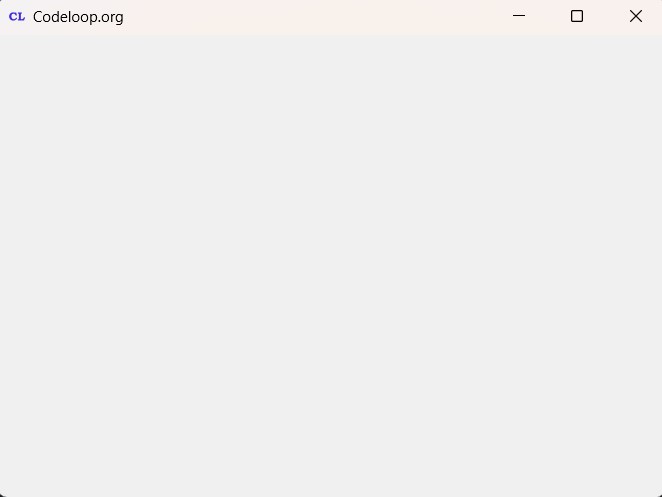
This is the code that demonstrates how to change the window’s title and size, and also add icon:
|
1 2 3 4 5 6 7 8 9 10 11 12 13 14 15 16 17 18 19 20 21 22 23 24 25 |
import sys from PySide6.QtWidgets import QApplication, QMainWindow from PySide6.QtGui import QIcon # Create a QApplication instance app = QApplication(sys.argv) # Create a QMainWindow instance window = QMainWindow() # Set the title of the main window window.setWindowTitle("Codeloop.org") # Set the window icon by providing the path window.setWindowIcon(QIcon('codeloop.png')) # Set the geometry (position and size) of the main window # Parameters: (x-coordinate, y-coordinate, width, height) window.setGeometry(100, 100, 500, 500) # Make the main window visible window.show() # Start the application's event loop sys.exit(app.exec()) |
Now run the code and this will be the result

Adding Widgets to PySide6 Window
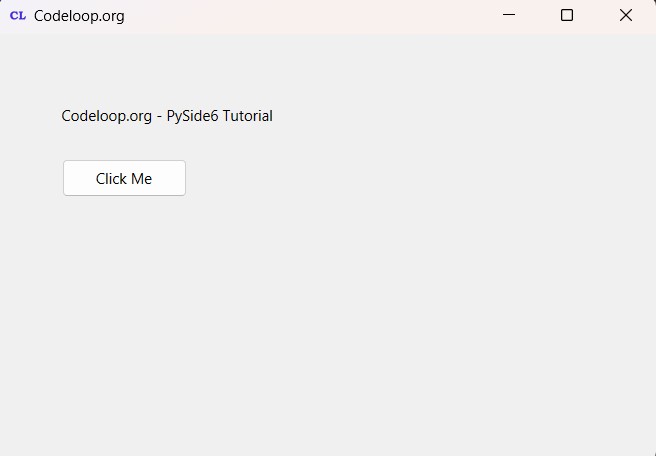
In this code, we want to demonstrate how to create a simple PySide6 application with a main window that contains a label and a button. We want to use OOP by defining a custom subclass of QMainWindow called MainWindow. This class encapsulates the functionality of our application, including setting up the window, creating UI elements and handling user interactions. also we want to add PySide6 Signals and Slots functionality, for example when we click on the button, we want to change the text of the label.
This is our code
|
1 2 3 4 5 6 7 8 9 10 11 12 13 14 15 16 17 18 19 20 21 22 23 24 25 26 27 28 29 30 |
import sys from PySide6.QtWidgets import QApplication, QMainWindow, QLabel, QPushButton from PySide6.QtGui import QIcon class MainWindow(QMainWindow): def __init__(self): super().__init__() self.setWindowTitle("Codeloop.org") self.setWindowIcon(QIcon('codeloop.png')) self.setGeometry(100, 100, 500, 500) # Create a label and set its text self.label = QLabel("PySide6 Label", self) self.label.setGeometry(50, 50, 200, 30) # Set label's geometry (x, y, width, height) # Create a button and set its text self.button = QPushButton("Click Me", self) self.button.setGeometry(50, 100, 100, 30) # Set button's geometry (x, y, width, height) self.button.clicked.connect(self.on_button_clicked) # Connect button's clicked signal to a slot def on_button_clicked(self): self.label.setText("Codeloop.org - PySide6 Tutorial") # Change label's text when button is clicked if __name__ == "__main__": app = QApplication(sys.argv) window = MainWindow() window.show() sys.exit(app.exec()) |
In this code:
- First we have defined a new class MainWindow that inherits from QMainWindow.
- Inside __init__ method of MainWindow, we set up the window title, icon and geometry.
- After that we creates a label (self.label) and a button (self.button) inside the MainWindow instance.
- We set the geometry of the label and button to position them inside the main window.
- After that we connect button’s clicked signal to a custom slot (on_button_clicked) using clicked.connect() method.
- When the button is clicked, on_button_clicked slot is called, which changes the text of the label.
Run the code and this will be the result

Subscribe and Get Free Video Courses & Articles in your Email