In this Flask Tutorial we are going to learn about Flask Python Tutorial for Beginners, Flask is a lightweight and flexible Python web framework and it is perfect for building web applications quickly and easily. in this tutorial we want to cover the basics of Flask and show you how to build a simple web application from scratch.
These are the 10 Python Flask topics that we want to cover in this tutorial:
Now let’s start from installing Python Flask.
Installing Python Flask
First step in building Flask web application is to install the Flask framework. you can install Flask using pip like this.
|
1 |
pip install Flask |
Creating a Flask App
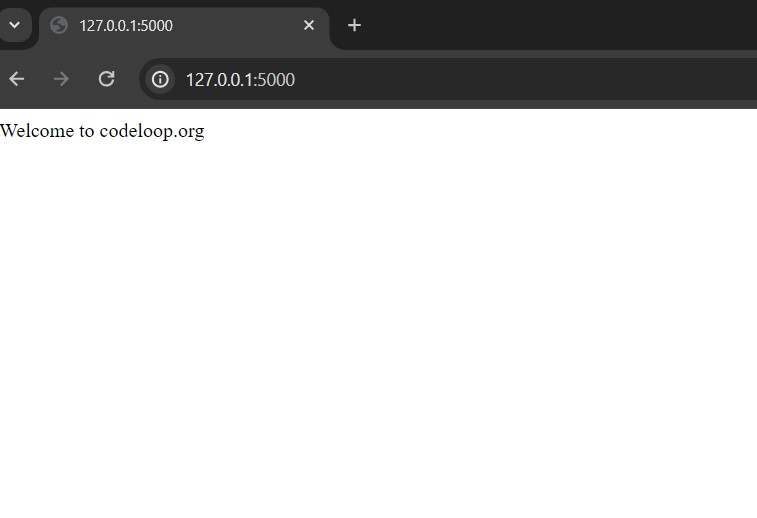
After that you have installed Flask, you can create a new Flask application by creating a Python file with .py extension. this is a simple Flask app that will display “Welcome to codeloop.org” when you run it:
|
1 2 3 4 5 6 7 8 9 10 11 12 13 14 15 |
from flask import Flask # Create an instance of Flask class app = Flask(__name__) # Define route for the root URL ('/') and bind it to the hello function @app.route('/') def hello(): # Return welcome message when the root URL is accessed return "Welcome to codeloop.org" if __name__ == '__main__': # Run the Flask application app.run() |
If you run the code and go to http://127.0.0.1:5000/ URL, this will be the result.
Flask Routes
In Flask routes are used to map URLs to view functions that return HTML content. in the above example @app.route(‘/’) decorator maps the root URL to the hello() function, which returns a string. you can create routes for different URLs by creating more view functions and using different decorators.
Flask Templates
Flask uses templates to separate the presentation logic from the application logic. Templates are HTML files that contain placeholders for dynamic content. you can use Flask render_template() function to render templates and pass data to them, in this example hello() function passes the name variable to the hello.html template, which can use it to display a greeting.
|
1 2 3 4 5 6 7 8 9 10 11 12 13 14 15 16 |
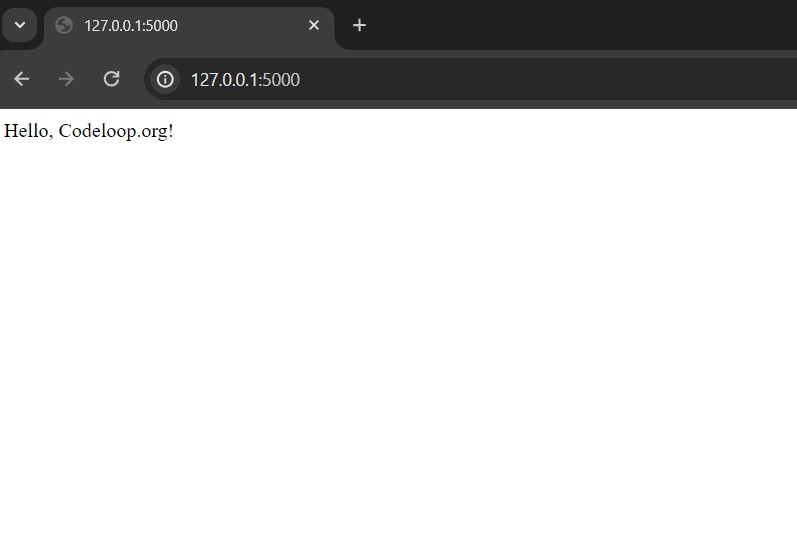
from flask import Flask, render_template # Create an instance of the Flask class app = Flask(__name__) # Define a route for the root URL ('/') @app.route('/') def hello(): # Set the variable 'name' to the string 'Codeloop.org' name = 'Codeloop.org' # Render 'index.html' template, passing the 'name' variable return render_template('index.html', name=name) # Check if the script is being run directly if __name__ == '__main__': # Run the Flask application app.run() |
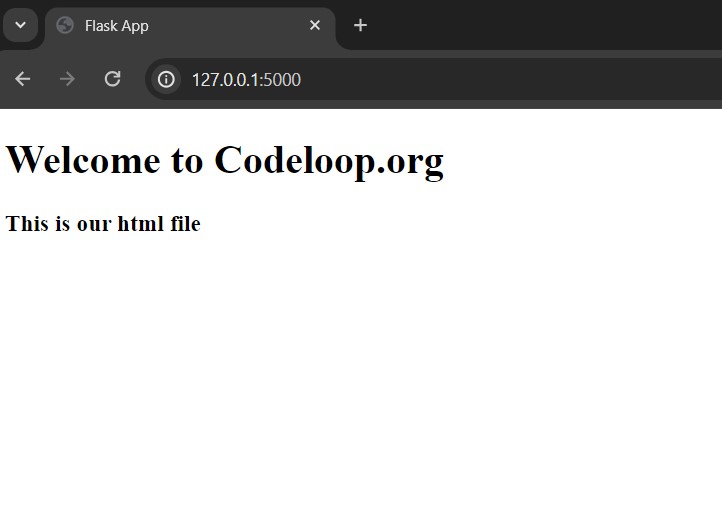
This is our HTML file, make sure that you have created templates folder and in that folder create index.html file.
|
1 2 3 4 5 6 7 8 9 10 11 |
<!DOCTYPE html> <html lang="en"> <head> <meta charset="UTF-8"> <title>Flask App</title> </head> <body> <h1>Welcome to {{name}}</h1> <h3>This is our html file</h3> </body> </html> |
Run the code and this will be the result
Flask Forms
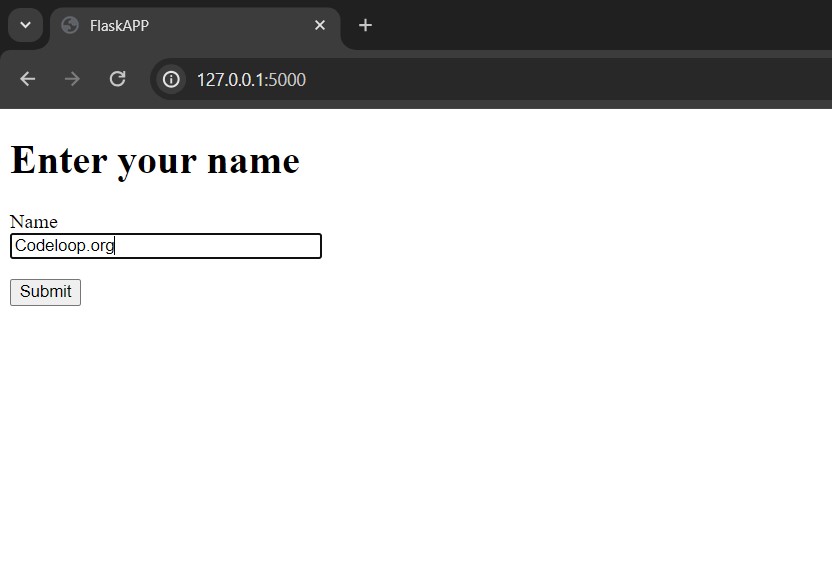
Flask also provides support for handling HTML forms. you can create forms using Flask-WTF extension and use them to capture user input. this is an example, in this example NameForm class defines a form with a single name field and a submit button. hello() function renders an index.html template that displays the form. when the user submits the form, the validate_on_submit() function checks if the form data is valid, and if it is hello() function renders a index.html template that displays the user name, also you need to install Flask-WTF using pip pip install Flask-WTF.
|
1 2 3 4 5 6 7 8 9 10 11 12 13 14 15 16 17 18 19 20 21 |
from flask import Flask, render_template from flask_wtf import FlaskForm from wtforms import StringField, SubmitField app = Flask(__name__) app.config['SECRET_KEY'] = 'mysecretkey' class NameForm(FlaskForm): name = StringField('Name') submit = SubmitField('Submit') @app.route('/', methods=['GET', 'POST']) def hello(): form = NameForm() if form.validate_on_submit(): name = form.name.data return render_template('hello.html', name=name) return render_template('index.html', form=form) if __name__ == '__main__': app.run() |
This is index.html
|
1 2 3 4 5 6 7 8 9 10 11 12 13 14 15 16 17 |
<!DOCTYPE html> <html lang="en"> <head> <title>FlaskAPP</title> </head> <body> <h1>Enter your name</h1> <form method="POST" action="/"> {{ form.hidden_tag() }} <p> {{ form.name.label }}<br> {{ form.name(size=32) }} </p> <p>{{ form.submit() }}</p> </form> </body> </html> |
This is hello.html
|
1 2 3 4 5 6 7 8 9 10 |
<!DOCTYPE html> <html lang="en"> <head> <title>Hello</title> </head> <body> <h1>Hello, {{ name }}!</h1> <a href="/">Go back</a> </body> </html> |
And this will be the result
Flask SQLAlchemy
Flask also supports working with databases using SQLAlchemy extension. you can use SQLAlchemy to connect to a database, define database models and execute queries. this is an example of using SQLAlchemy to define a simple database model:
|
1 2 3 4 5 6 7 8 9 10 11 12 13 14 15 16 17 |
from flask import Flask from flask_sqlalchemy import SQLAlchemy app = Flask(__name__) app.config['SQLALCHEMY_DATABASE_URI'] = 'sqlite:///geeks.db' db = SQLAlchemy(app) class User(db.Model): id = db.Column(db.Integer, primary_key=True) username = db.Column(db.String(80), unique=True, nullable=False) email = db.Column(db.String(120), unique=True, nullable=False) def __repr__(self): return '<User %r>' % self.username if __name__ == '__main__': app.run() |
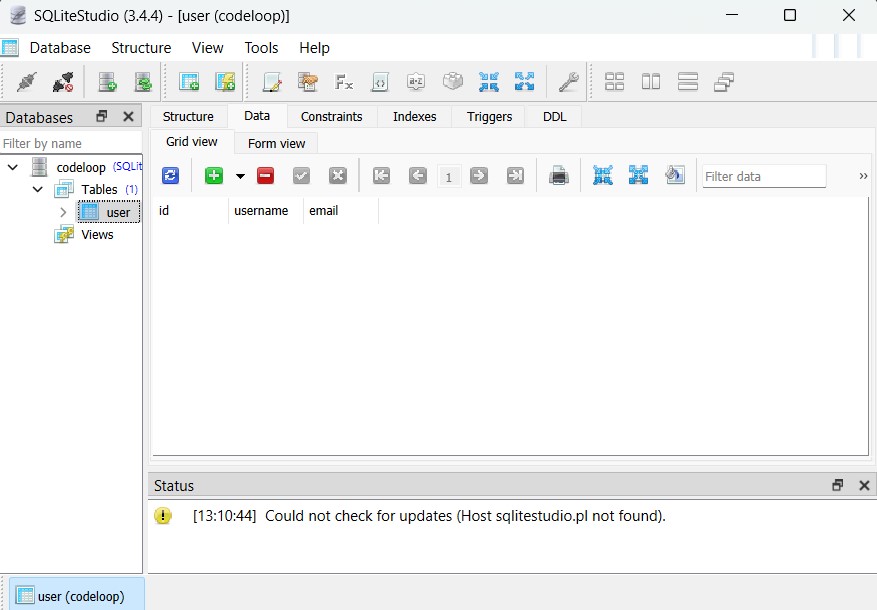
For creating the database model, first you open flask shell, by writing flask shell in your terminal, after that you need to import db from app.py file and create the database.
|
1 2 |
>>> from app import db >>> db.create_all() |
This will be the result and you can see we have our database and table with the fields.
Flask Sessions
Flask also provides support for using sessions to store user-specific data between requests. you can use the session object to store and retrieve data in the session. this is an example of using sessions to store and retrieve a user name:
|
1 2 3 4 5 6 7 8 9 10 11 12 13 14 15 16 17 18 19 20 21 22 23 24 25 26 27 28 29 30 31 32 |
from flask import Flask, session, redirect, url_for, request app = Flask(__name__) app.secret_key = 'mysecretkey' @app.route('/') def index(): if 'name' in session: name = session['name'] return f'Hello, {name}!' return 'Hello World' @app.route('/login', methods=['GET','POST']) def login(): if request.method == 'POST': name = request.form['name'] session['name'] = name return redirect(url_for('index')) else: return ''' <form method="POST"> <label for="name">Name:</label> <input type="text" id="name" name="name"> <br> <button type="submit">Submit</button> </form> ''' if __name__ == '__main__': app.run() |
Run the code go to http://127.0.0.1:5000/login URL, write something in the field and submit the form.
Flask Deployment
After that you have developed your Flask application, it is time to deploy it. there are several options for deploying Flask applications, It depends on your choice, for example we can use Platform as a Service (PaaS) provider, such as Heroku or Google App Engine. these services provides a simple way to deploy web applications without worrying about server setup and configuration. this is an example of deploying a Flask application to Heroku:
First we need to create a Procfile in the root directory of our application, and it should contain the command to run our application. for example if our application is in a file called app.py, Procfile should contain:
|
1 |
web: gunicorn app:app |
This tells Heroku to use gunicorn server to run the app object in the app.py file.
After that we have created requirements.txt file in the root directory of your application, and it should contain a list of all Python packages your application requires. you can generate this file automatically using pip freeze command like this.
|
1 |
pip freeze > requirements.txt |
Create a new Heroku application using Heroku CLI:
|
1 |
heroku create |
Deploy your application to Heroku using Git:
|
1 |
git push heroku master |
Open your application in a web browser:
|
1 |
heroku open |
Flask RESTful API
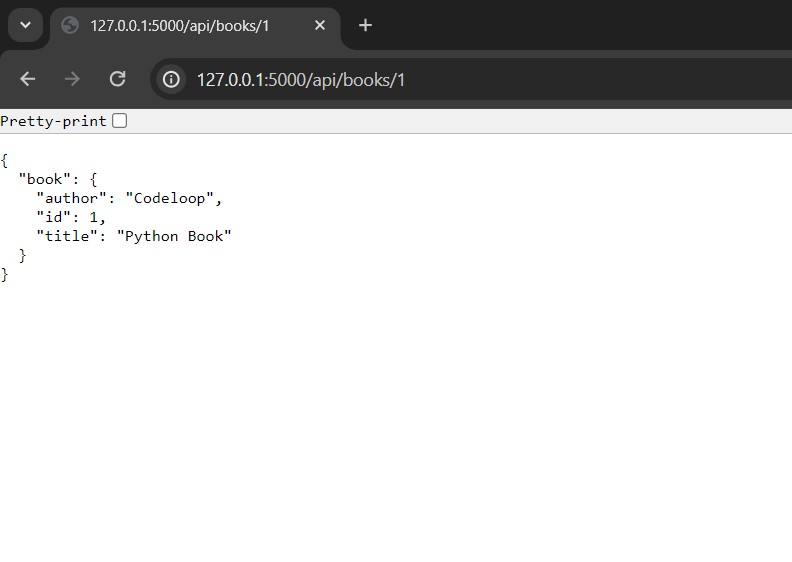
Flask is used for building RESTful APIs. this is an example of creating a simple RESTful API with Flask, this API provides two endpoints: /api/books to get a list of all books, and /api/books/<int:book_id> to get the details of a specific book. jsonify function is used to serialize Python objects to JSON.
|
1 2 3 4 5 6 7 8 9 10 11 12 13 14 15 16 17 18 19 20 21 22 23 24 25 26 27 |
from flask import Flask, jsonify, abort app = Flask(__name__) books = [ {'id': 1, 'title': 'Python Book', 'author': 'Codeloop'}, {'id': 2, 'title': 'Flask Book', 'author': 'Parwiz'}, {'id': 3, 'title': 'Django Book', 'author': 'John Doe'} ] @app.route('/api/books', methods=['GET']) def get_books(): return jsonify({'books': books}) @app.route('/api/books/<int:book_id>', methods=['GET']) def get_book(book_id): book = [book for book in books if book['id'] == book_id] if len(book) == 0: abort(404) return jsonify({'book': book[0]}) @app.errorhandler(404) def not_found(error): return jsonify({'error': 'Not found'}), 404 if __name__ == '__main__': app.run(debug=True) |
This will be the result by going to http://127.0.0.1:5000/api/books/1
Flask Authentication
Flask provides several extensions for implementing authentication in your applications. one popular extension is Flask-Login. this is an example of using Flask-Login to implement user authentication in a Flask application, make sure that you have installed flask-login. you can install using pip pip install Flask-Login.
|
1 2 3 4 5 6 7 8 9 10 11 12 13 14 15 16 17 18 19 20 21 22 23 24 25 26 27 28 29 30 31 32 33 34 35 36 37 38 39 40 41 42 43 44 45 46 47 48 |
from flask import Flask, render_template, request, redirect, url_for from flask_login import LoginManager, login_user, logout_user, login_required, UserMixin app = Flask(__name__) app.secret_key = 'mysecretkey' login_manager = LoginManager() login_manager.init_app(app) users = {'user1': {'username': 'user1', 'password': 'password1'}, 'user2': {'username': 'user2', 'password': 'password2'}} class User(UserMixin): pass @login_manager.user_loader def user_loader(username): if username not in users: return user = User() user.id = username return user @app.route('/', methods=['GET', 'POST']) def login(): if request.method == 'POST': username = request.form['username'] password = request.form['password'] if username in users and password == users[username]['password']: user = User() user.id = username login_user(user) return redirect(url_for('protected')) return render_template('login.html', error=True) return render_template('login.html', error=False) @app.route('/protected') @login_required def protected(): return render_template('protected.html') @app.route('/logout') def logout(): logout_user() return redirect(url_for('login')) if __name__ == '__main__': app.run(debug=True) |
In the above example Flask-Login is used to handle user authentication. User class is a simple user object that inherits from UserMixin. user_loader function is used to load a user object from the user ID. login function handles the login form submission, and the protected function is protected by the @login_required decorator. and lastly the logout function logs the user out and redirects them to the login page.
Subscribe and Get Free Video Courses & Articles in your Email