In this Django article iam going to talk about Django User Authentication Complete Example, so Django comes with a user authentication system. It handles user accounts, groups, permissions and cookie-based user sessions. the Django authentication system handles both authentication and authorization. Briefly, authentication verifies a user is who they claim to be, and authorization determines what an authenticated user is allowed to do.
basically we are going to create login, logout, forgot password and reset password functionality. for more information you can check the video
Check the complete video for Django User Authentication Complete Example
Also you can read more django articles
1: Django Pagination Complete Example
2: Django Sending Email to Gmail Account
3: Build News Application in Django
Authentication support is bundled as a Django contrib module in django.contrib.auth. By default, the required configuration is already included in the settings.py generated by django-admin startproject, these consist of two items listed in your INSTALLED_APPS setting:
'django.contrib.auth'contains the core of the authentication framework, and its default models.'django.contrib.contenttypes'is the Django content type system, which allows permissions to be associated with models you create.
and these items in your MIDDLEWARE setting:
SessionMiddlewaremanages sessions across requests.AuthenticationMiddlewareassociates users with requests using sessions.
With these settings in place, running the command manage.py migrate creates the necessary database tables for auth related models and permissions for any models defined in your installed apps.
Django provides the following class-based views to deal with authentication. All of them are located in django.contrib.auth.views:
- LoginView: Handles a login form and logs in a user
- LogoutView: Logs out a user
- PasswordChangeView: Handles a form to change the user password
- PasswordChangeDoneView: The success view the user is redirected to
- PasswordResetView: Allows users to reset their password. It
generates a one-time use link with a token and sends it to
the user’s email account.
OK first of all you need to create a new project in django.
|
1 |
django-admin startproject MyProject |
After that we are going to create an app. make sure that you have changed the directory to your project.
|
1 |
python manage.py startapp MyApp |
Now you need to migrate your project .
|
1 |
python manage.py migrate |
Also you need to create a super user, because we need to use that for our login system.
|
1 |
python manage.py createsuperuser |
Login & LogoutView
First of all you need to create a new urls.py in your created app, and add this in your file.
|
1 2 3 4 5 6 7 8 |
from django.urls import path, include from django.views.generic.base import TemplateView urlpatterns = [ path('accounts/', include('django.contrib.auth.urls')), path('', TemplateView.as_view(template_name = 'home.html'), name = 'home') ] |
Also you need to link this file to your main project urls.py like this.
|
1 2 3 4 5 6 7 |
from django.contrib import admin from django.urls import path, include urlpatterns = [ path('admin/', admin.site.urls), path('', include('MyApp.urls')) ] |
Create a new directory inside the templates directory of your account application and name it registration. This is the default path where the Django authentication views expect your authentication templates to be.
The django.contrib.admin module includes some of the authentication templates that are used for the administration site. We have placed the account application at the top of the INSTALLED_APPS setting so that Django uses our templates by default instead of any authentication templates defined in other apps.
Create a new file inside the templates/registration directory, name it login.html, and add the following code to it:
|
1 2 3 4 5 6 7 8 9 10 11 12 13 14 15 16 17 18 19 20 21 22 23 24 25 26 |
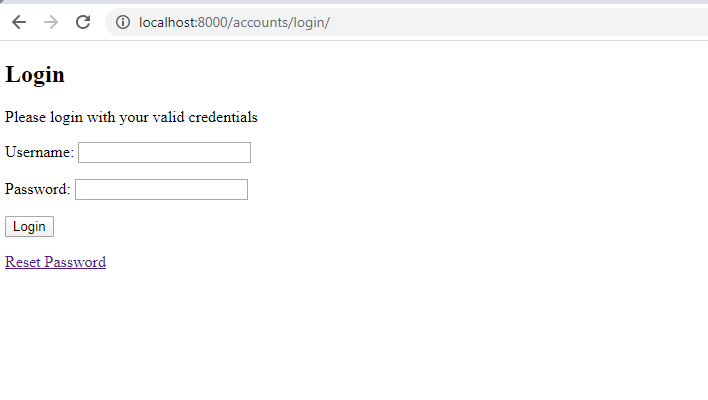
<!DOCTYPE html> <html lang="en"> <head> <meta charset="UTF-8"> <title>Login</title> </head> <body> <h2>Login</h2> <p>Please login with your valid credentials</p> <form action="" method="post" novalidate> {% csrf_token %} {{form.as_p}} <input type="submit" value="Login"> </form> <p><a href="{% url 'password_reset' %}">Reset Password</a> </p> </body> </html> |
Django uses the AuthenticationForm form located at django.contrib.auth.forms by default. This form tries to authenticate the user and raises a validation error if login was unsuccessful.
Also we have already added our home.html url at the top. you need to create that file out side of the registration folder, just you need to add that file in the main templates, these are the files that we want to add in templates folder. basically home.html is for redirecting successful login.
This is base.html
|
1 2 3 4 5 6 7 8 9 10 11 12 13 14 15 |
<!DOCTYPE html> <html lang="en"> <head> <meta charset="UTF-8"> <title>Title</title> </head> <body> {% block body %} {% endblock %} </body> </html> |
And this our home.html.
|
1 2 3 4 5 6 7 8 9 10 11 12 13 14 |
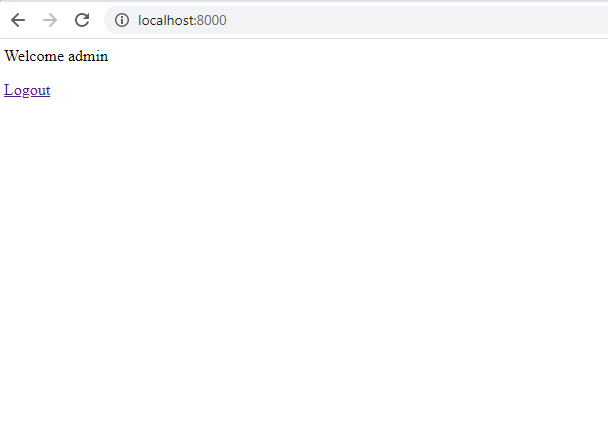
{% block body %} {% if user.is_authenticated %} Welcome {{user.username}} <p><a href="{% url 'logout' %}">Logout</a> </p> {% else %} <p><a href="{% url 'login' %}" >Login</a></p> {% endif %} {% endblock %} |
basically we are going to authenticate if the use is valid.
Edit the settings.py file of your project and add the following code to it:
|
1 2 |
LOGIN_REDIRECT_URL = '/' LOGOUT_REDIRECT_URL = '/' |
- LOGIN_REDIRECT_URL: Tells Django which URL to redirect after a successful login if no next parameter is present in the request
- LOGOUT_URL: The URL to redirect the user to log out
Password Change
And these are the files for our changing password. add these files in templates/registration folder.
password_change_form.html
|
1 2 3 4 5 6 7 8 9 10 11 12 13 14 15 16 17 18 |
{% extends 'base.html' %} {% block body %} <h1>Change The Password</h1> <form action="" method="post"> {% csrf_token %} {{form.as_p}} <input type="submit" value="Change Password"> </form> {% endblock %} |
password_change_done.html
|
1 2 3 4 5 6 7 8 9 10 11 12 |
{% extends 'base.html' %} {% block body %} <h1>Password Change Done</h1> <p>Your password changed successfully</p> {% endblock %} |
Password Reset
Add a new file in the templates/registration/ directory of your account application and name it password_reset_form.html. Add the following code to it:
password_reset_form.html
|
1 2 3 4 5 6 7 8 9 10 11 12 13 14 15 |
{% extends 'base.html' %} {% block body %} <h1>Password Reset Complete</h1> <p> Your password has been sent, you can <a href="{% url 'login' %}">Login</a> now </p> {% endblock %} |
Now, create another file in the same directory and name it password_reset_email.html. Add the following code to it:
|
1 2 3 4 5 6 7 8 9 10 11 12 13 14 |
{% extends 'base.html' %} {% block body %} Password reset for emal . {{email}} . follow the link {{protocol}}://{{domain}}{% url 'password_reset_confirm' uidb64=uid token=token %} {% endblock %} |
The password_reset_email.html template will be used to render the email sent to users to reset their password.
Create another file in the same directory and name it password_reset_done.html. Add the following code to it:
|
1 2 3 4 5 6 7 8 9 10 11 12 13 14 15 |
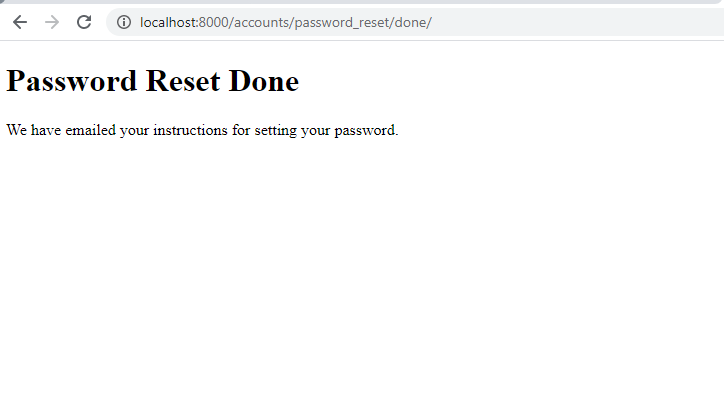
{% extends 'base.html' %} {% block body %} <h1>Password Reset Done</h1> We have emailed your instructions for setting your password. {% endblock %} |
Create another template in the same directory and name it password_reset_confirm.html. Add the following code to it:
|
1 2 3 4 5 6 7 8 9 10 11 12 13 14 15 16 17 18 19 20 21 22 23 24 25 26 27 28 29 |
{% extends 'base.html' %} {% block body %} <h1>Password Reset</h1> {% if validlink %} <form action="" method="post"> {% csrf_token %} {{form.as_p}} <input type="submit" value="Reset Password"> </form> {% else %} <p>Password reset email link was invalid, you can request a new one .</p> {% endif %} {% endblock %} |
We check whether the provided link is valid. The view PasswordResetConfirmView sets this variable and puts it in the context of the password_reset_confirm.html template. If the link is valid, we display the user password reset form.
Create another template and name it password_reset_complete.html. Enter the following code into it:
|
1 2 3 4 5 6 7 8 9 10 11 12 13 14 15 |
{% extends 'base.html' %} {% block body %} <h1>Password Reset Complete</h1> <p> Your password has been sent, you can <a href="{% url 'login' %}">Login</a> now </p> {% endblock %} |
Also in your settings.py you need to add this for email confirmation.
|
1 2 3 4 5 6 7 8 9 10 11 12 |
if not DEBUG: EMAIL_BACKEND = 'django.core.mail.backends.smtp.EmailBackend' EMAIL_HOST_USER = "parwizforogh0@gmail.com" EMAIL_HOST = 'smtp.gmail.com' EMAIL_PORT = 587 EMAIL_USE_TLS = True EMAIL_HOST_PASSWORD = "Your Password" else: EMAIL_BACKEND = ( "django.core.mail.backends.console.EmailBackend" ) |
So run the project and this will be the result


Subscribe and Get Free Video Courses & Articles in your Email
Thanks a lot. Its working.
WOw thanks bro