In this Django Introduction article iam going to show you Creating of First Project in Django, so Django is a high-level Python Web framework that encourages rapid development and clean, pragmatic design. Built by experienced developers, it takes care of much of the hassle of Web development, so you can focus on writing your app without needing to reinvent the wheel. It’s free and open source.
Also you can check my previous articles in django .
1: How To Build News Application In Django
2: Django Sending Email To Gmail Account
3: Django Pagination Complete Example
Django Installation
The pip package management system is the preferred method for installing Django. Python comes with pip preinstalled.
|
1 |
pip install django |
Django will be installed in the Python site-packages/ directory .
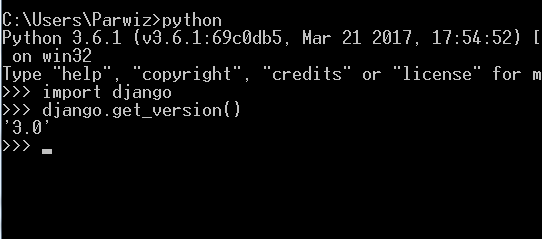
Now, check whether Django has been successfully installed. Run python on a terminal, import Django, and check its version, as follows:

If you get the preceding output, Django has been successfully installed on your machine. you can see that we are using django version 3.0 .
Creating your first project
So now after installation we are going to create our first project, iam using Pycharm IDE, so you can use this command for creating a new project in django.
|
1 |
django-admin startproject MyProject |
This will create a Django project with the name of MyProject.
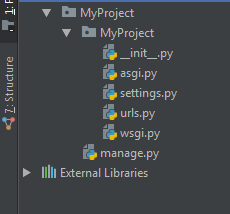
Let’s take a look at the project structure generated:

These files are as follows:
- MyProject this is the project directory that has different files.
- __init__.py It is empty python file.
- settings.py This indicates settings and configuration for your project and contains initial default settings.
- urls.py This is the place where your URL patterns live. Each URL defined here is mapped to a view.
- wsgi.py This is the configuration to run your project as a Web Server Gateway Interface (WSGI) application.
- manage.py it is a command line utility and it is used to interact with your project It is a thin wrapper around the django-admin.py tool.
The settings.py file contains the project settings, including a basic configuration to use an SQLite 3 database and a list named INSTALLED_APPS, which contains common Django applications that are added to your project by default. you can change the database configuration. for example if you want to use another database, so you can change that. To complete the project setup, we will need to create the tables in the database required by the applications listed in INSTALLED_APPS. Open the shell and run the following commands:
|
1 |
cd MyProject |
|
1 |
python manage.py migrate |
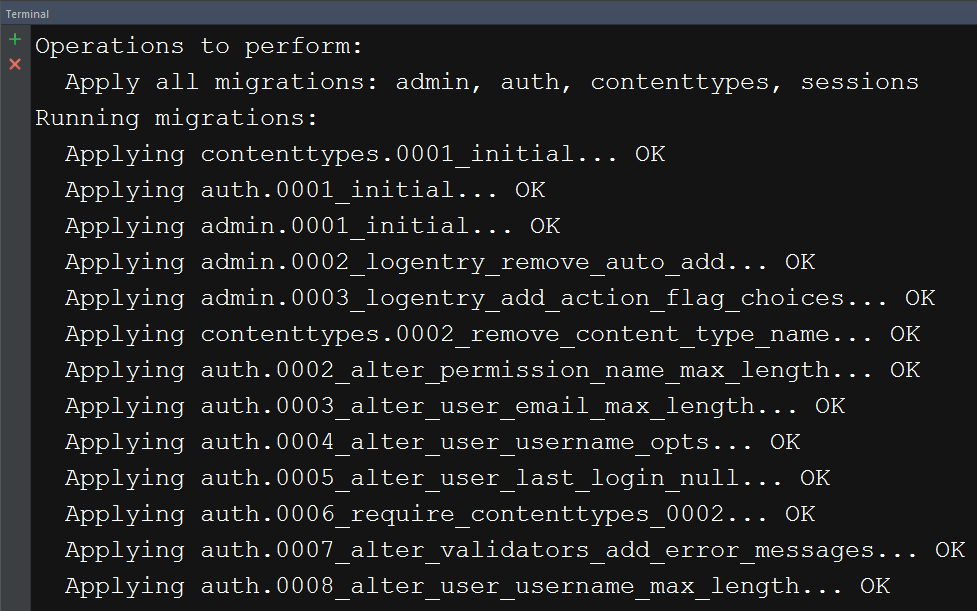
You will note an output that ends with the following lines:

The preceding lines are the database migrations that are applied by Django. By applying migrations, the tables for the initial applications are created in the database.
So now you can run the development server for django, Django comes with a lightweight web server to run your code
quickly, without needing to spend time configuring a production server.
|
1 |
python manage.py runserver |
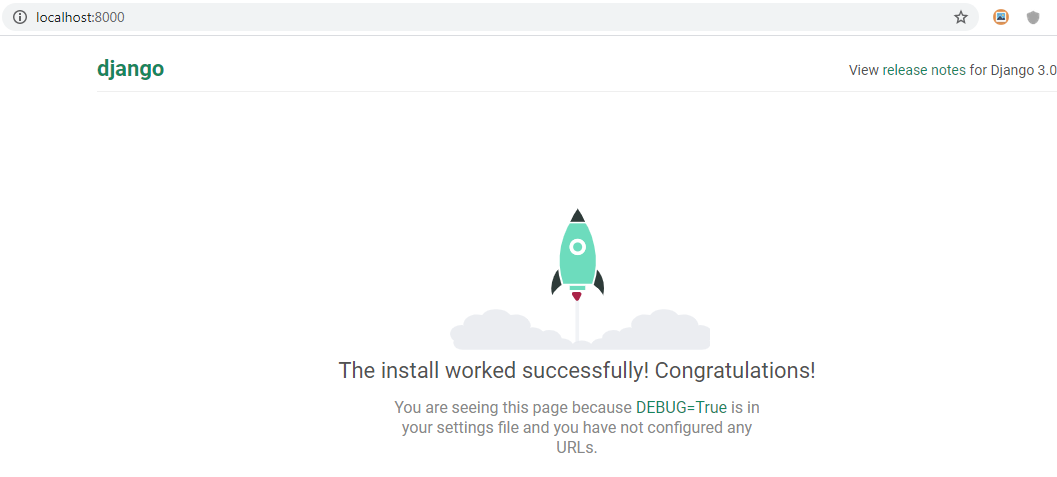
Now, open http://127.0.0.1:8000/ in your browser, and you will see the first page in django.

Also you can watch the complete video training on Django
Subscribe and Get Free Video Courses & Articles in your Email