In this React Native tutorial we we want to learn Connect Genymotion Emulator with React Native, so as you know if you want to create Android and IOS applications with JavaScript than React Native will be the best choice.
What is React Native ?
React Native is an open-source mobile application framework created by Facebook, Inc. It is used to develop applications for Android and IOS.
Creating Project with Expo CLI
according to React Native Documentation If you are new to mobile development, the easiest way to get started is with Expo CLI. Expo is a set of tools built around React Native and, while it has many features, the most relevant feature for us right now is that it can get you writing a React Native app within minutes. You will only need a recent version of Node.js and a phone or emulator. If you’d like to try out React Native directly in your web browser before installing any tools, you can try out Snack.
Now let’s create our React Native application with Expo CLI.
First install expo cli.
|
1 |
npm install -g expo-cli |
After that create your React Native Project with Expo CLI. you can give the name of your project as you want.
|
1 |
expo init AwesomeProject |
- Django Backend and ReactJS Frontend Course
- How to Create Classes in Python
- Python Class Inheritance
- Python Super() Function
- Python Google Translate API
React Native and Genymotion Emulator
For runing React Native Application there are different options that you can use, the easiest option is that you can download the Expo Go application from Playsore or Appstore, you can just scan the QR code in Metro Bundler terminal and you are good to go, this way does not need a USB cable connection with your Android or IOS phones, the second way is that you can just connect your Mobile using a USB cable with your computer, and the third way is using Emulator, now you have two options for using Emulator, the first option is that you need to download Android Studio, and you can install a Virtual Emulator using AVD Manager, the second option is that you can download Genymotion.
React Native and Genymotion Emulator Configuration
First you need to download and install Genymotion from their website, after that create a Virtual Emulator, there are different virtual emulators for different phone systems, you can just pick one and install that. now you need to follow these steps.
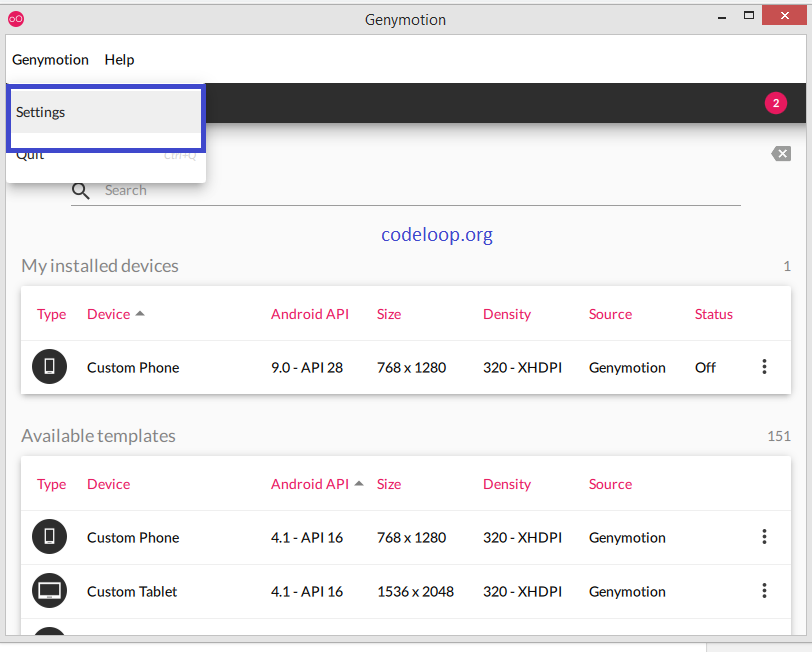
In the first step open Genymotion, Go to setting
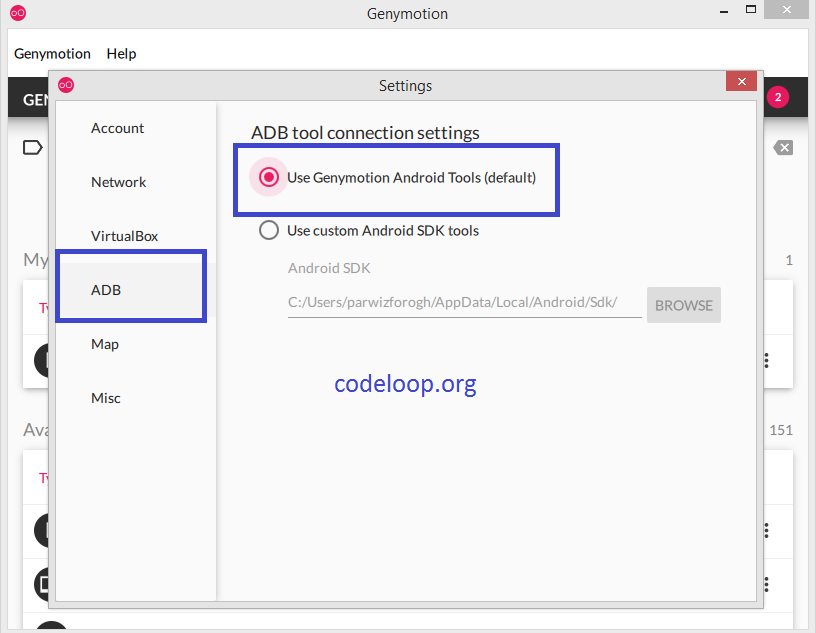
Now go to ADB, and you can see that Genymotion is using Default Android Tools and SDK.
Now we need to change that with the Custom Android SDK Tools, it means that SDK tools that are related to the Android Studio.
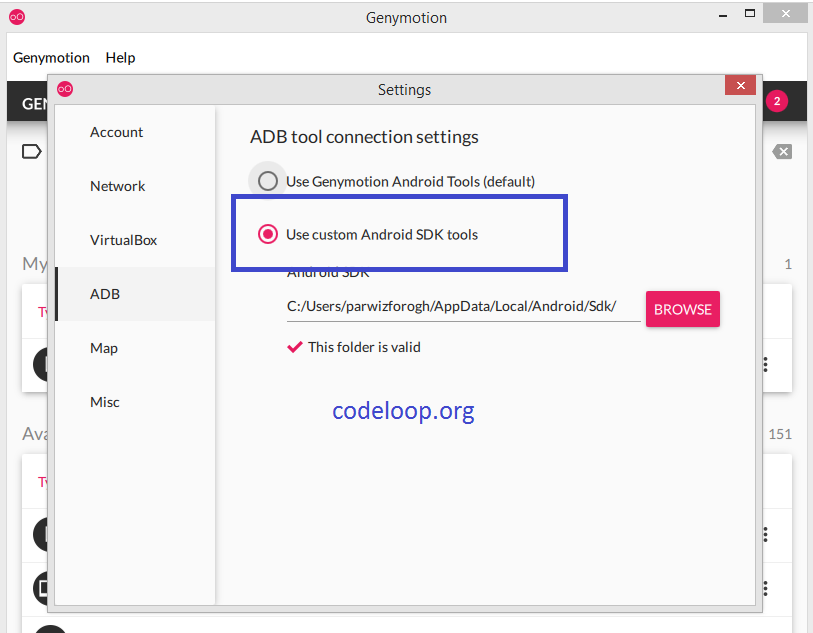
Note: If you don’t have Android Studio than you don’t need to change this.
With this configuration we are done now let’s run our React Native Project. make sure that you run your emulator from Genymotion.
Now change director to your created Project, in my case it is AwesomeProject and run your React Native application.
|
1 2 |
cd AwesomeProject npm start # you can also use: expo start |
We have our Metro Bundler and from here we can run our Project.
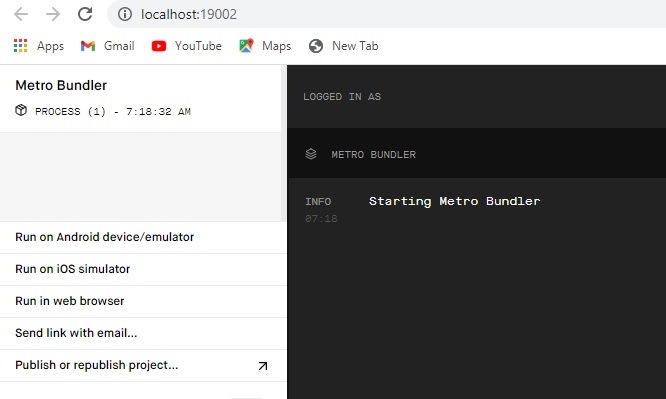
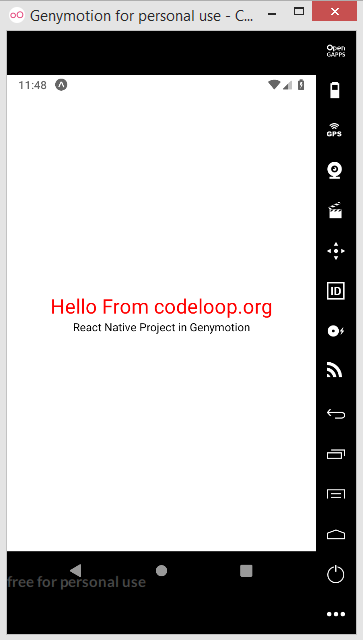
This is the result and you can see our application in genymotion emulator.
Subscribe and Get Free Video Courses & Articles in your Email