In this Android Studio article i want to show you How To Create Auto TextView.
so for good explanation you can watch the video for this article at the end .
Also you can read more android development articles
1: Android Development Articles
Also you can check Python GUI Development Tutorials in the below link.
1: PyQt5 GUI Development Tutorials
2: TKinter GUI Development Tutorials
3: Pyside2 GUI Development Tutorials
4: Kivy GUI Development Tutorials
5: wxPython GUI Development Tutorials
1: First of all create a new project in your Android Studio, and choose Empty Activity
also iam using API 20 for this project.
2: After that you need to open your build.gradle(module:app) file, and this library in the dependencies section.
|
1 |
implementation 'me.grantland:autofittextview:0.2.0' |
so this is the library that we are going to use for creating auto textview, and this will be a
TextView that automatically resizes text to fit perfectly within its bounds.
After adding your build.gradle(module:app) file will look like this.
|
1 2 3 4 5 6 7 8 9 10 11 12 13 14 15 16 17 18 19 20 21 22 23 24 25 26 27 28 29 |
apply plugin: 'com.android.application' android { compileSdkVersion 28 defaultConfig { applicationId "com.forogh.parwiz.autofittxtview" minSdkVersion 21 targetSdkVersion 28 versionCode 1 versionName "1.0" testInstrumentationRunner "android.support.test.runner.AndroidJUnitRunner" } buildTypes { release { minifyEnabled false proguardFiles getDefaultProguardFile('proguard-android.txt'), 'proguard-rules.pro' } } } dependencies { implementation fileTree(dir: 'libs', include: ['*.jar']) implementation 'com.android.support:appcompat-v7:28.0.0-alpha1' implementation 'com.android.support.constraint:constraint-layout:1.1.0' implementation 'me.grantland:autofittextview:0.2.0' testImplementation 'junit:junit:4.12' androidTestImplementation 'com.android.support.test:runner:1.0.2' androidTestImplementation 'com.android.support.test.espresso:espresso-core:3.0.2' } |
3: So now open your main_activity.xml, basically we are going to add our AutoTextView
with EditText.
|
1 2 3 4 5 6 7 8 9 10 11 12 13 14 15 16 17 18 19 20 21 22 23 24 25 26 27 28 29 30 31 32 33 34 35 36 37 38 39 40 41 42 43 44 45 |
<?xml version="1.0" encoding="utf-8"?> <android.support.constraint.ConstraintLayout xmlns:android="http://schemas.android.com/apk/res/android" xmlns:app="http://schemas.android.com/apk/res-auto" xmlns:tools="http://schemas.android.com/tools" android:layout_width="match_parent" android:layout_height="match_parent" tools:context=".MainActivity"> <me.grantland.widget.AutofitTextView android:layout_width="match_parent" android:layout_height="wrap_content" android:layout_marginTop="48dp" app:layout_constraintEnd_toEndOf="parent" app:layout_constraintTop_toTopOf="parent" android:layout_marginLeft="10dp" android:layout_marginRight="10dp" android:id="@+id/fittextview" android:text="Hello World" android:textSize="40sp" android:textStyle="bold" android:textColor="@color/colorPrimary" android:textAlignment="center" android:singleLine="true" android:maxLines="2" /> <EditText android:id="@+id/editText" android:layout_width="wrap_content" android:layout_height="wrap_content" android:layout_marginStart="8dp" android:layout_marginTop="92dp" android:layout_marginEnd="8dp" android:layout_marginBottom="8dp" android:ems="10" android:inputType="textPersonName" android:hint="Please Enter Something" app:layout_constraintBottom_toBottomOf="parent" app:layout_constraintEnd_toEndOf="parent" app:layout_constraintHorizontal_bias="0.503" app:layout_constraintStart_toStartOf="parent" app:layout_constraintTop_toBottomOf="@+id/fittextview" app:layout_constraintVertical_bias="0.812" /> </android.support.constraint.ConstraintLayout> |
4: OK now open your MainActivity.java and we need to add some codes in their, first we ‘
need to create AutoFitTextView and EditText, after that in the onCreate() method we need
to find these widgets. also we are going to add a listener for our EditText.
|
1 2 3 4 5 6 7 8 9 10 11 12 13 14 15 16 17 18 19 20 21 22 23 24 25 26 27 28 29 30 31 32 33 34 35 36 37 38 39 40 41 42 43 44 |
package com.forogh.parwiz.autofittxtview; import android.support.v7.app.AppCompatActivity; import android.os.Bundle; import android.text.Editable; import android.text.TextWatcher; import android.widget.EditText; import me.grantland.widget.AutofitTextView; public class MainActivity extends AppCompatActivity { AutofitTextView autofitTextView; EditText editText; @Override protected void onCreate(Bundle savedInstanceState) { super.onCreate(savedInstanceState); setContentView(R.layout.activity_main); autofitTextView = findViewById(R.id.fittextview); editText = findViewById(R.id.editText); editText.addTextChangedListener(new TextWatcher() { @Override public void beforeTextChanged(CharSequence s, int start, int count, int after) { } @Override public void onTextChanged(CharSequence s, int start, int before, int count) { autofitTextView.setText(s); } @Override public void afterTextChanged(Editable s) { } }); } } |
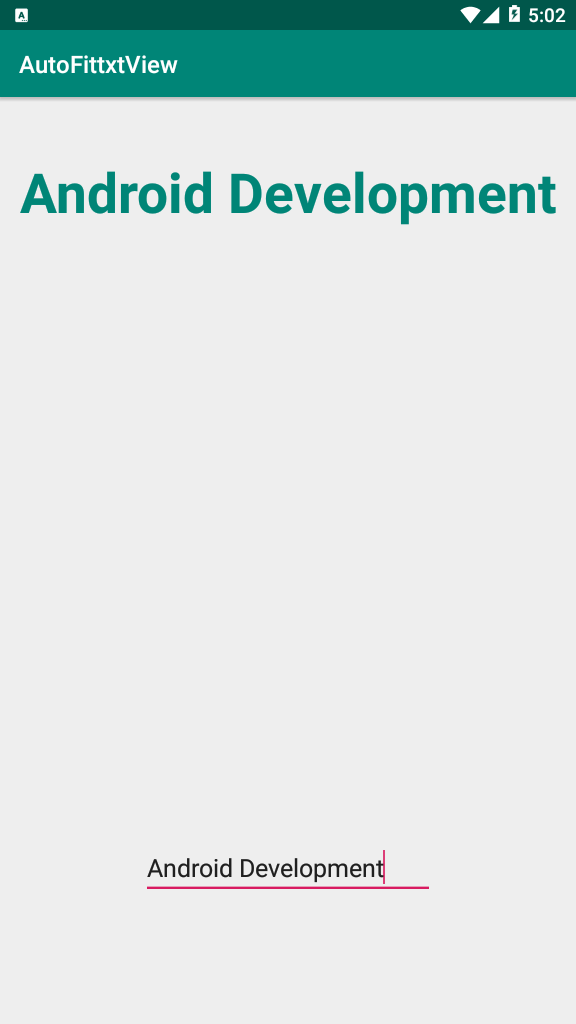
Run the project this will be the result
Also you can watch the complete video for this article
Subscribe and Get Free Video Courses & Articles in your Email
