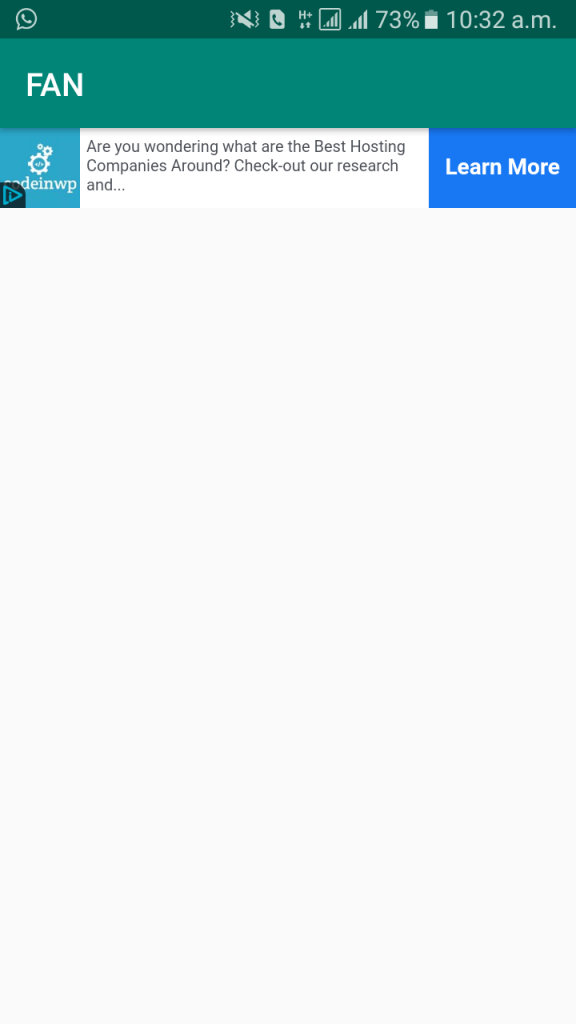
In this Android Studio article we are going to talk about Facebook Audience Network Banner Ads integration, so if you are an android developer you will be familiar with Admob, and the FAN has the same process as Admob, and you can monetize your android application with Facebook Audience Network. also for good explanation you can watch the video for this at the end of the article.
Also you can read more android development articles
1: Android Development Articles
Also you can check Python GUI Development Tutorials in the below link.
1: PyQt5 GUI Development Tutorials
2: TKinter GUI Development Tutorials
3: Pyside2 GUI Development Tutorials
4: Kivy GUI Development Tutorials
5: wxPython GUI Development Tutorials
What Is Facebook Audience Network (FAN) ?
Audience Network allows advertisers to extend Facebook and Instagram campaigns
across the internet – onto thousands of high-quality websites and apps.
People spend a lot of their time on Facebook and Instagram. But they are also spending
time on other apps and sites. Audience Network helps advertisers reach more of the people
they care about in the other places where they’re spending their time.
In a Facebook ad campaign study, conversion rates were 8x higher among people who saw
ads across Facebook, Instagram and Audience Network than people who only saw the ads
on Facebook. Audience Network ads use the same targeting, auction, delivery and measurement systems as Facebook ads.
Supported Objectives
Audience Network currently supports the following objectives:
-
Brand awareness (video only)
-
Reach (video only)
-
Traffic
-
Engagement (video only)
-
App installs
-
Video views (video only)
-
Conversions
-
Catalog sales
The behavior of an ad after it’s clicked on depends on the type of ad objective an advertiser chooses. When someone clicks on an ad, depending on the ad objective, what will happen is:
-
The ad will open a link in a new browser window
-
The ad will prompt someone to install an app
-
The ad will launch an existing app on their mobile device

Audience Network supports video and image ads. Note that creative and placement eligibility varies across objectives.
Implementation Of FAN Banner Ads In Android Studio
So now we are going to talk about Banner Ads implementation of Facebook Audience Network
in Android Studio.
1: OK first of all you need to create a New Project in Android Studio
2: After that you need to include the SDK for Facebook Audience Network, open build.gradle(Module:app), and in the dependencies section you need to add this line of code.
|
1 |
implementation 'com.facebook.android:audience-network-sdk:5.+' |
and after that sync your project, also in your Manifest.xml file you need to add internet permission.
|
1 |
<uses-permission android:name="android.permission.INTERNET"/> |
3: Before creating an ad object and loading ads, you should initialize the Audience Network SDK.
It is recommended to do this at app launch.
|
1 2 3 4 5 6 7 8 9 10 |
public class YourApplication extends Application { ... @Override public void onCreate() { super.onCreate(); // Initialize the Audience Network SDK AudienceNetworkAds.initialize(this); } ... } |
4: In your layout file (for example: /res/layout/activity_main.xml), add a layout that
will act as a container for your Ad. Remember the id you set here as you will be referencing it
in the code later.
|
1 2 3 4 5 6 7 8 9 10 11 12 13 14 |
<?xml version="1.0" encoding="utf-8"?> <RelativeLayout ... > ... <LinearLayout android:id="@+id/banner_container" android:layout_width="match_parent" android:layout_height="wrap_content" android:layout_alignParentBottom="true" android:orientation="vertical" /> ... </RelativeLayout> |
5: Add the following code at the top of your Activity in order to import the Facebook Ads SDK:
|
1 |
import com.facebook.ads.*; |
6: Next, instantiate an AdView object and make a request to load an ad. Since AdView
is a subclass of View, you can add it to your view hierarchy just as with any other view.
|
1 2 3 4 5 6 7 8 9 10 11 12 13 14 15 16 17 18 19 20 21 |
private AdView adView; @Override public void onCreate(Bundle savedInstanceState) { ... // Instantiate an AdView object. // NOTE: the placement ID will eventually identify this as your App, you can ignore it for // now, while you are testing and replace it later when you have signed up. // While you are using this temporary code you will only get test ads and if you release // your code like this to the Google Play your users will not receive ads (you will get a no fill error). adView = new AdView(this, "YOUR_PLACEMENT_ID", AdSize.BANNER_HEIGHT_50); // Find the Ad Container LinearLayout adContainer = (LinearLayout) findViewById(R.id.banner_container); // Add the ad view to your activity layout adContainer.addView(adView); // Request an ad adView.loadAd(); } |
Note: If you are building your app for tablet, consider using the AdSize.BANNER_HEIGHT_90
size instead. In all cases, the banner width is flexible with a minimum of 320px.
7: Lastly, add the following code to your activity’s onDestroy() function to release
resources the AdView uses.
|
1 2 3 4 5 6 7 |
@Override protected void onDestroy() { if (adView != null) { adView.destroy(); } super.onDestroy(); } |
So now run the complete project and this will be the result

Also you can watch the complete video for this article
Subscribe and Get Free Video Courses & Articles in your Email
Comments are closed.